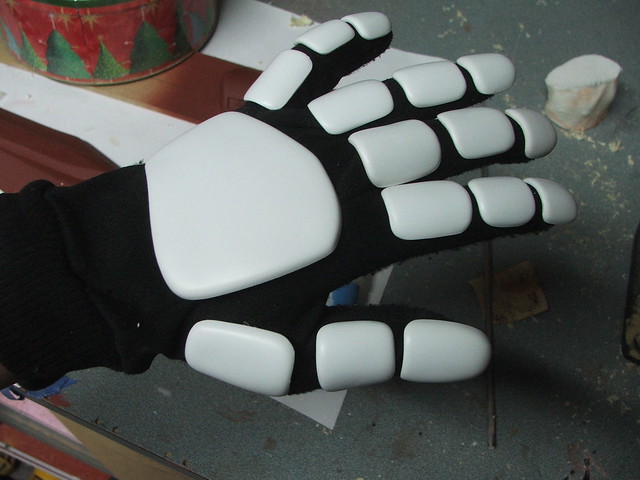
I got an email a couple of weeks ago, followed by a phone call. You'll forgive me if the exact details are a bit fuzzy, but the conversation involved an inquiry into getting a replica bolt pistol from the upcoming movie
Ultramarines, based in the Warhammer 40k universe. It went something like...
Them: "Any interest in creating some Warhammer 40k replicas? We'd need them by New York Comic Con."
Me: "Sure! I'd love to - always liked the style of 40k. When is NYCC?"
Them: "In about 2 weeks. We'd need it a fair bit sooner than that."
Me: "...oh"
And so I found myself looking (figuratively, for the time being) down the barrel of a
9-day Warhammer pistol build. This project is to be a featured item at the Ultramarines booth at NYCC, and will also be handled by hundreds of convention attendees as they pose for pictures with it. It needed to be strong, durable, huge, and built in less than a week and a half. Here's the nuts and bolts.
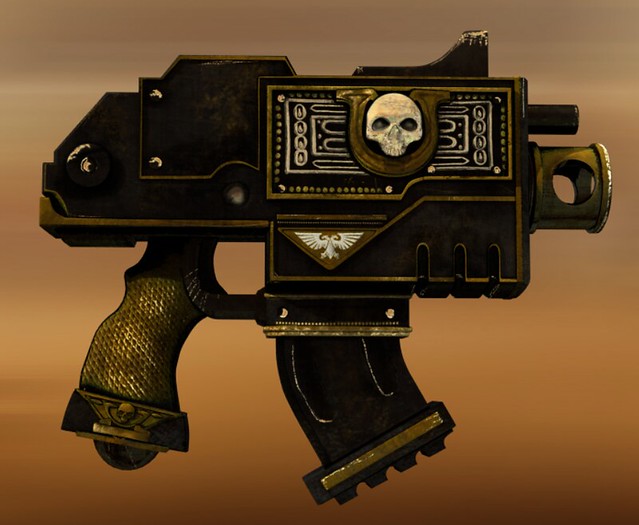
Here's what we're after; specifically, this Bolt Pistol belongs to the character
Severus in the Ultramarines universe.

I started, as most long time readers are familiar with, by setting up some Illustrator blueprints. The exact details of the gun were still in discussion at this time and eventually the script lettering was abandoned in favor of a shell eject port.
As I continued with the project, I decided to take "closing shots" of my day-to-day progress. Anyone who wants the short, short version can check the following 9 photos:
Day 1  Day 2
Day 2  Day 3
Day 3  Day 4
Day 4 Day 5
Day 5  Day 6
Day 6  Day 7
Day 7  Day 8
Day 8  Day 9
Day 9 
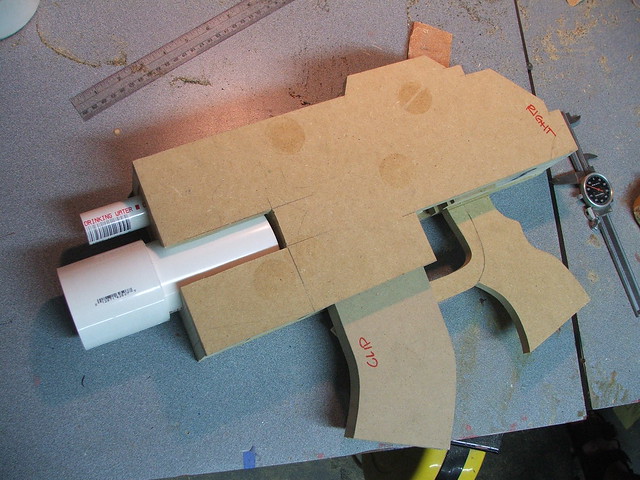
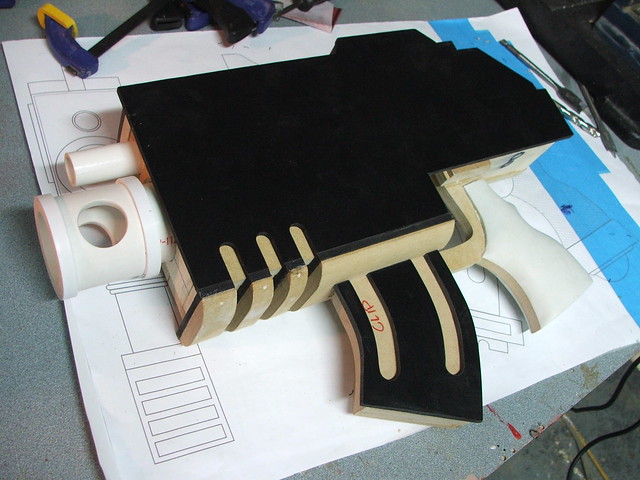
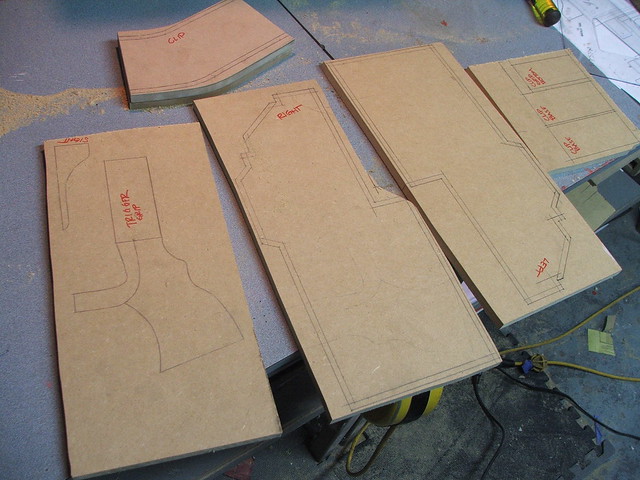
The idea here was to make an ultra-rigid (ha!
Ultra! Get it?!... ok, nevermind) frame from MDF. This would form the skeleton of the pistol, and the details would stem from this inner structure.
The basic components were transferred to MDF and trimmed on the bandsaw.

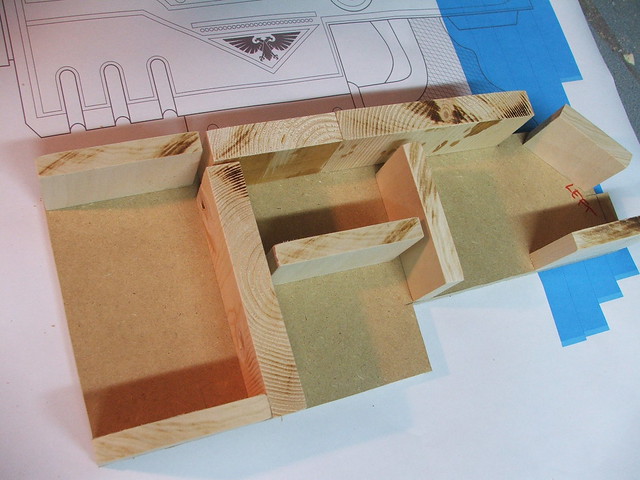
Inner panels were cut to create "chambers" on the inside of the pistol. These served a double purpose of adding rigidity while also creating mounting brackets for the grip, clip, and barrels.

Barrels started life as lowly PVC pipe. I have never purchased even a single inch of plumbing hardware that was used for its original intent.

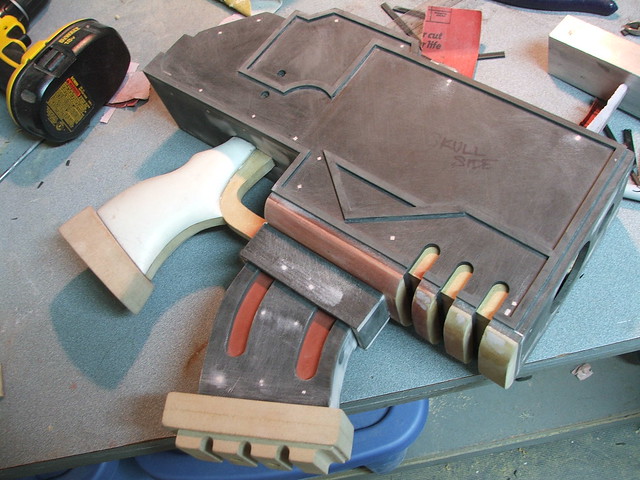
After the frame was complete, the structure was skinned in 1/4" black sintra. These panels were coated in epoxy on their MDF facing side, then secured in place with a brad nailgun.

Additional panels being fitted to the rear of the gun

The raised lip on the barrel was added using styrene sheet. The seams were filled with bondo and sanded flush.


Another favorite of mine - Apoxie Sculpt - was used to create the handle shape. This was rough sculpted, then sanded to shape after drying.


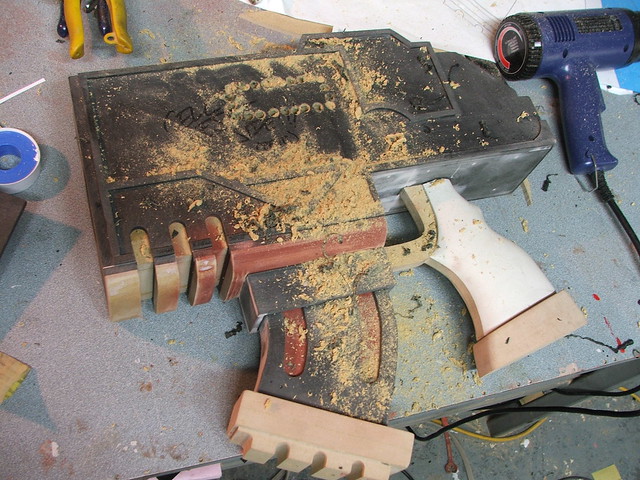
For the curved lower part of the gun, I shaped a piece of 1/2" MDF on the belt sander, then sectioned it into thin strips to create the "cutouts" below the barrel.


Additional sintra sheet was added to the clip and clip receiver to build out those shapes to their proper dimension. Before adding the side details on the clip, I primed and sanded the MDF beneath it to save myself some very annoying detail sanding later.


Lower clip and grip details were created from sheets of MDF laminated together. The clip underside was shaped, rather frighteningly, on my table router.

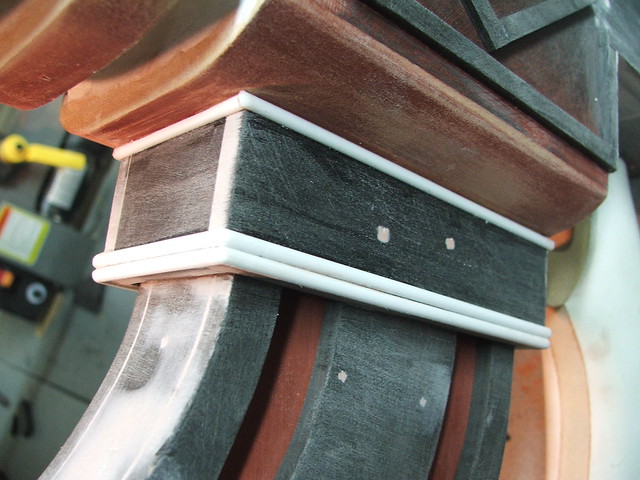
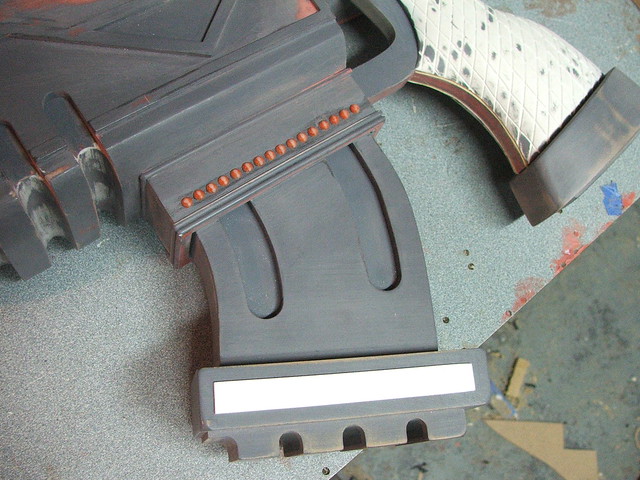
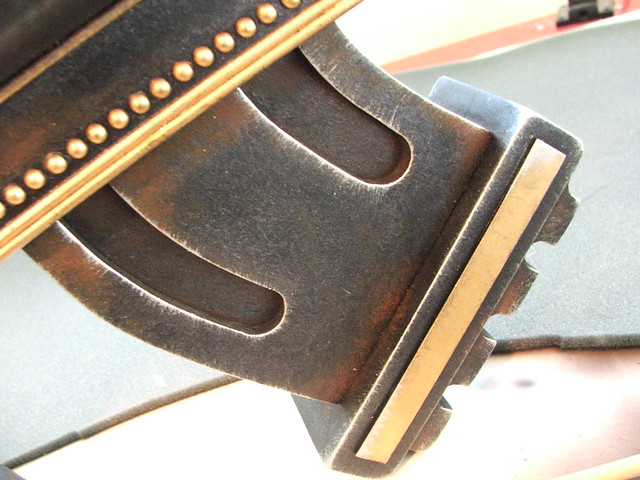
Those were the last of the big details, so I started working on accent pieces and trim. The raised edges all around the perimeter of the gun were made from 1/8" thick sintra, hand cut to 1/4" wide.

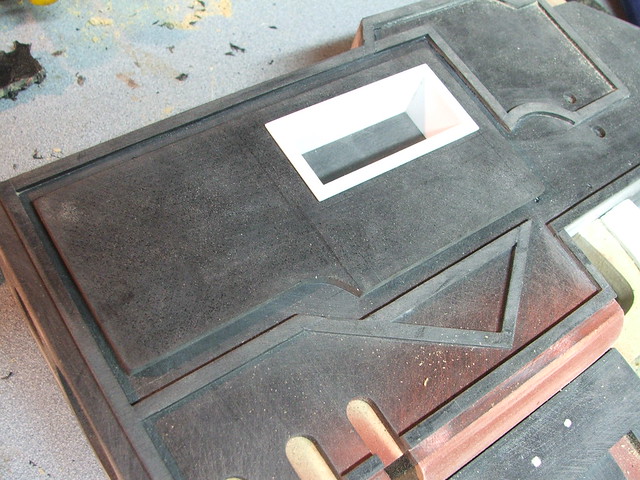
It was at this point that the shell casing eject port was determined to be the detail needed for the left side of the pistol. I didn't want to risk raking my jigsaw across the side of the piece, so I "cut" the piece out with a series of .5" drilled holes.

Not the prettiest solution, but I had a plate to cover up the hacked up gouges.

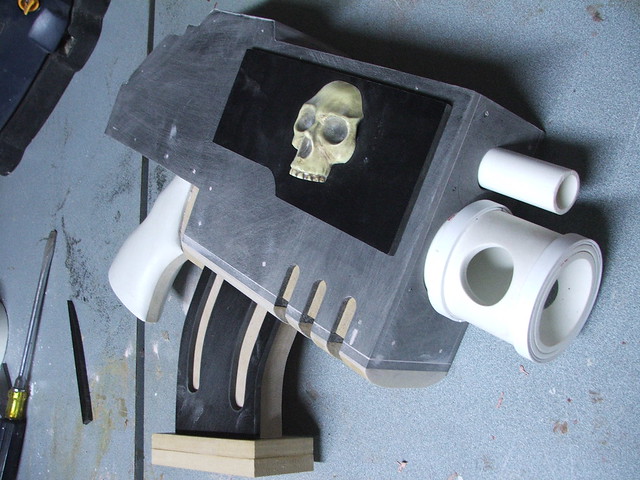
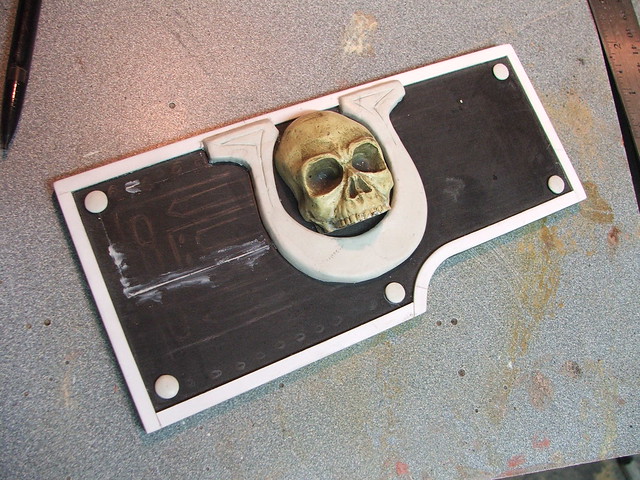
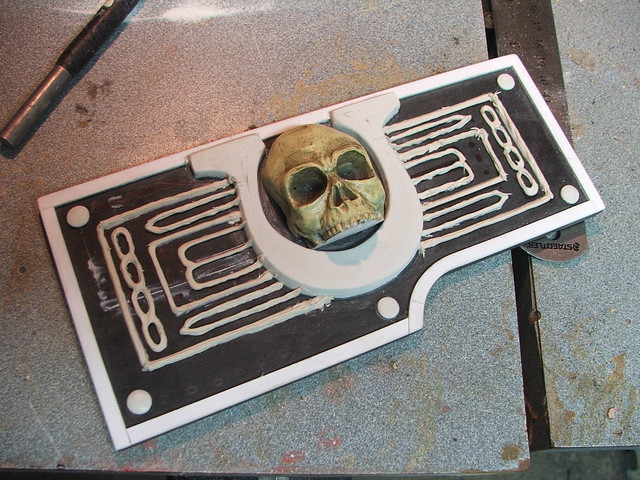
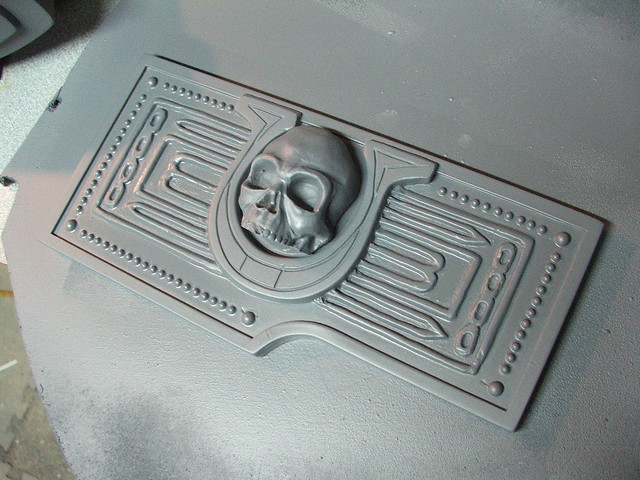
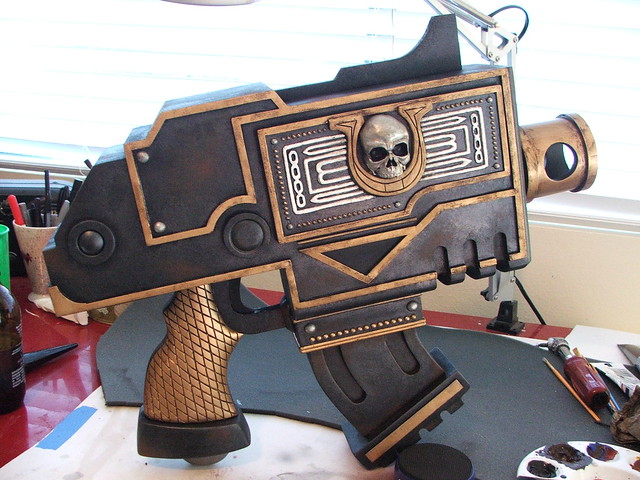
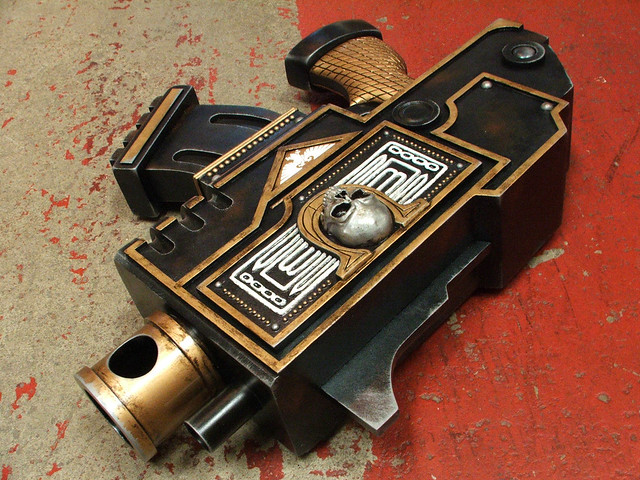
The right side of the pistol features a large "U" surrounded by rough sculpted filigree and containing the front half of a tiny human skull, sans jaw. I seriously lucked out getting this project so close to Halloween, and the skull was purchased from a local craft store and modified to fit the panel. The raised edges were added with apoxie sculpt.


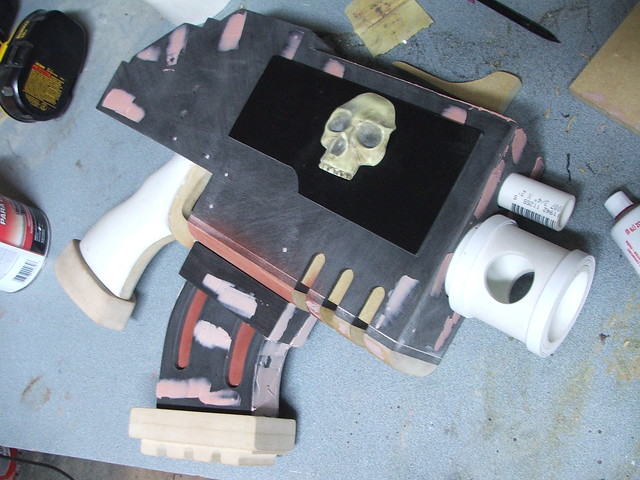
Additional details were added in styrene bar, then it was off to the first guide coat of primer.


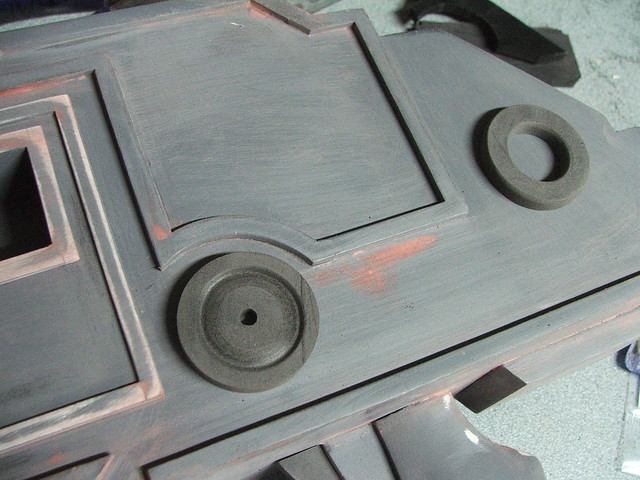
This revealed a lot of cracks that still had yet to be filled by my first bondo passes, but also showed that I had a lot more details to add. The large side rivets were made by lathing pieces of 3/8" sintra to shape.

3/8" sintra also makes up the sight on the pistol... which I can only imagine leaves something to be desired with regard to accuracy.

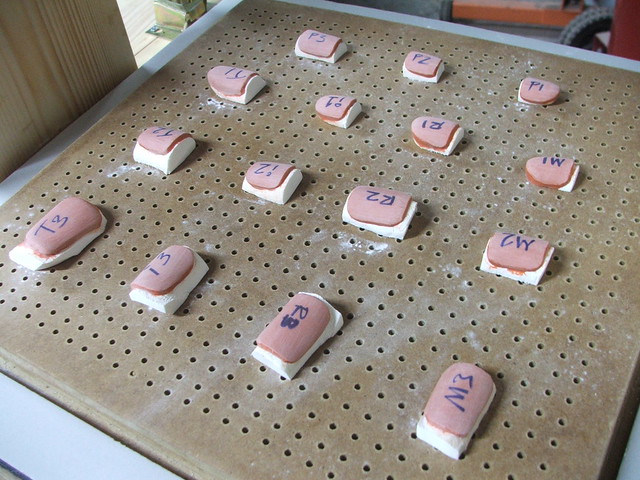
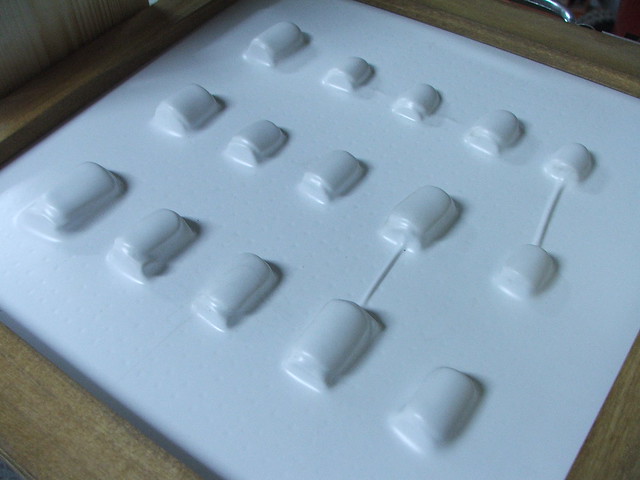
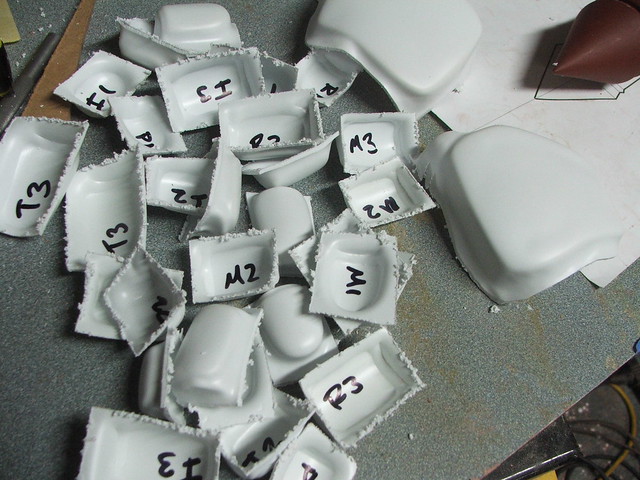
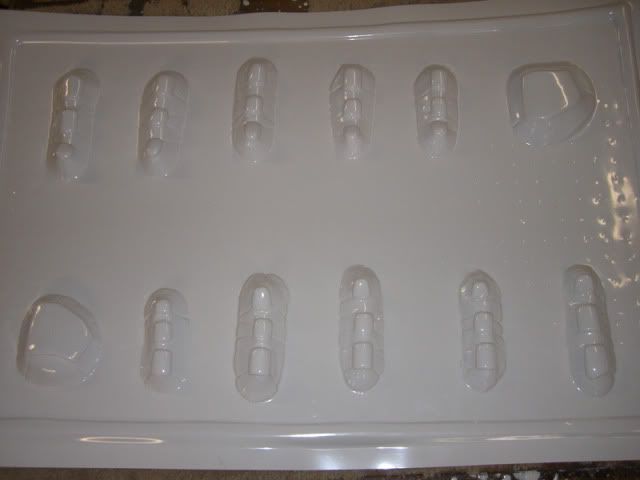
The small rivets and domed details on other parts of the gun are actually half-spheres meant for scrapbooking. I peeled off the weak adhesive supplied by the manufacturer and epoxied them into place. For the really tiny ones, this was an eye straining process.

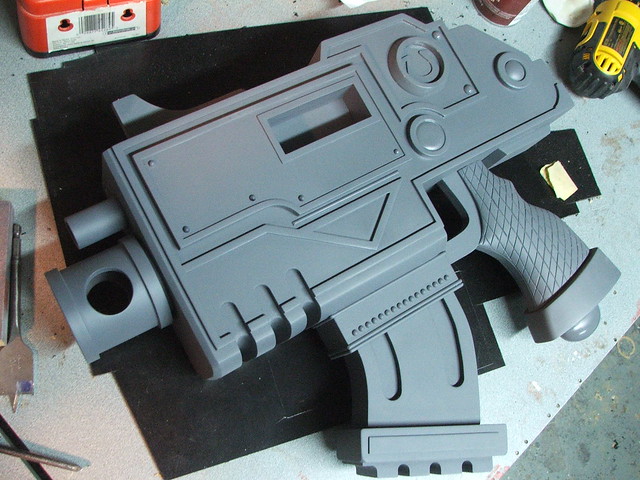
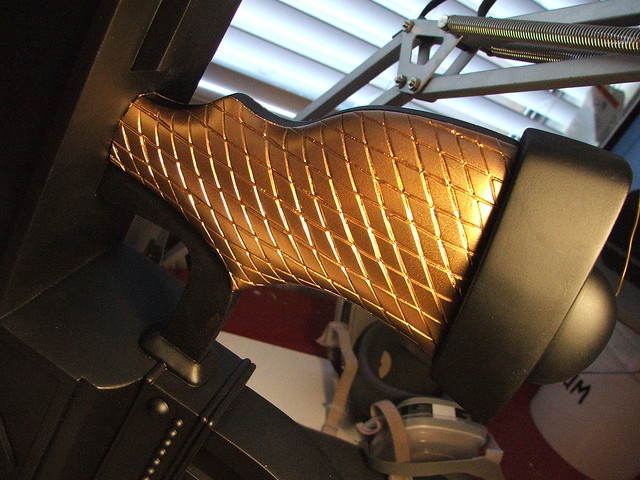
Speaking of strain, my wrist was killing me after carving the diamond details on both sides of the grip with an engraving tool. A smarter man would have made these marks while the clay was still wet. Alas, I am not that man.

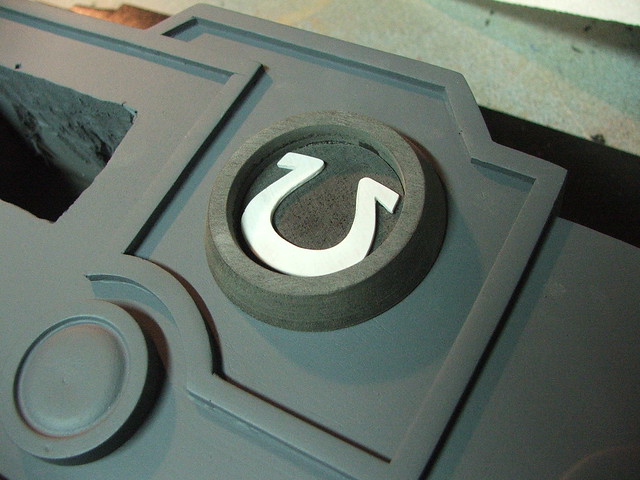
The last big piece needed was the large "U" on the left side of the gun, aft of the shell eject port. This was a lathed piece of 3/8" sintra, while the inset "U" was cut from .060 styrene sheet.

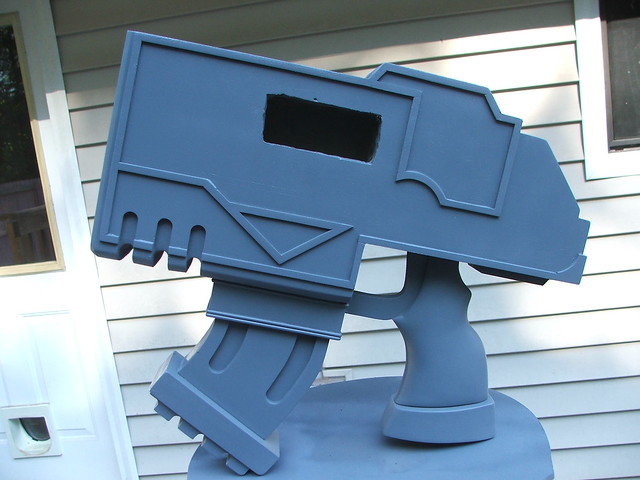
One more coat of primer...

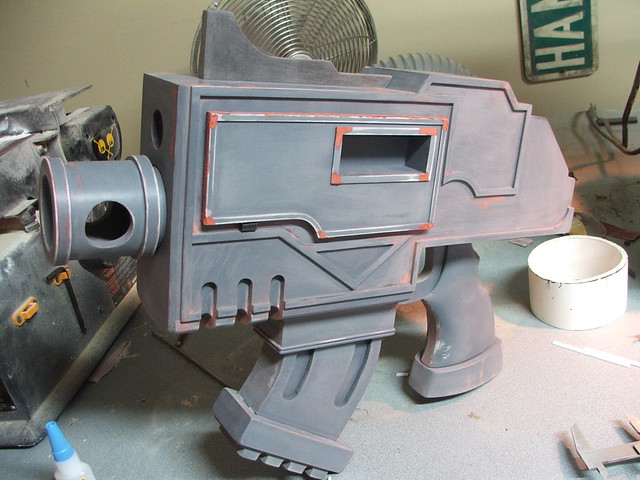
...then its off to paint!
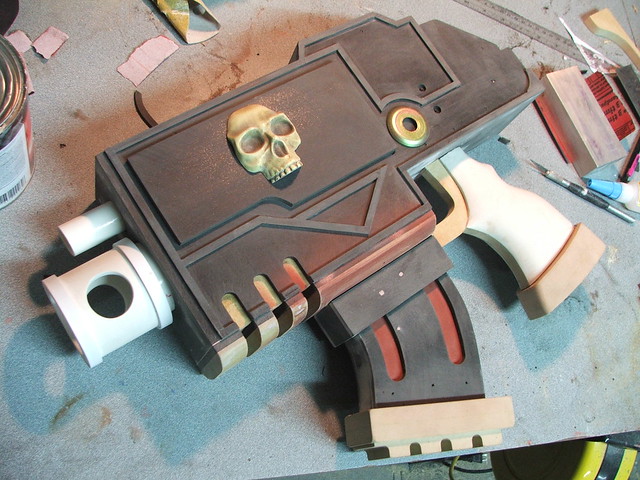
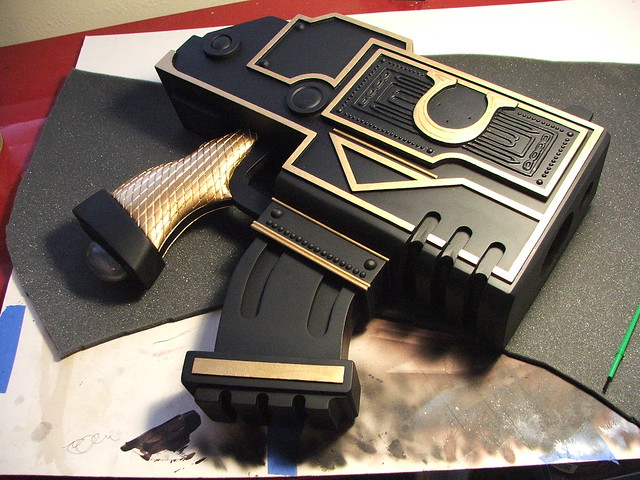
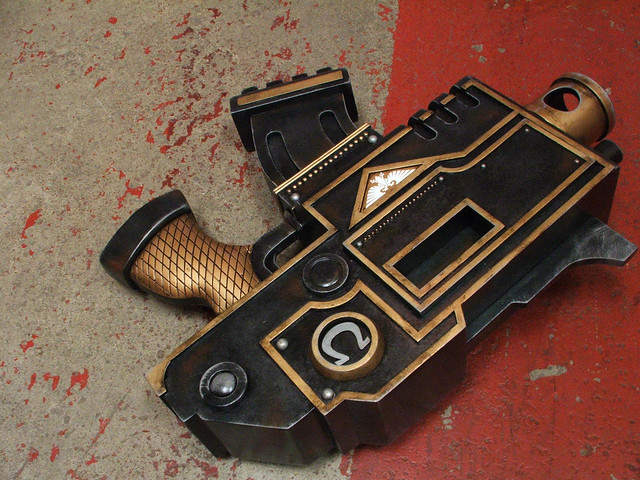
I started with a full coat of flat black; this was an idea I'd had for creating a more accurate "gunmetal" color for a while now and was eager to test out. Retrospectively, trying new things with 2 days left on the clock wasn't the brightest of moves... but nothing ventured, nothing gained.

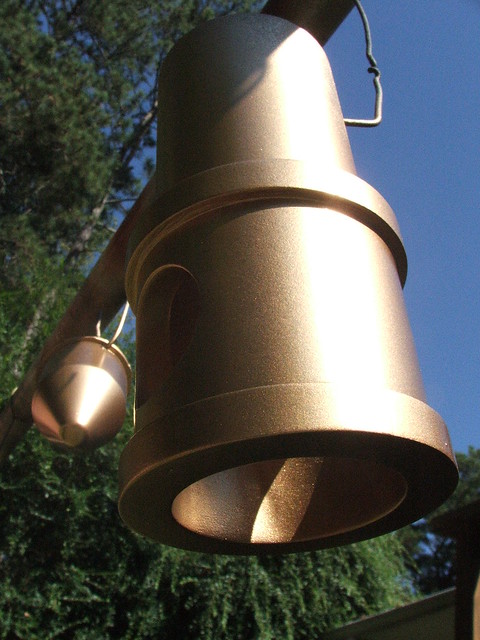
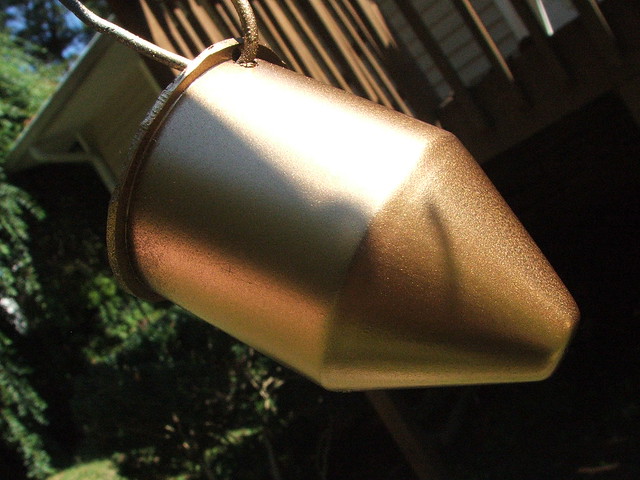
The barrel and shell got a coat of Krylon metallic gold. The shell was an insert I'd created last minute when I realized that it would be quite easy to see all the way down into the barrel, given its shallow depth and wide opening. May as well see the next round in the chamber!


After the flat black dried, the raised edges and grip were treated to a coat of gold as well. Krylon spray for the grip and Testor's brush enamel for the trim. The two colors are remarkably (and luckily!) nearly identical.


Additional pieces, like the skull, some rivets, and the raised filigree, were painted with dull aluminum and white enamels.
The technique I spoke about earlier for achieving a better gunmetal color was gleaned from a
papercraft Hellboy "Samaritan" pistol I stumbled upon several months back. (fantastic read for anyone interested in making one of those things!) Since I only needed a light metal shimmer to my black basecoat, I only did one very thin pass of stippling with some metallic dark silver acrylics.

Additional dirt and grit was added with further layers of acrylic paints drybrushed onto the surface.

The final weathering accent was a light helping of silver "wear" marks around raised edges and corners, done with Testor's dull aluminum enamel.


Once all of the above was dry, the entire gun got two coats of satin clearcoat to protect the weathering from the dozens of handlers it would have in the following week.

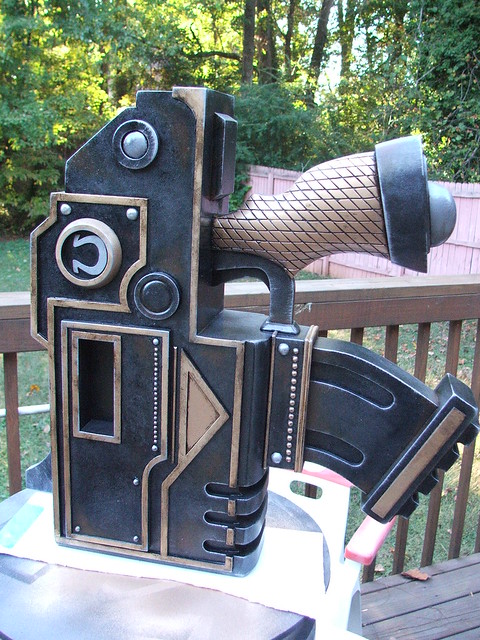
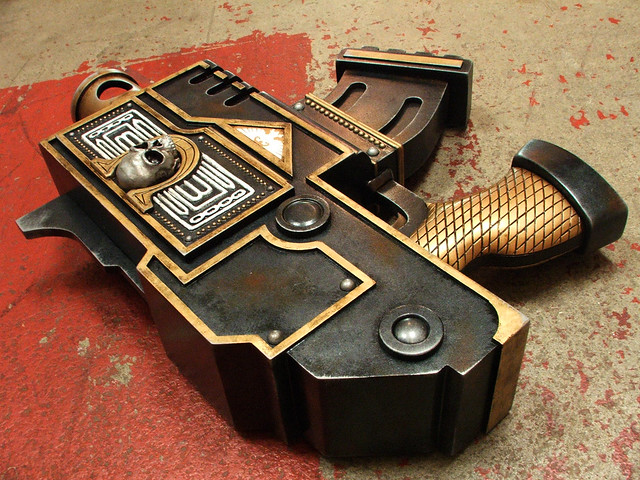
Glue in the barrels, and she's done!


For scale reference, here's my friend Tom holding the "pistol." It weighs close to 17lbs and is nearly 2 feet long.

From first cut on the bandsaw to dropping it in the case, 9 days total. This was one hell of a rush build, and I really wish I could have had a month with it, but it turned out great in the end. If you're going to NYCC this year, be sure to stop by the
Ultramarines booth and have a pic taken with tiny here. I'd love to see it!


More pics of the process and final build (And in higher resolution) available on
my flickr page.

As always, thanks for reading!


