
I've been a huge Mass Effect fan for a while now, and with the release of the second game I knew I wanted to take a crack at building some of the weaponry from the ME universe. As a bit of a personal challenge to myself, I decided to construct this gun from as much of my existing materials as possible. That is to say, 95% of what you see here is scrap I had in my shop from other builds. In the end, the entire piece only cost me $28 in raw materials.
 Note: if you email me and ask to buy this gun for $28, I will say yes; I will then take your money and mail you a box of wood shavings. You have been warned.
 So, here's how it came together.
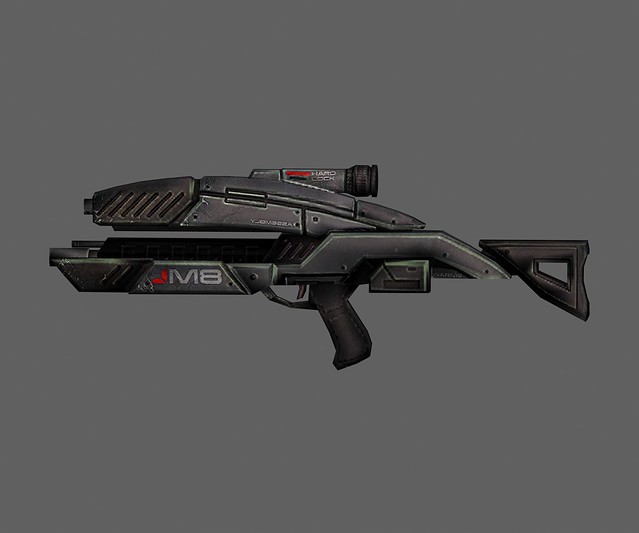
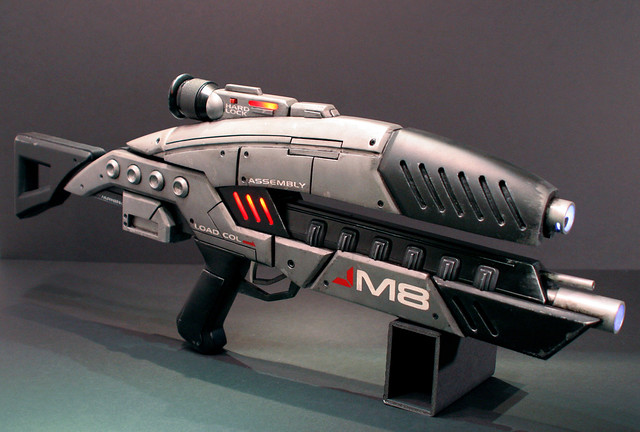
First off, as with everything I make, I drew up some blueprints. Those with a keen eye may notice that my illustrations don't match up 100% with the reference image above. This is because the M8 in the game renders and the M8 on the box art have several differences. My version above is an amalgamation of the two.

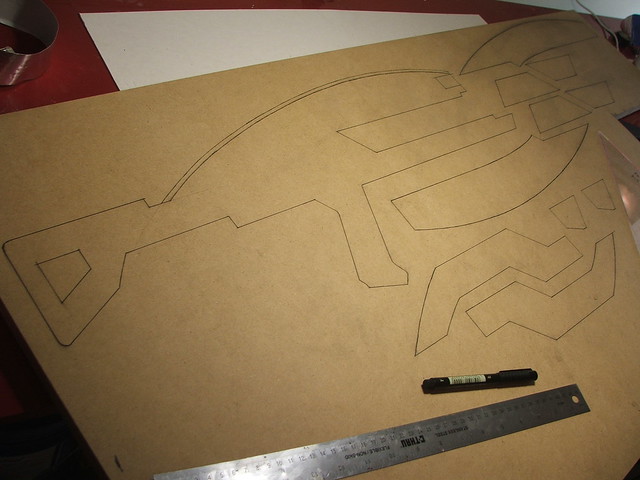
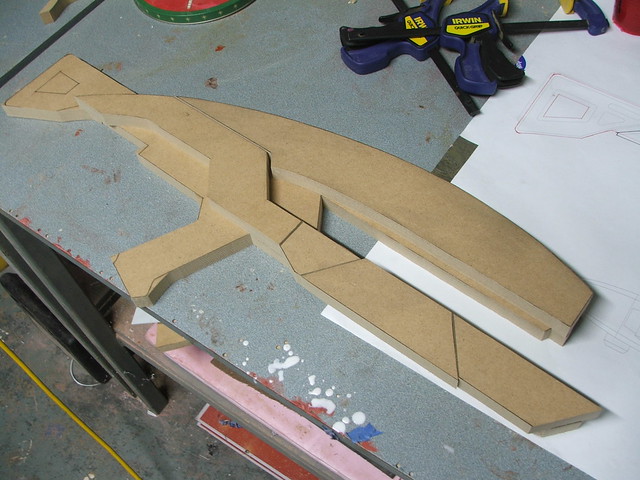
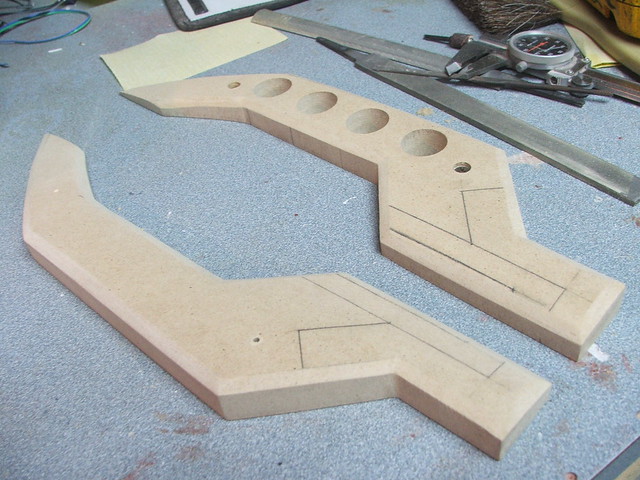
I had a huge honking sheet of 3/4" MDF left over from the Laser Rifle project; Onto this I sketched out the various parts. My plan was to have a central "spine" that all of the outer components would slide onto, forming the organic shape of the M8.
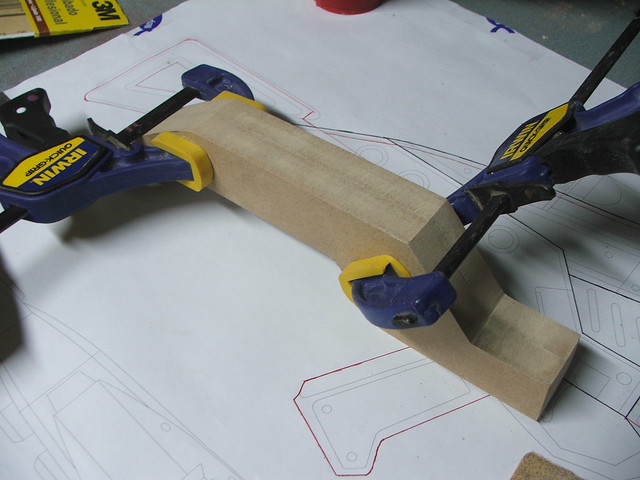
After trimming, parts that needed to be symmetrical were clamped together and sanded down along their edges to make certain they were as exact as I could get them.
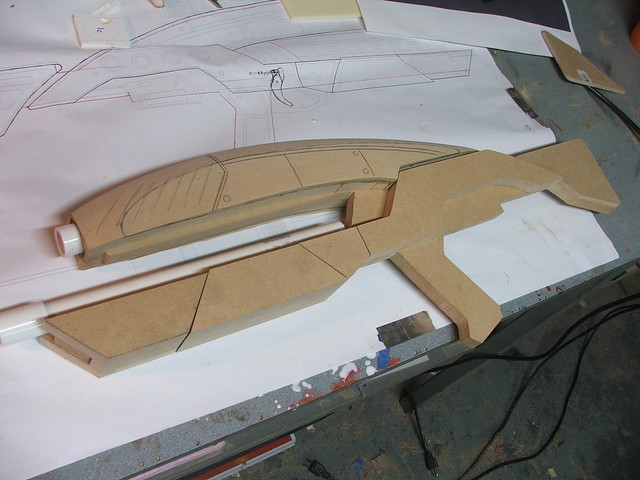
Here's the rough parts laid out onto the center spine.
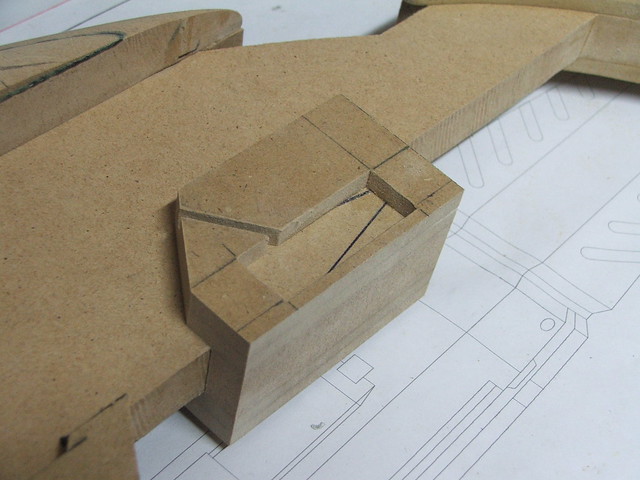
Next step was to glue and clamp these pieces together around thin strips of MDF that would serve as the center sections. This would eventually leave these pieces looking like a bunch of u-channel MDF chunks.

After drying
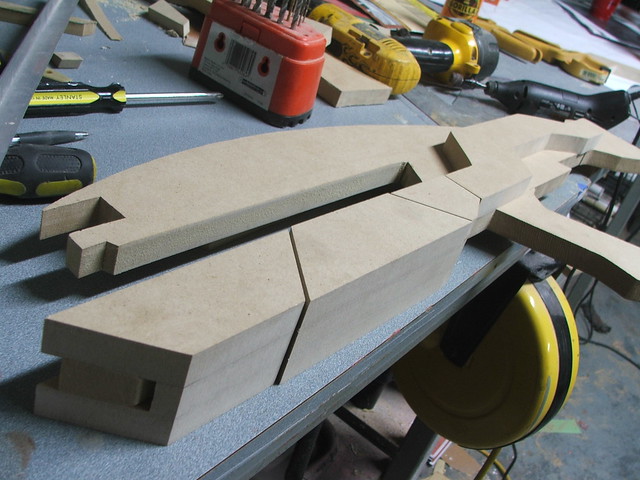
Additional details were added by either shaving down the existing blocks, or by adding 1/4" MDF pieces to the outside of the forms and taking away from those. The ability to remove whatever piece I was working on from the center spine was a HUGE help in shaping these.
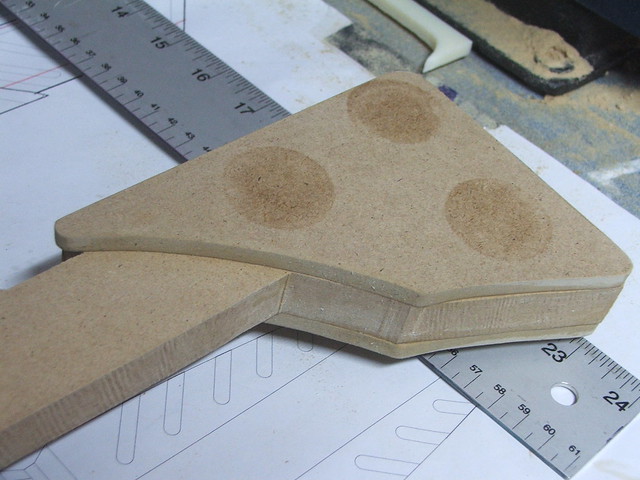
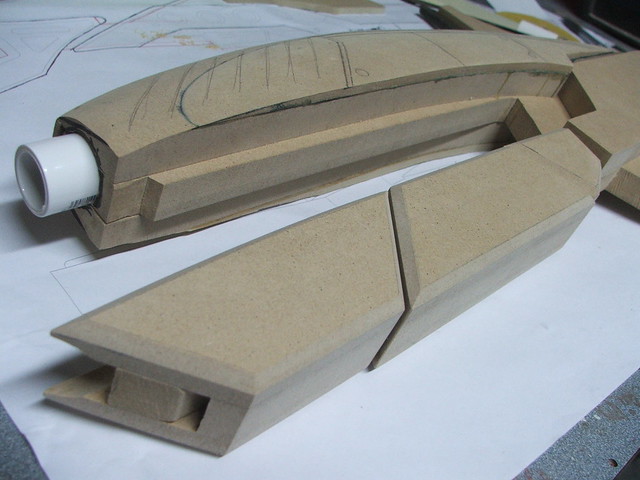
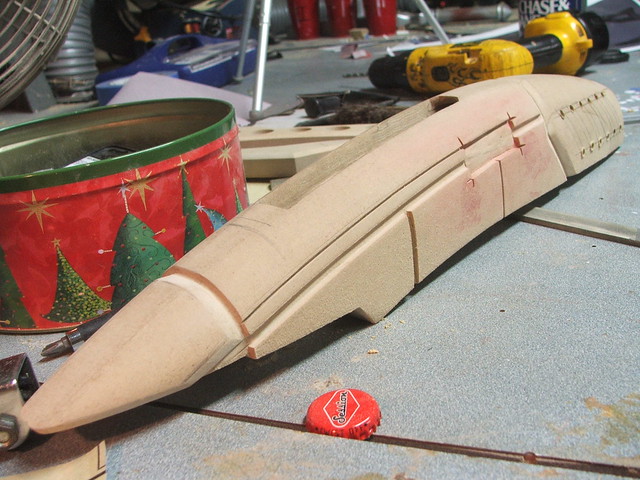
The upper receiver was shaped mostly on a belt sander, but some detail work was done with a palm sander, and eventually a sanding block to refine the shape.
EVERY edge on this thing is beveled! this was all done by hand with a dremel tool. Because of the strange angles of a lot of the pieces, I couldn't use my table router.
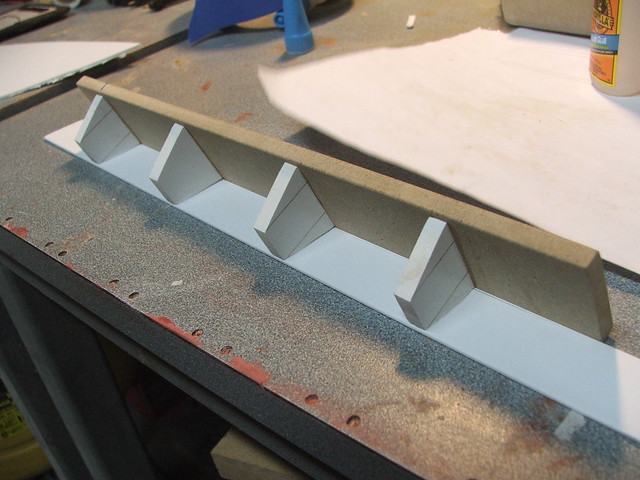
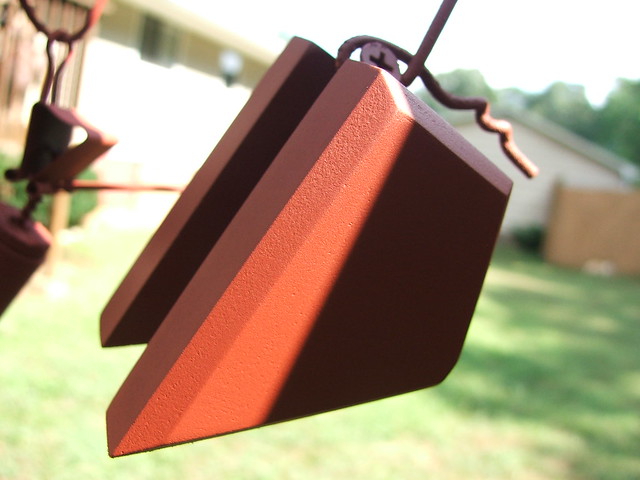
For the lower barrel shroud, I used some scrap pieces of styrene and sintra formed around an MDF base. This is the interior - the repeating trapezoid shapes make sure the angles stay consistent.

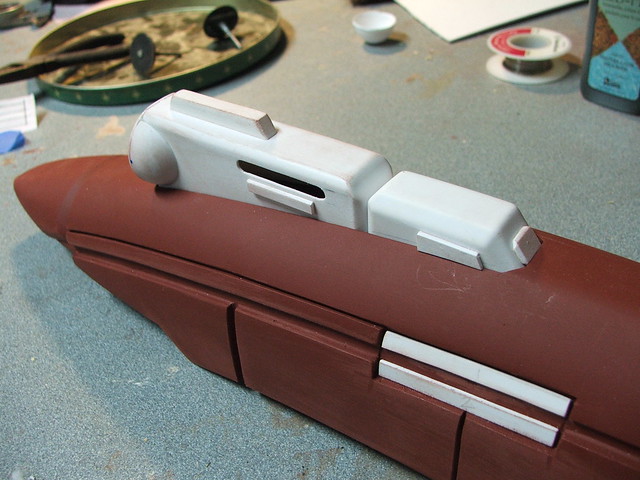
I also used some more scrap styrene to vac-form the scope assembly that sits on top of the upper receiver. These were formed around MDF bucks, and the dome shape on the sides was made from vac-forming the end of an engraving tool handle cap.

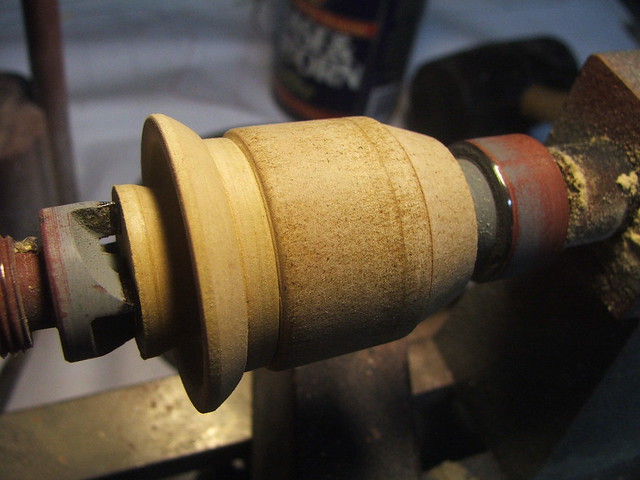
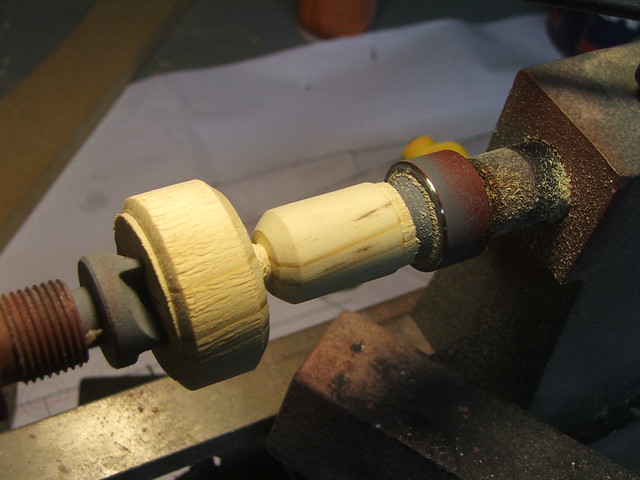
I also busted out the lathe to take care of the scope and the small cylinders on the right side of the gun. The scope from laminated sheets of MDF, and the cylinder master was made an old banister support. Really.
For the "grip" on the scope, I found some leftover rubber material used to line the insides of toolbox drawers. I think this was part of another project, but my toolbox drawers are also without liner, so who knows?

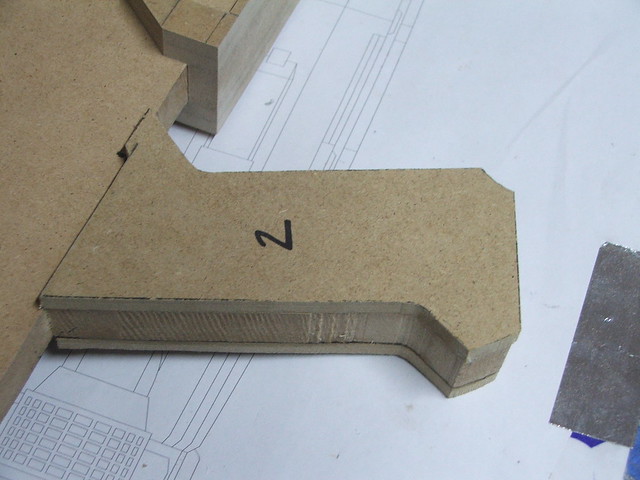
The lower grip details needed to be slotted to receive the lower barrel shroud and lower barrel assembly. The latter was made from some PVC pipe bits I had in my "scrap plastic" tub.

A trigger was made out of a delrin bar, and a recoil spring salvaged from a dead RC car. This created the trigger assembly.
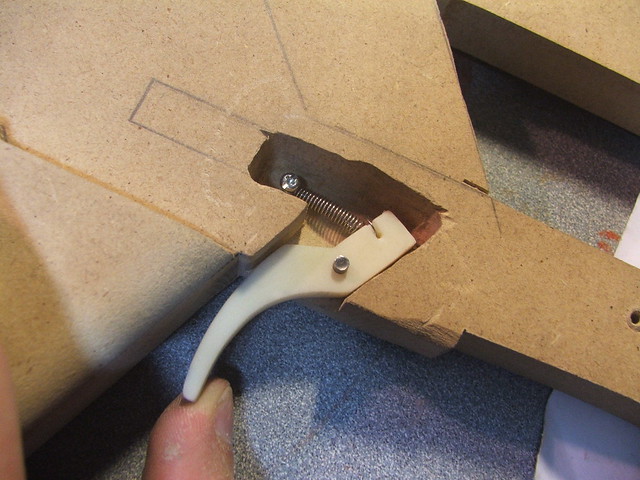
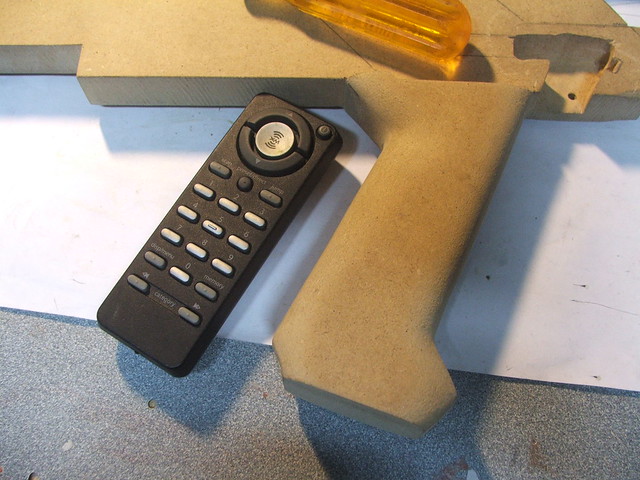
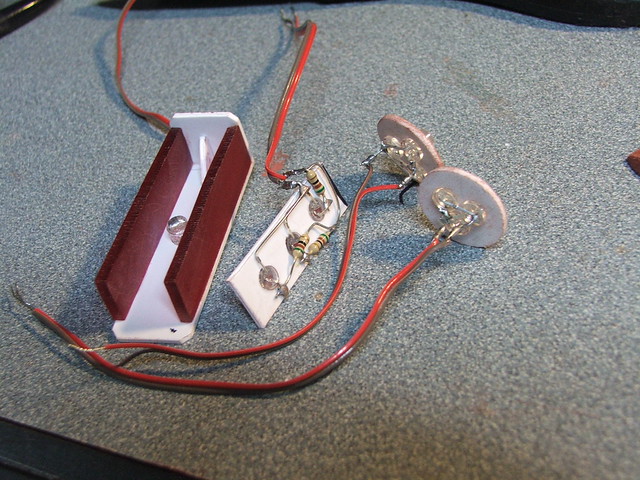
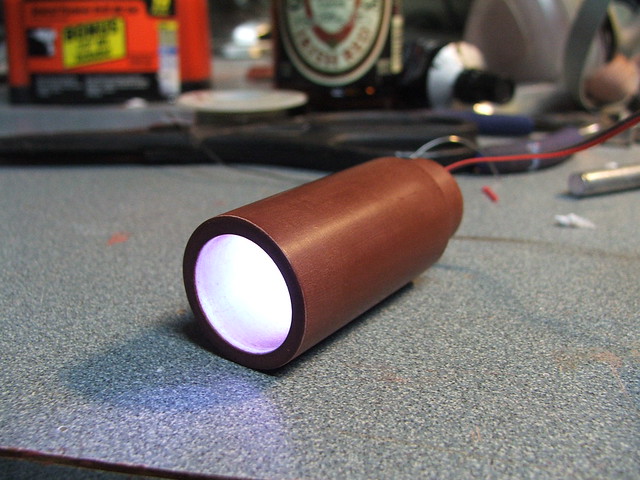
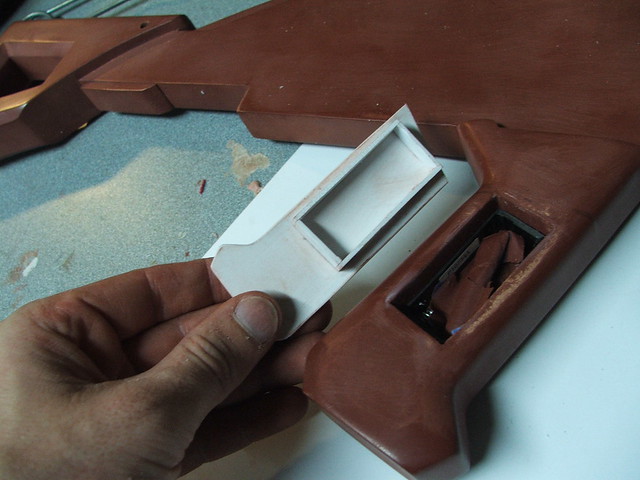
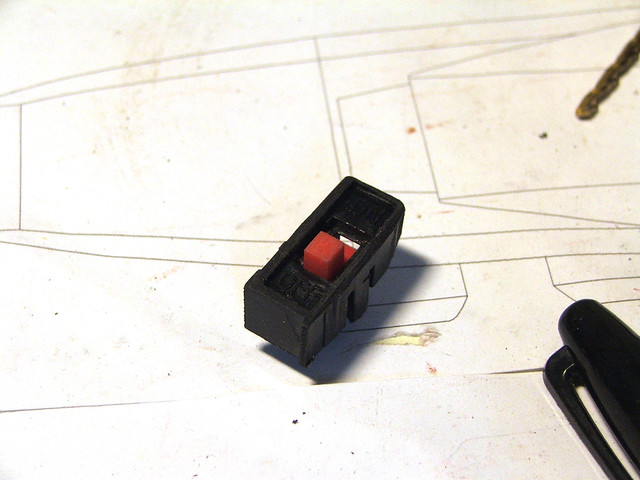
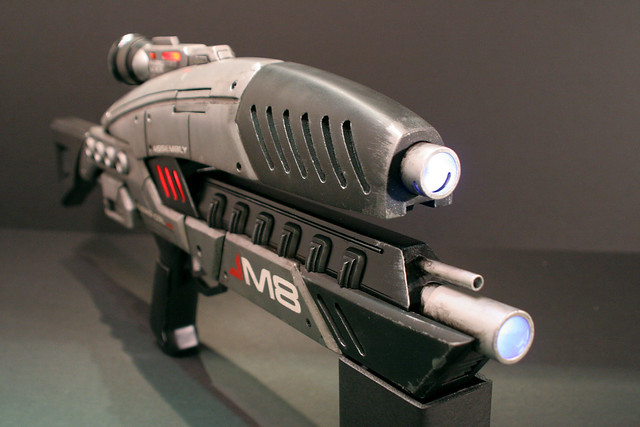
I decided I wanted to have the gun light up red in the sides and on the scope as it does in game. Additionally, to simulate "muzzle flash" I would add 3 LEDs to both barrels which would illuminate when the trigger is pulled. I added a small pushbutton switch at the front of the trigger to make the lights work, and for the battery compartment, I scrounged a double AAA cell holder from an old XM Radio remote control. This was countersunk into the handle.


THIS PIECE TOOK FOREVER! Oh man, the angles... It was very convenient to be able to shape pieces since I could remove them from the gun, but because nothing ever went back on exactly as it did before, a lot of times the alignment would change in test fitting, and I'd have to shave the edges down or move things around again. The result you see here - three pieces of styrene, took me almost an entire evening to get right.

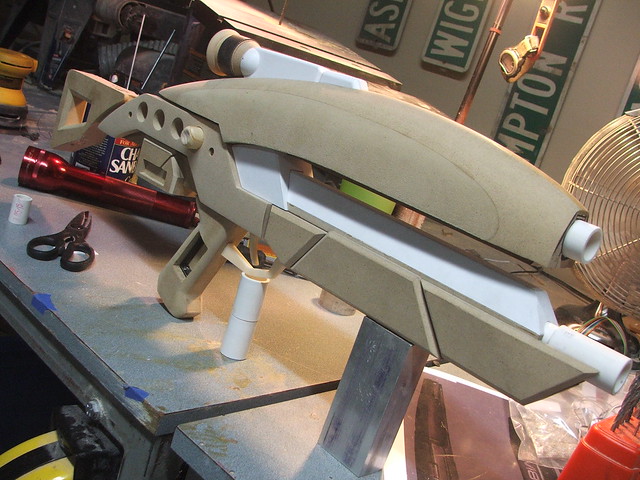
After more beveling and shaping, this was the result!
Using a dremel tool, I started carving the panel lines.
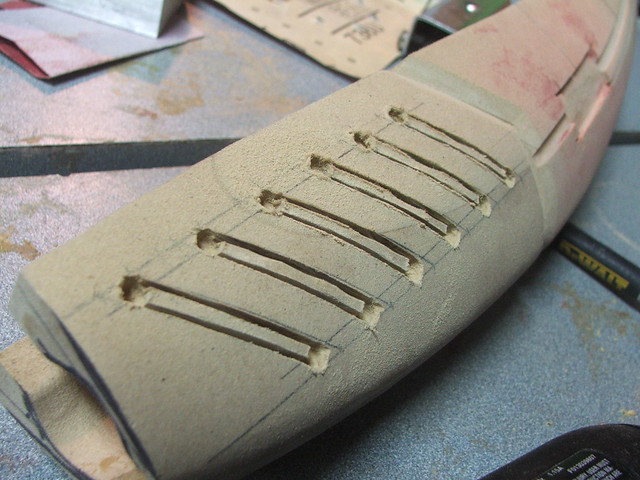
The front "vents" were made by drilling holes at the top & bottom, then using a dremel tool and cutoff wheel to connect the dots. The material on the inside was cut away with an engraving bit.

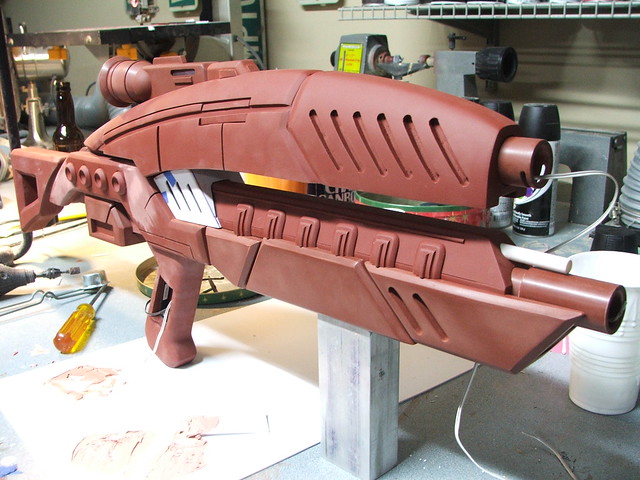
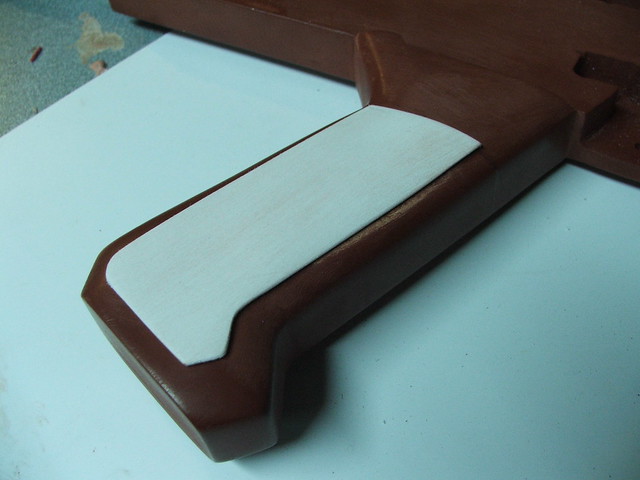
The first coat of primer on MDF always looks ugly. This also marked my first expenditure - 2 cans of Krylon Ruddy Brown, nearly $5!

After one pass with sandpaper and a little more primer, you can see how much better the pieces look.
I used some spare LEDs I had left over from Big Daddy for the illumination in the center chamber. An old mobile from IKEA lent a few pieces of red translucent acrylic to tint the lights even further.

Additional details were added in styrene sheet.
For the details on the lower barrel shroud, I made a master piece out of ABS and styrene, then molded it and make 12 copies. The puck next to it is for the 4 cylinders on the right side of the gun.

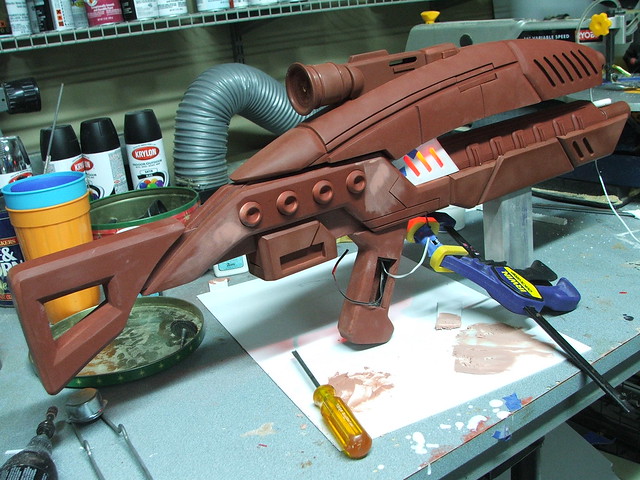
Then the fun part. Primer, sanding, spot putty, repeat. About 4 passes and I had a pretty smooth piece.
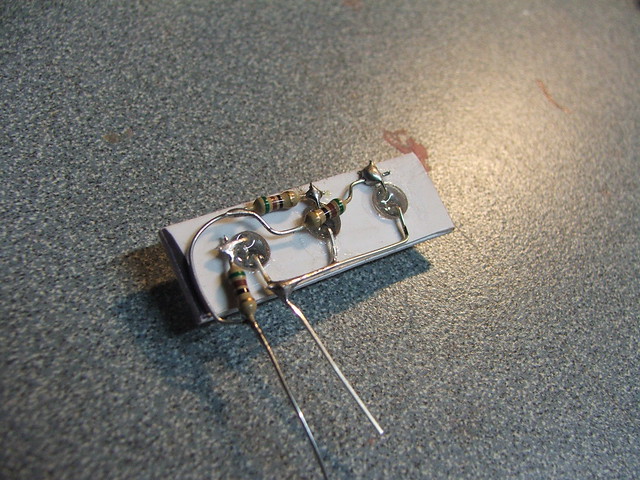
I didn't want to go buy any perfboard, so I once again reached into the scrap plastic bin for more styrene. By drilling holes and routing the leads of the LEDs in a weird little maze, I was able to make some halfway decent little dead bug boards. I made 2 for the barrels, one for the center section, and another for the scope light.
A few more details needed to be added in styrene. The vents in the front grip aren't perfectly canon, but since this was a personal build I decided to add my own touch to it. Also, I cut the gap way too deep on that center section, and this was the best and fastest way to hide it! A great teacher of mine once said "Celebrate the Intersection. The more you try to hide something, the easier it is to see" Also... the small barrel there is an old ballpoint pen.

The battery cover was also made with some scrap styrene, by heating it and forming it to the shape of the handle. A styrene box on the inside keeps it locked in place.
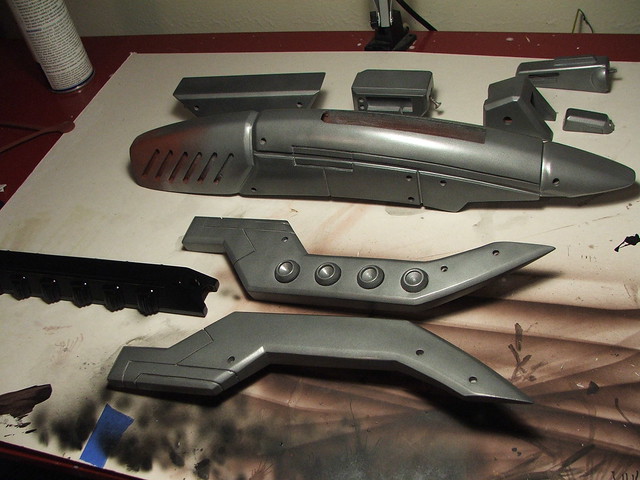
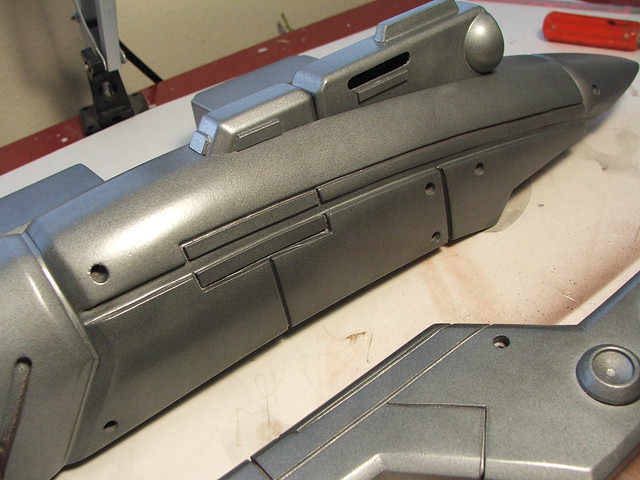
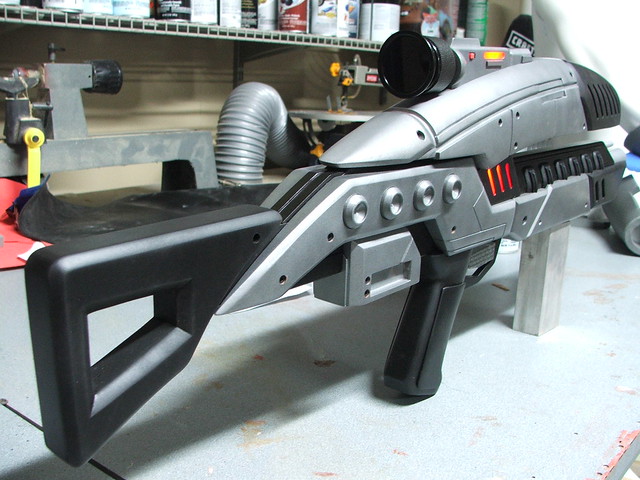
Onto paint! I had scrounged some free Ace Hardware offbrand from an old job at my office, which served as the rather bright silver basecoat. To tone this down, I dusted it with Rustoleum hammered spraypaint, then Krylon clearcoat. The gunmetal color you see here is the result.
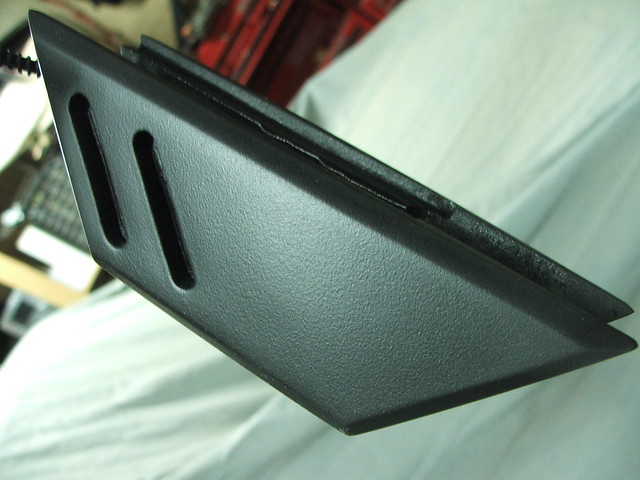
The upper front receiver, rear stock, grip, and front grip were all painted with Plasti-dip spray to give them texture and a rubbery feel. This was another expenditure... up to nearly $10 now. All parts not painted with silver or plasti-dip got satin or flat black, depending on their location.
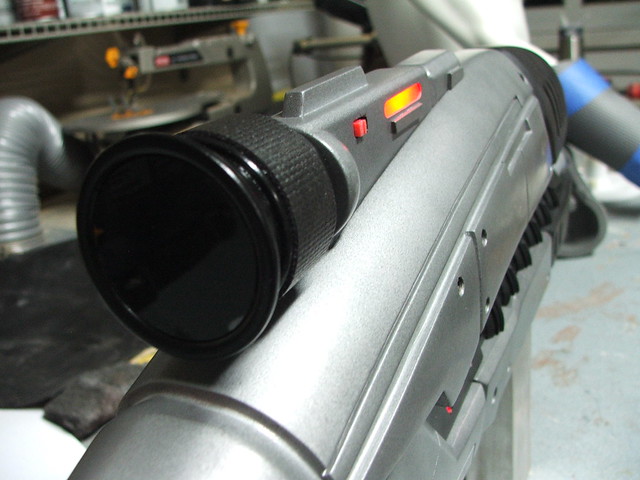
The scope was finished off with a piece of PETG (left over from Big Daddy's viewports) pained black on the back to be as glossy as possible.

To control the electronics, I returned to the dead RC car and stole the switch from it. It even came with a nice plastic housing! This was placed in the scope mount. As you can see, i didn't have any shrink tubing handy... so the leads were isolated with hotglue. Horray cheap budget electronics!

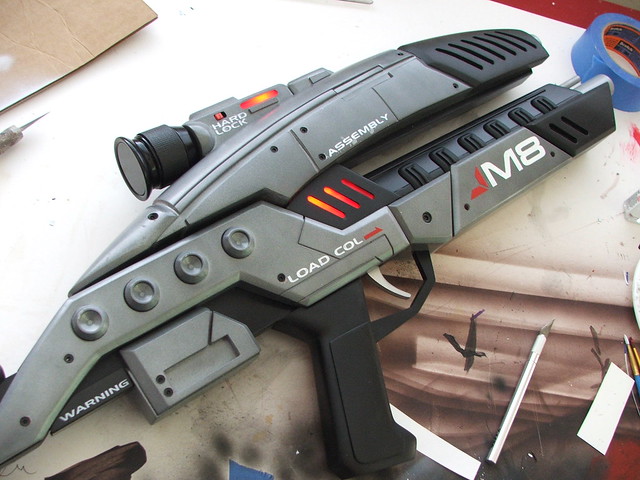
Final assembly after paint
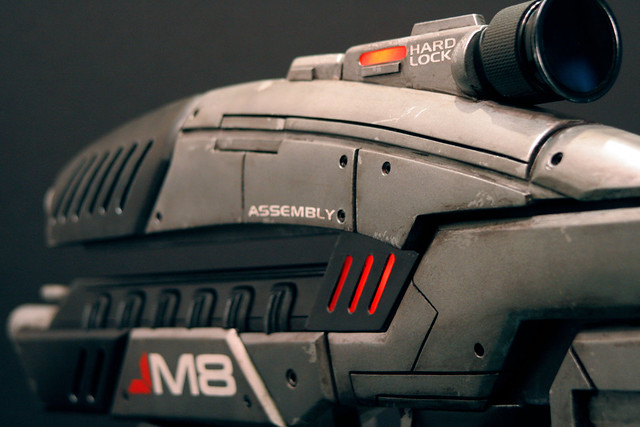
It looked good, but needed weathering. First though, I called up the shop that does all my vinyl - Signs Now Atlanta - and had them cut some stencils for me. I designed the decals for the M8 in illustrator, and the guys at Signs Now cut them in vinyl for me to use as templates. After sticking the vinyl to the piece and painting over with enamel paint, the mask was removed to show clean, crisp lettering! The nice part about this is what they're more permanent than vinyl decals, and I can control how "weathered" the paint will be.
After that, it was time to weather it. I spent some time recording the entire weathering process for those interested, and in the coming weeks I'll be editing that into a time-lapse video to show the overall technique I use. Don't expect magic though, mostly it just looks like this:
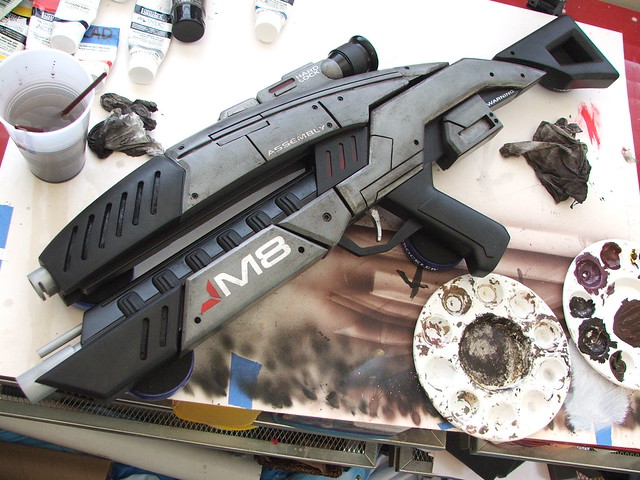
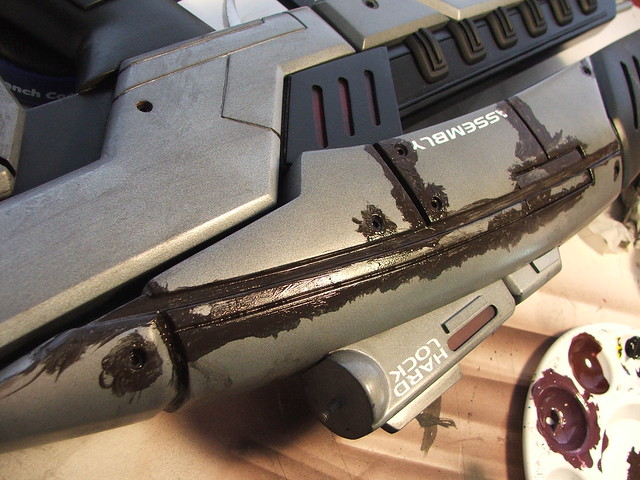
My initial pass was a bit heavy with the dirt - my favorite comment about it was "I don't think I'd trust the fate of the universe to someone who doesn't know how to clean their gun." This was a good point.
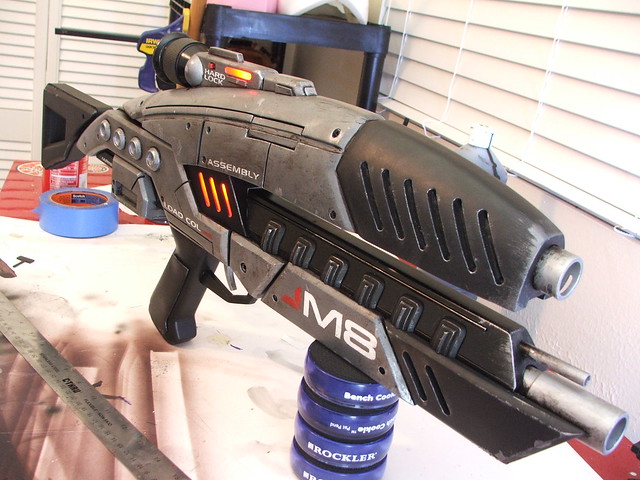
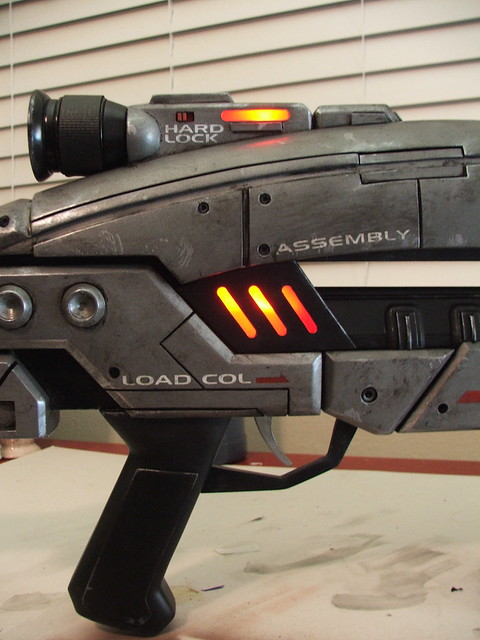
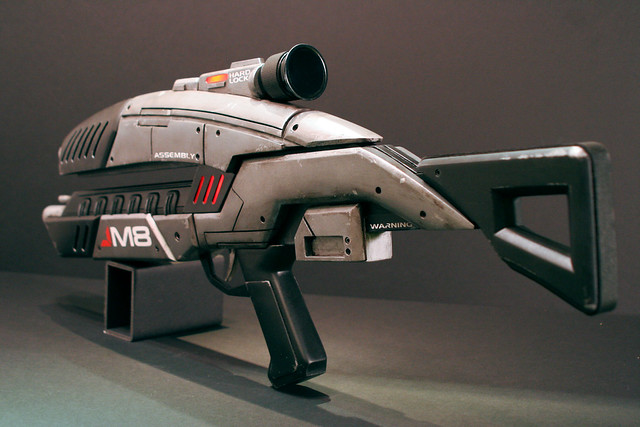
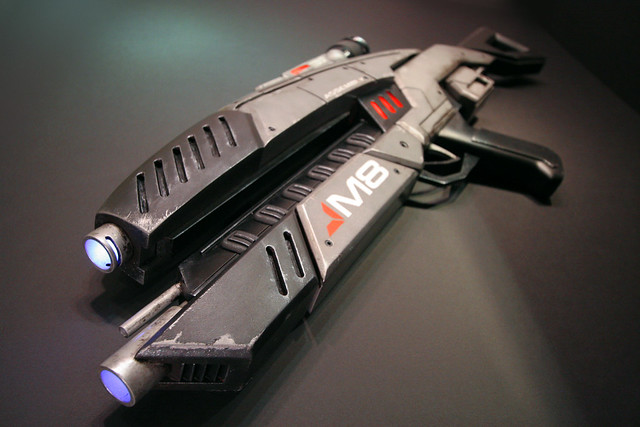
After pulling back the dirt and grime a bit though, I think the final result really shines. It looks well used, but also well cared for. The finished piece!
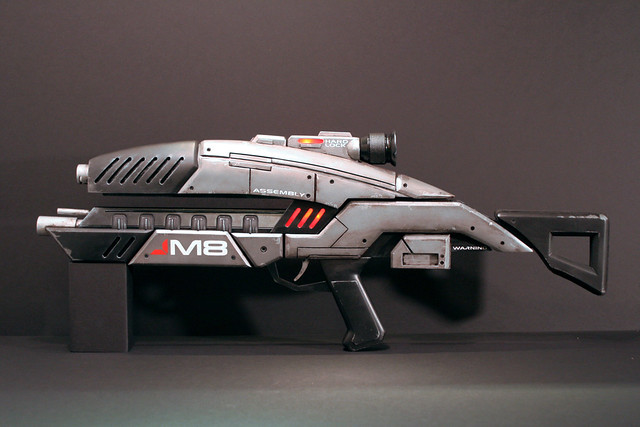
More pictures, and in higher resolution, are available on my flickr page!

As always, thanks for reading!