
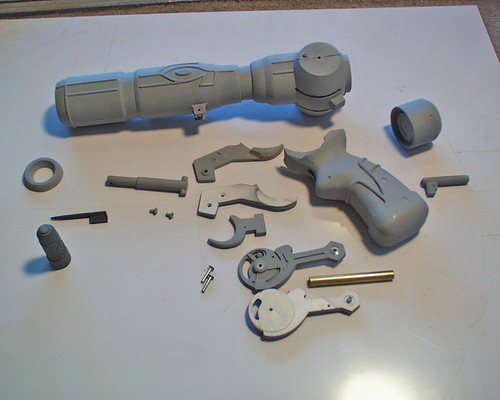
Some people familiar with my builds may recall that I had worked with a fellow prop builder named Mike Iverson to pull the visors for my Daft Punk helmets several months ago. Mike (better known as BlindSquirrel) made a kick ass Caster Gun replica back in 2008.
After getting a ton of requests for multiples, he decided to make another, only this time with the intent to mold it. I had offered to make the molds a while ago as a favor, and got to work after the masters showed up in the mail.
Most of these are fairly typical box molds, a few more intricate than others. For each mold, I used Smooth-On's Mold Max 30.
Rear breech arms and barrel ring were unsupported pour molds. The silicone is thick enough on these to make sure the form stays rigid even without a form on the outside. First pass on the breech arms didn't go so well, so I ended up using a thinned layer of silicone brushed into the details first to minimize the air trapped by the rubber. Second mold went much better.
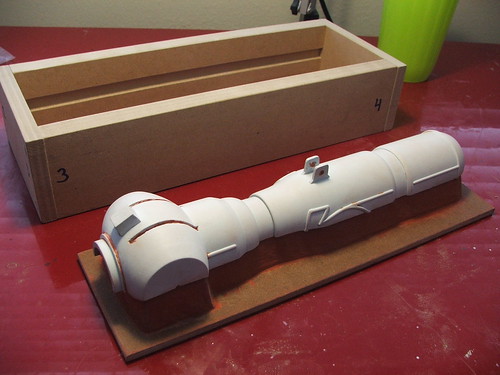
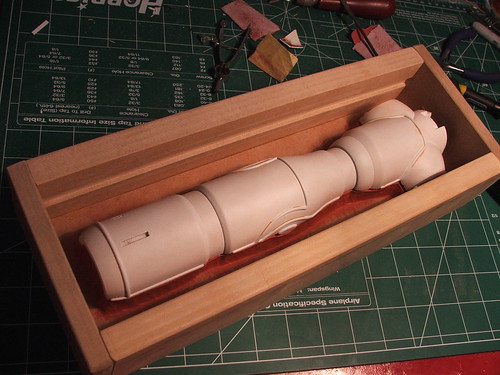
The barrel was molded in two halves to help with slush casting and to save weight. Also, this will help in placing wiring/battery packs if someone wants the gun to illuminate (I know mine will!) The box molds on these halves were done with a channel routed into the interior of the wood which locks the silicone into shape. This way, there's no need for a wooden backer on the box, making demolding much easier later since less of the support structure has to be taken apart.

I realize there's a ton of molding tutorials out there, but for my part, here's how I made my molds. This isn't really a step-by-step so much as some neat tricks I've learned that might help people in their builds. Each of the 2-part molds were made in very similar fashion. I'll show the grips as an example.
To start with, the piece(s) were embedded in soft non-sulfur oil-based modeling clay. This was smoothed out prior to placing the items in them to make the mold surface as even as possible. I followed certain edges in the master to hide the seam line as much as possible. Pour spouts were made in clay, as well as narrower vent spouts to release air bubbles during pouring. Registration keys were created by indenting the clay with the blunt end of a marker, but any rounded object will work. For some of my smaller molds, I used the back of a paintbrush handle.

On this particular mold, the mold box was keyed vertically to make sure the silicone stayed aligned curing the casting process. To ease in demolding the first pull, the wood received a wax release agent. This keeps the silicone from seeping into the pores of the wood and possibly tearing later.
After the clay and box are sorted out, I started by brushing a thinned layer of silicone over the piece. For brushes, I usually go to wal-mart and buy a pack of 50 kid's craft brushes. They'll get destroyed after one silicone use anyways, so no point in using nice brushes. These are also synthetic fibers, so there's less chance of a bristle falling out into your rubber.
After the brush coat has settled and all the bubbles have worked their way out, I fill the rest of the box up with more non-thinned silicone... then wait 8-10 hours.

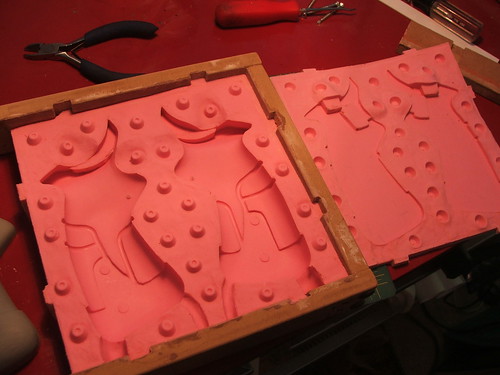
Once thats dry, flip it over and remove the clay. You can see how the indentions made little raised keys in the facing edge of the silicone. The pour and vent spouts are also visible here. Make sure to leave that clay in place, as you'll need these areas empty later.

Repeat the process for the other side. REMEMBER TO USE MOLD RELEASE! Silicone doesn't stick to much, but it DOES stick to other silicone. If you don't put mold wax or some other substance between the two halves, they will form one solid block. Way back when I tried my first mold, I didn't have any mold release wax, so I used automotive wax instead. I still use it to this day and it hasn't let me down yet. No idea if its cheaper or not, but its what I had on hand and it worked wonderfully.
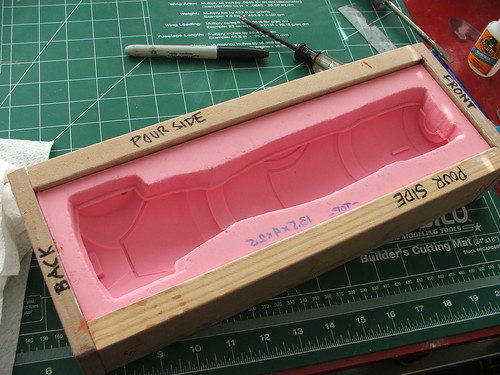
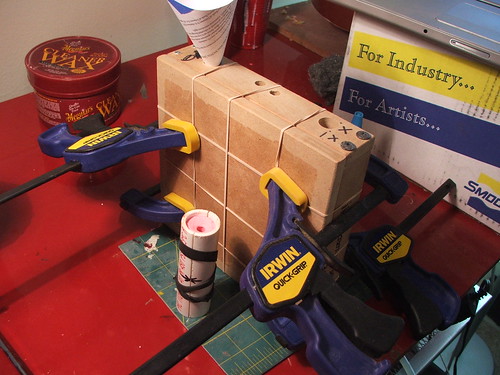
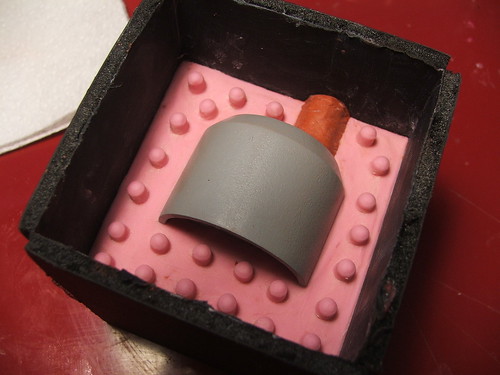
Finished mold!
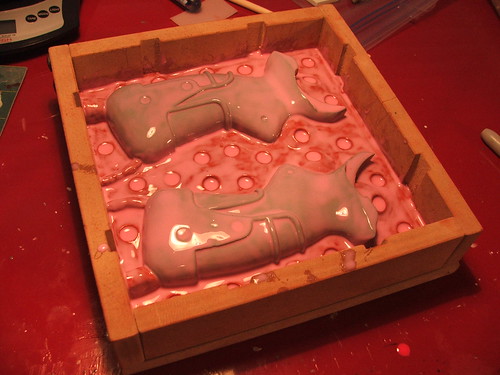
This is how the pour is set up. The larger holes on the top are the pour spouts; smaller ones are the vents. There are 2 pieces of MDF lightly clamped to the mold frame to keep the silicone aligned during casting.
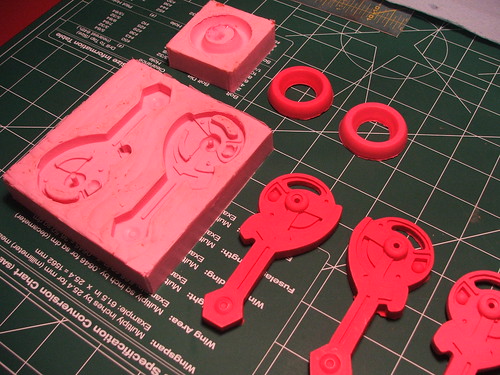
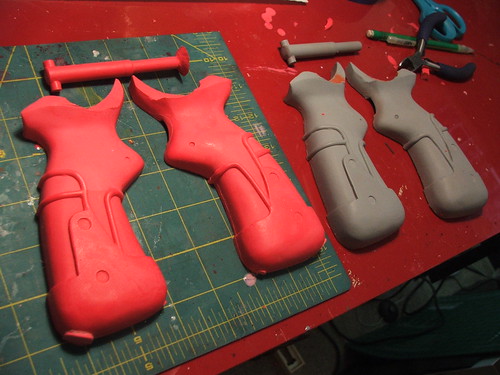
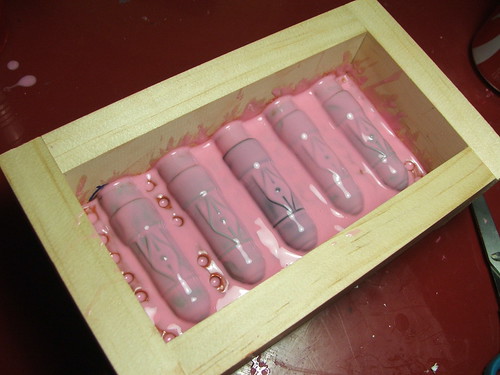
And the first pull! (yes, in pink casting resin... I had a bunch of dye laying around...)
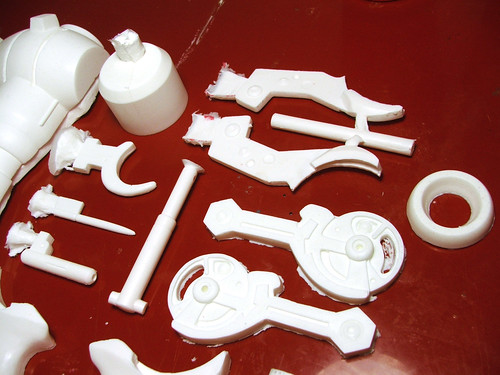
Some more of the 2-part molds in various stages of process:
Trigger and sights

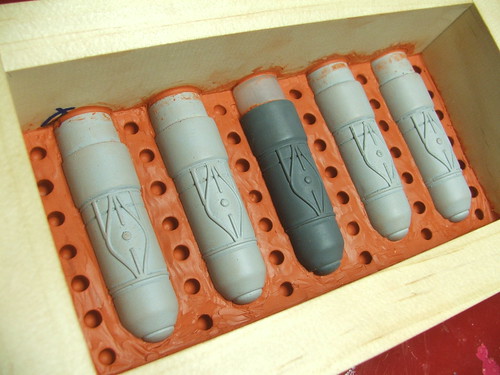
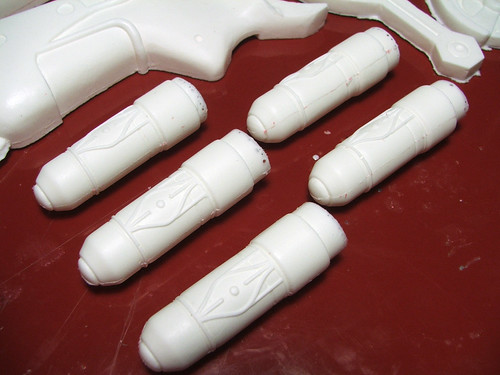
Caster Shells
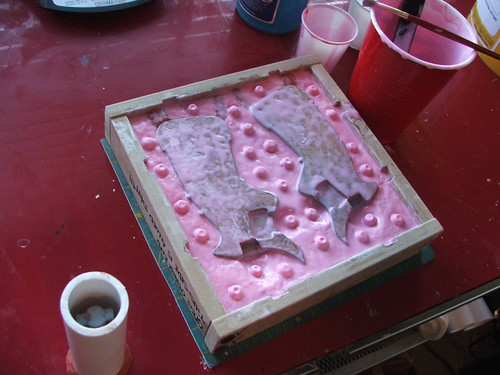
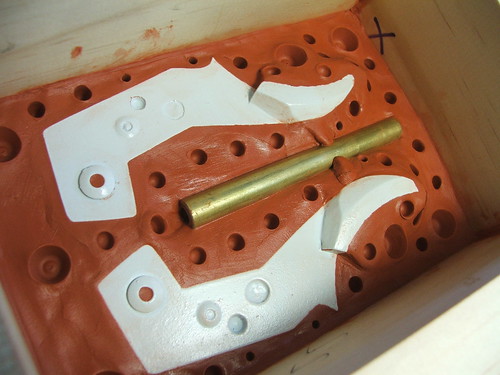
Grip support arms and breech cap lever bar (seriously, I'm just making names up here...) This one is a strange mold - the resin from the arms fills the bar as its poured.
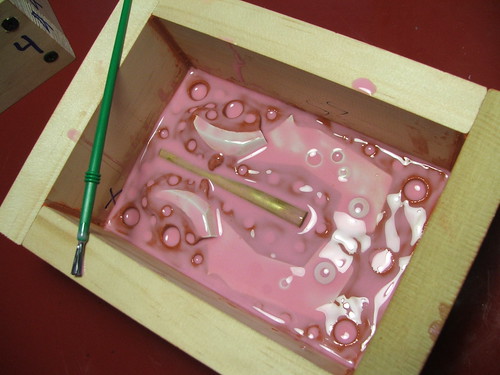
Both of the above after the first coat had dried
Breech cap
All the molds finished and ready for a run. In a test, I was able to pull an entire caster gun "kit" in a little under 90 minutes, using only 3 cups of resin. MUCH faster than scratchbuilding one after another!

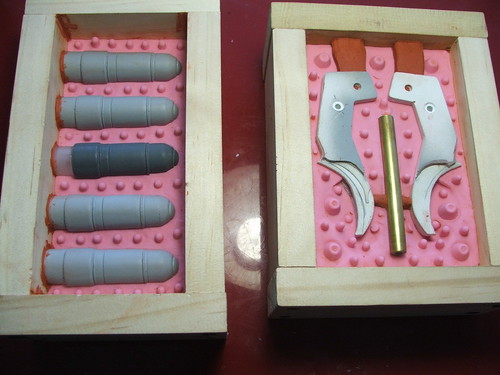
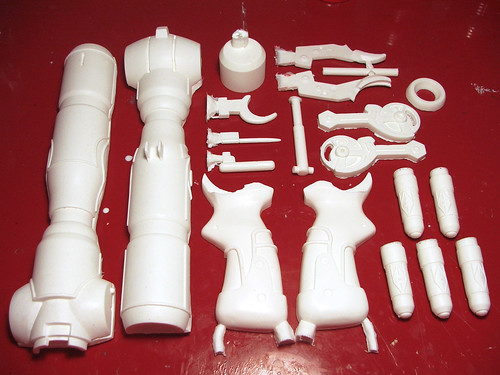
Here's some detail shots of the pulls from the molds:

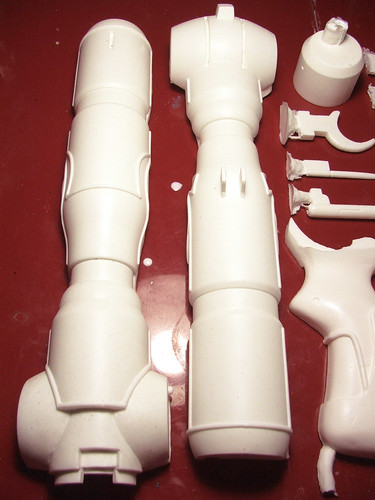
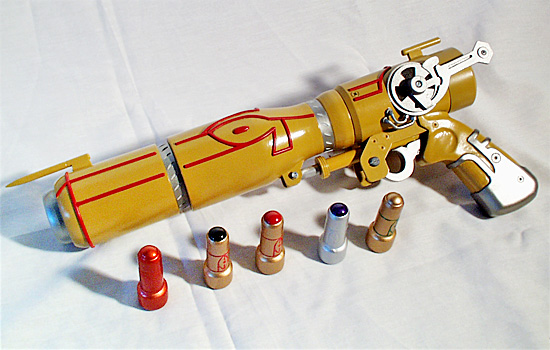
And finally, one complete Caster Gun kit.
If you're interested in purchasing a finished piece, send a note to Mike over at BlindSquirrel Props and let him know.
Thanks for reading!
3 comments:
nice :>.
I think this is one of the coolest things I've ever seen!! OoO
When you cast this, did you fill the entire mold with resin to the top, or did you slush cast within the box mold. If it is that you slush cast inside the mold, how did you do so without just having a weak thin outer wall? did you fill the parts with another product, or did you use multiple layers of resin?
Post a Comment