
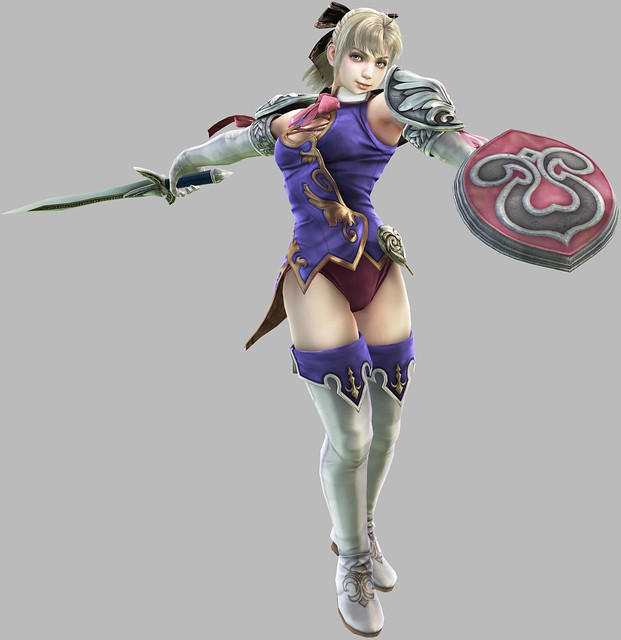
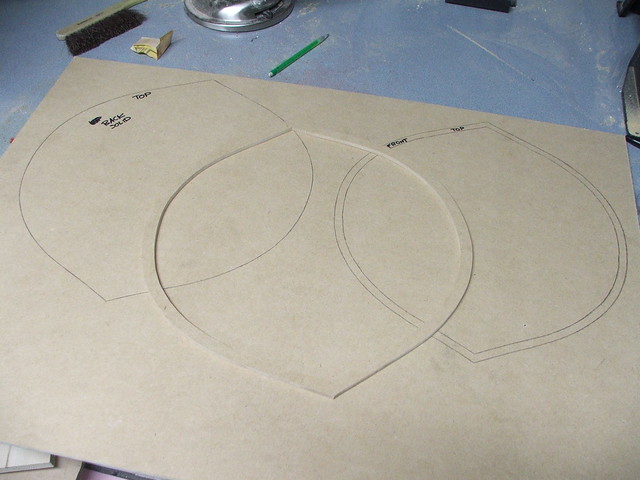
Blueprints! Again, drafted in Adobe Illustrator and printed full scale. Cassandra's shield doesn't actually have any mounting points in the game - no handle and no strap - so I had to make those up. The ones pictured here changed quite a bit before they were final.

I started with 1/4" MDF. The goal was to make this as light as possible, as it was going to be a convention piece and worn for a while. Layered rings of MDF were cut so the middle of the shield could be kept hollow.

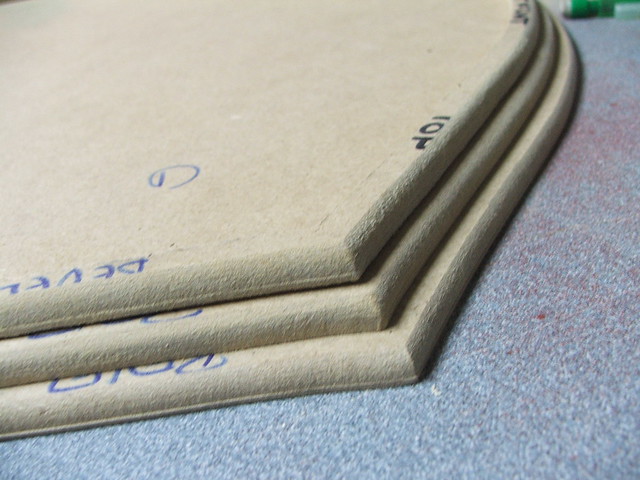
These were beveled on a table router, then clamped and glued into place.

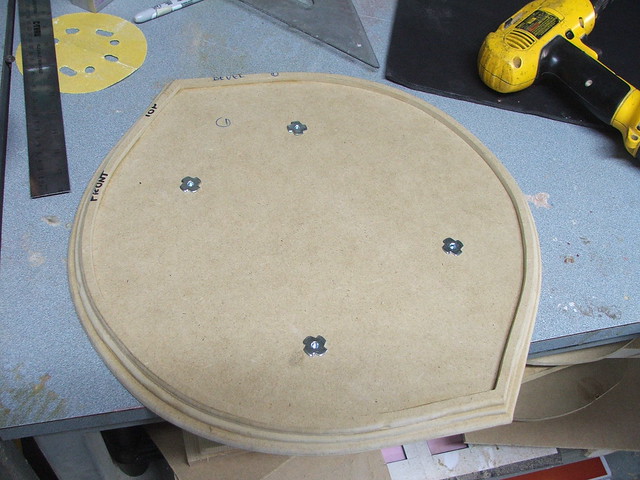
In anticipation of the straps and handle mounting, I added t-nuts to the backside of the shield, with their mounting brackets facing inwards.
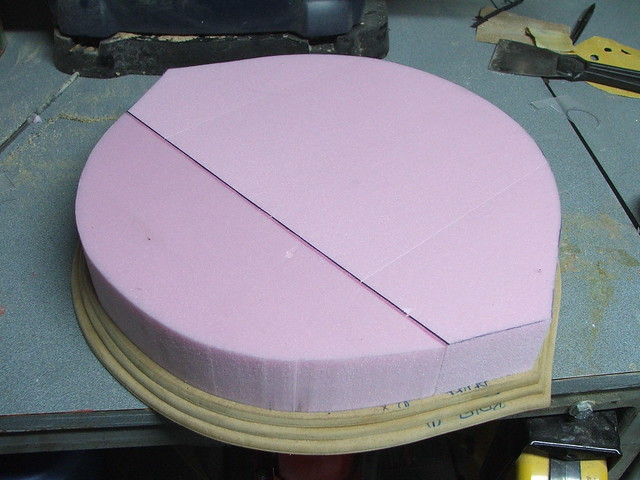
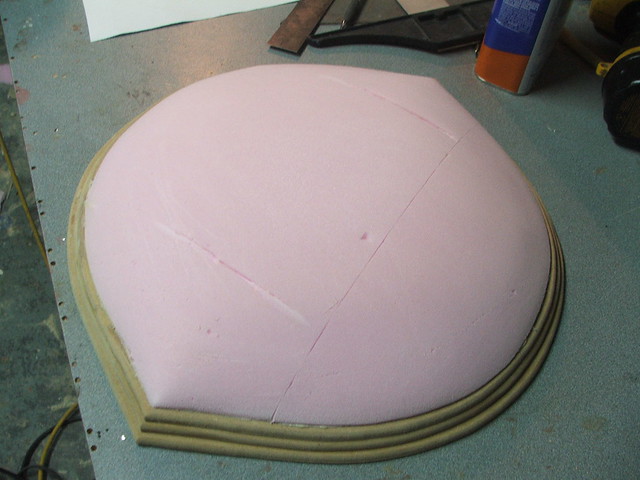
The cavity in the center of the shield was filled with foamcoare, then topped with 2" insulation foam. I used gorilla glue to hold everything together. After it dried, the insulation foam was sanded into the "domed" shape of the shield front.

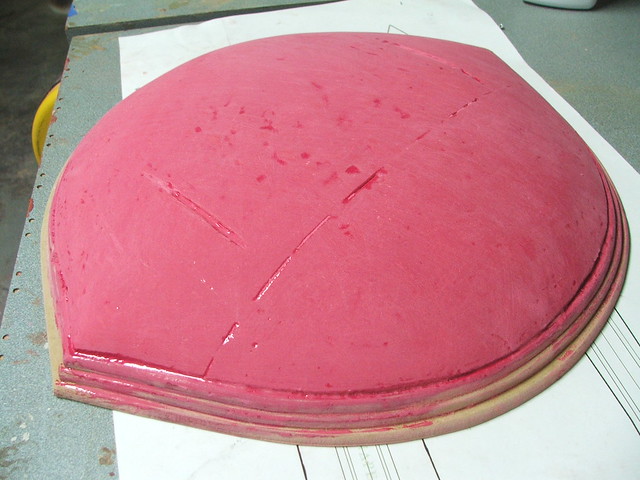
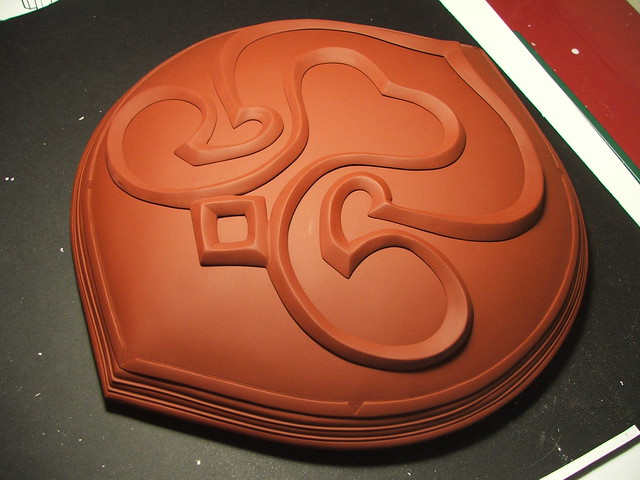
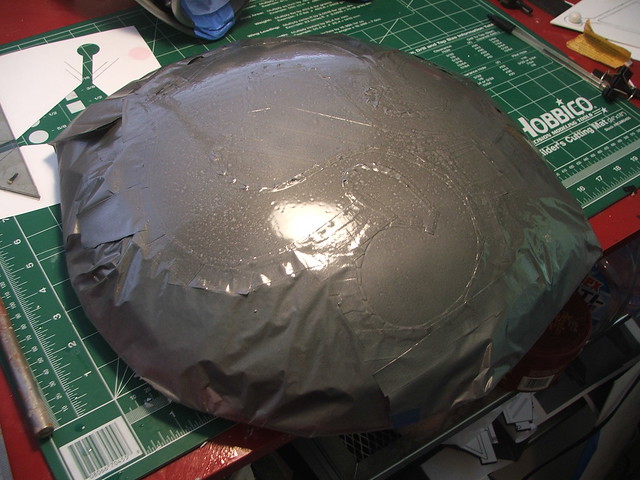
A lot of cosplayers struggle with the best way to seal foam. Extruded polystyrene foam is easily dissolved by polyester resins as well as the accelerants in most spraypaints. I have used a product called UreShell in the past, but ultimately I didn't like the fact that it wasn't sandable when dried and felt slightly rubbery. After doing some tests to make sure nothing would melt, I decided to coat the foam on the shield in urethane casting resin, specifically SmoothCast 300. Applied with a sponge brush, it dried to a strong and sandable outer layer without deforming the foam at all.
The resin has been tinted with red dye for this process, so it was easier to see where I'd brushed on layers.
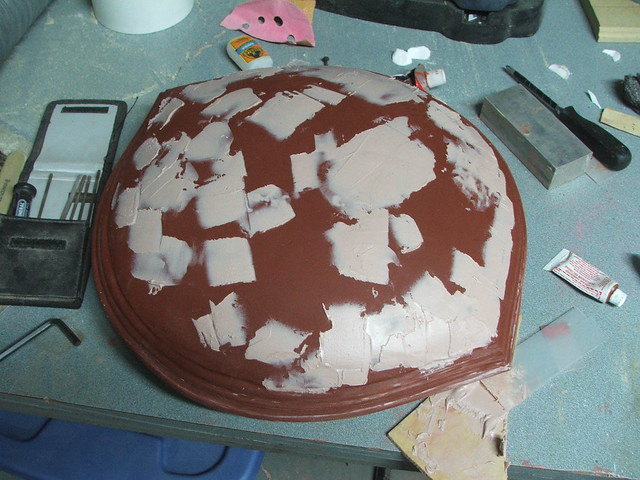
After this, I put down a coat of primer and began filling divots and pits with bondo.
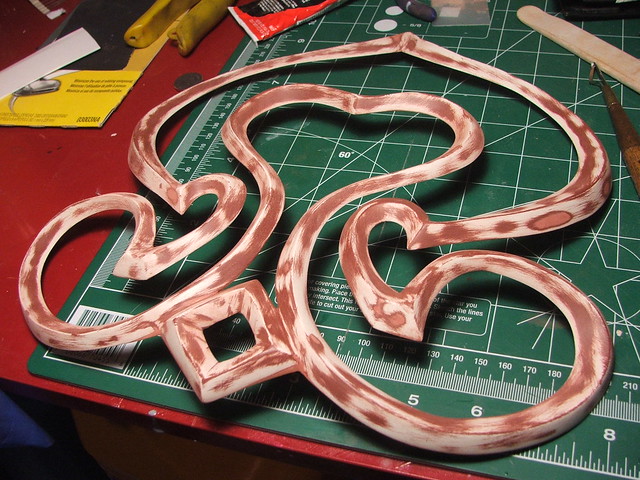
The raised filigree on the face of the shield was another interesting challenge. To do this, I printed out the filigree pattern on paper, then trimmed it to shape. The raised piece was then sculpted on top of the paper in Apoxie clay, using the edges as guides.
While the clay was still wet, I transferred the paper over to the face of the shield. The clay was heavy enough to weigh down and conform to the contour of the shield front, while the paper backing kept the clay from adhering to the shield itself.

The benefit of this is that after the clay dried, I was able to remove the decorative element and sand the edges to a much smoother finish. This also made it possible for me to paint the pieces separately later on, making the finishing process much easier.
Continuing with the Apoxie sculpt, I added the raised detail edge to the side of the shield, and blended the corner bevels into one another with styrene parts and more clay.


Sculpting finished on the front!
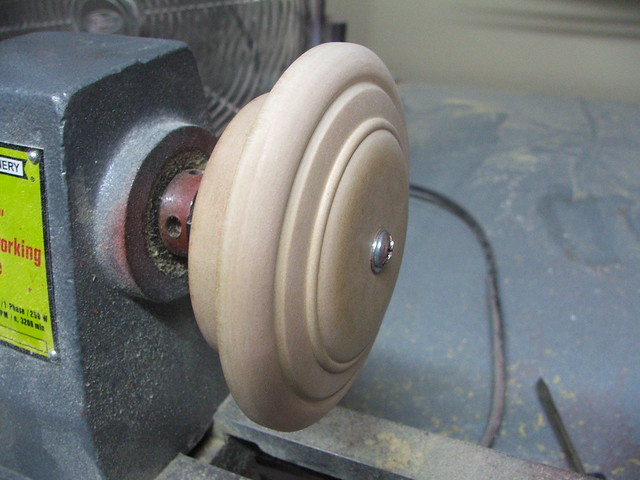
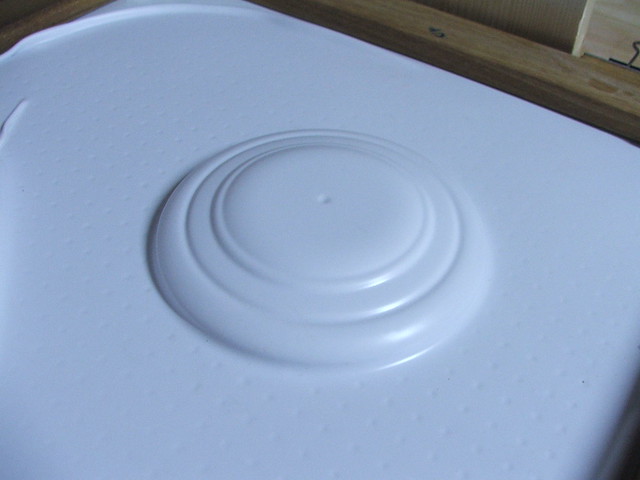
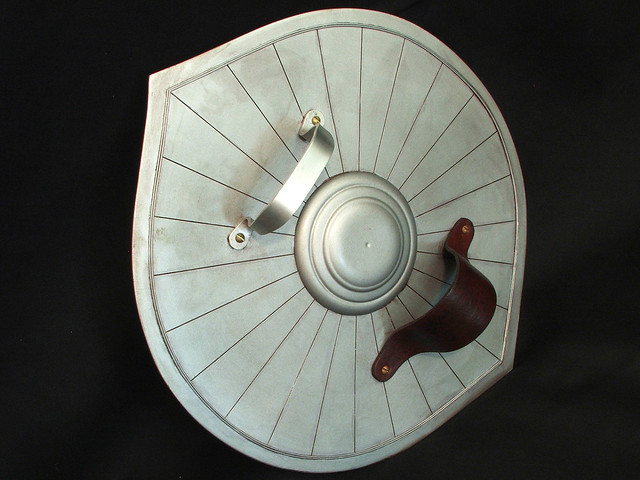
For the back of the shield, I started off lathing the back dome out of MDF, then vacuumformed it in .060" styrene plastic.
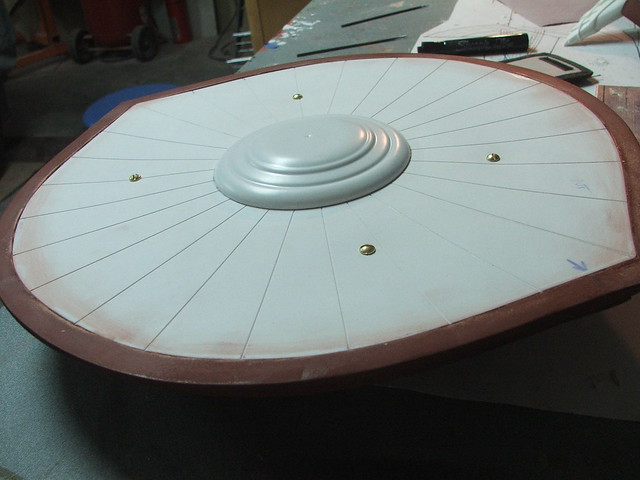
The back panel of the shield was trimmed out of more styrene, and lines were scored in the surface with a lino block carving tool to simulate the individual sectioned plates.
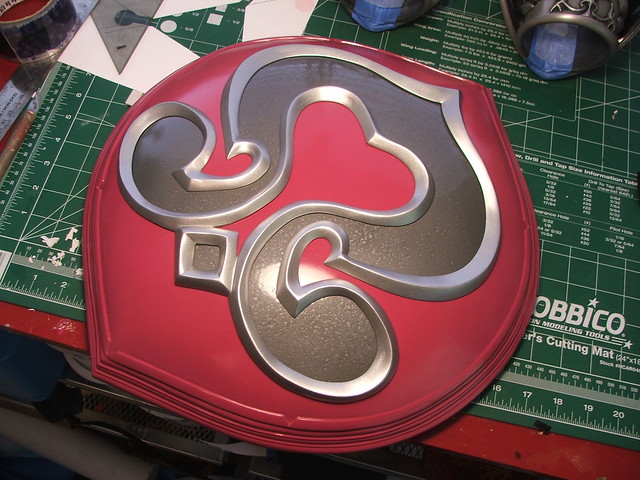
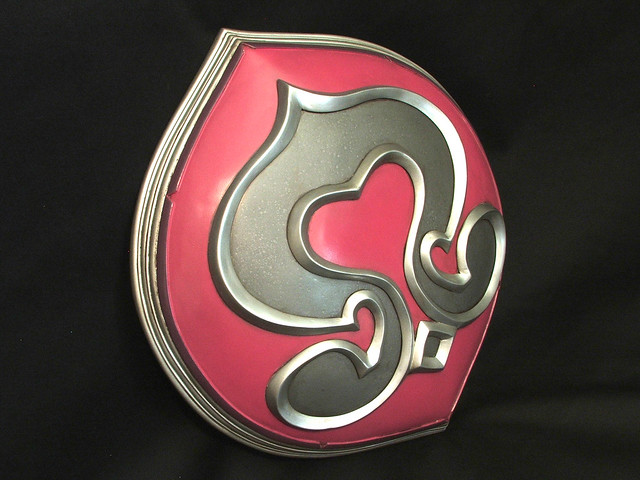
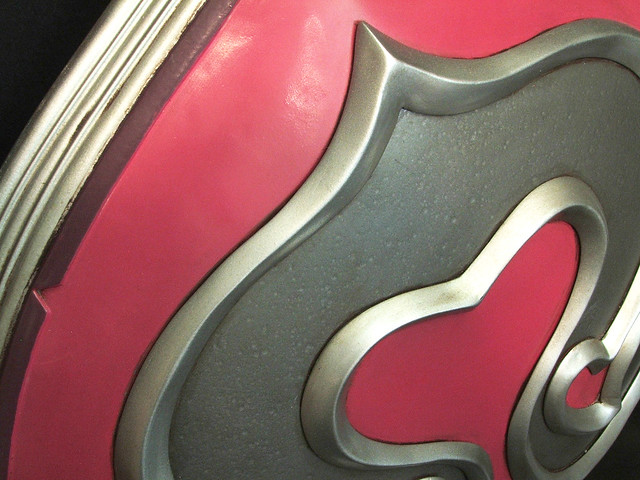
On to paint! The face of the shield was painted an alarmingly bright shade of fuchsia, then the area for the detail inset was masked off. This was then sprayed with hammered metal textured paint to give the surface a metallic look.

The filigree was painted separately, then epoxied in place after base coats had dried. Like I mentioned earlier, painting was much easier because of the modular build approach. Masking this thing off would have been a nightmare.
The edges of the shield as well as the back were finished with the same dull aluminum paint as the raised detail. I used Testors enamel to hand paint the purple trim.

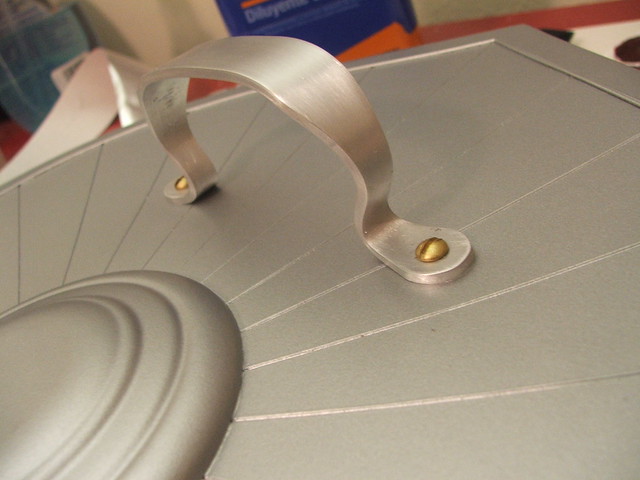
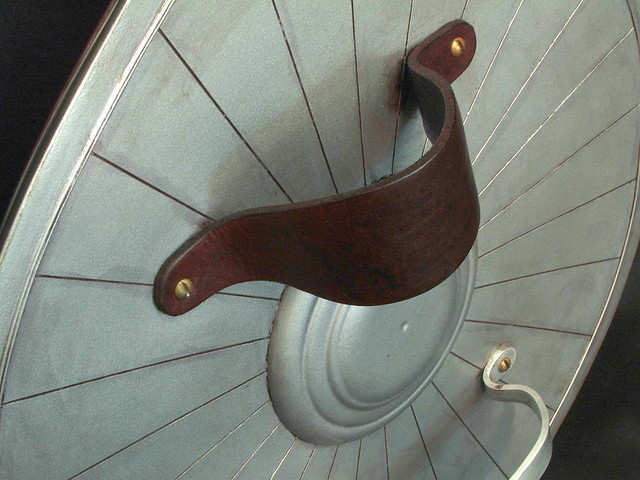
For the back, a handle was made using bar stock aluminum, trimmed and bent to shape. For the strap, I bought some leather hide and cured it over a round form to get the curved shape seen here.

The surface of the shield was lightly buffed with automotive wax before weathering to give it a dull sheen. After some light passes with the airbrush, here's the finished product!
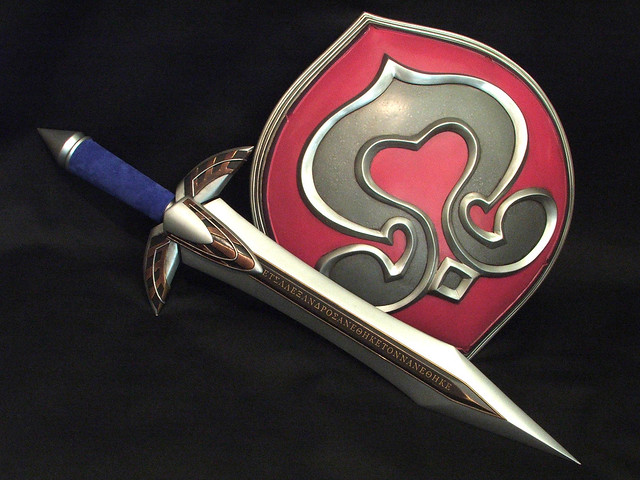
There's one more installment on Cassandra's equipment coming up - the Digamma sword. Look for this in the next few weeks, as its currently undergoing some minor restoration after taking a few hits at Dragon*Con
Higher resolution pics are available on my flickr page. As always, thanks for reading!
23 comments:
GEEZUS!
this stuff just keeps getting better and better, I wish I had just 10% of your talent!
Awesome volpin. You sure are inspired
One question: Is the surface of the shield hard or it is vulnerable to hits on the area made of Extruded Polyestirene? I see that you only applied primer paint and bondo putty. Wouldn't be better to give it a layer of epoxi resin or something like that to harden it?
Sorry, just skipped the part where you said that you used smoothcast resin :p
Fine now!
Nice work man! Great write up too, very detailed.
Simply excellent as always!
amazing
d(^^)b
Was there really Greek writing on her sword in the game? Do you know what any of it means, or is it just random? Awesome work, by the way.
Great job on this one, Mr. Krix! It's always informative and interesting to read these step by step recaps.
OMG ! Truly amazing ! You have a gift
I am minoring in Greek currently and to my knowledge the letters on the Sword do not say anything at all. Just random letters. I even asked the head of the Greek department and he confirmed what I thought.
Little evidence to connect Cassandra with a sword in any Greek mythology. She was ultimately killed by a two-edged sword for being a hooker of some sort.
Hope this helps!
That is beautiful! Thinking back on my sad, sad wonderflex Cassandra shield... I wish this tutorial had existed then!
Excellent photos and descriptions, thank you for posting!
Holy crap this is awesome!
Wow, its really amazing, I love your work, thank you for sharing!
as amaeru has said, you do have a gift, dont stop doing what you do :)
Hey, you should totality make a Dead Space Costumes with the plasma cutter! Given your talent, that would be amazing!
I tweeted this to the current series director, he tells you to become a black smith :P http://twitter.com/Daishi_CALIBUR/status/39708250114891776
Hey Harrison! How do you cut your insulation foam so nicely? Electric knife? :) Saw?
Wonderful work!
you should make a oblivion prop!
You are an AMAZING artist! I love your creations. Do you sell any of your final products?
This is AMES0ME
\o/ i loved this
yeah amazing work i checked out someone building a halo assault rifle same detail as your work from production to finish awesome
I ran across this on tumblr and WOW. Amazing. Have you tried making Voldo's katars? That would be awesome.
Post a Comment