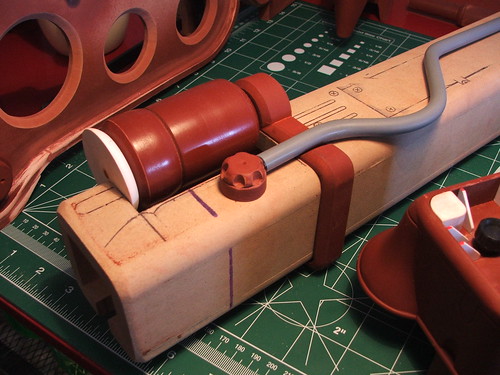
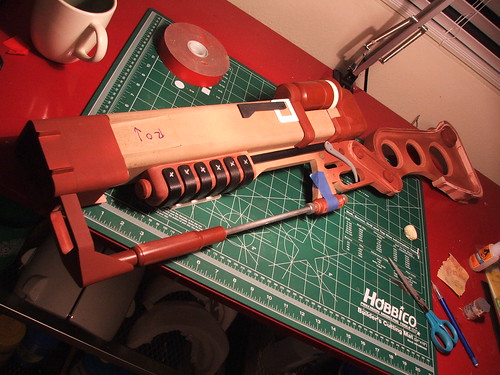
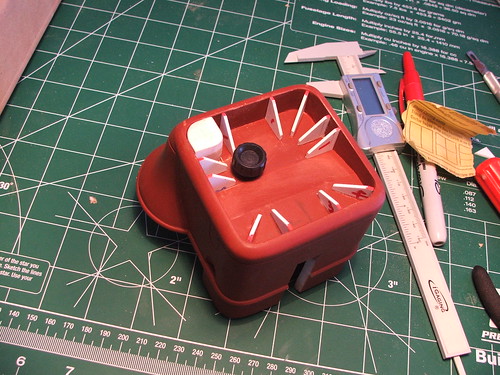
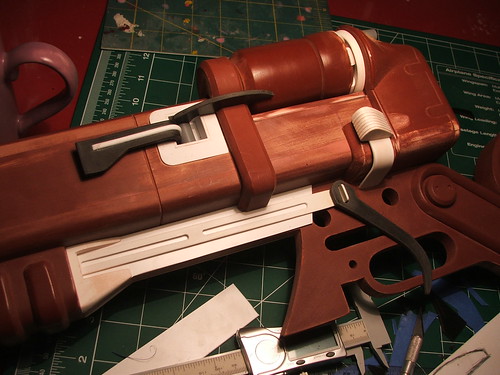
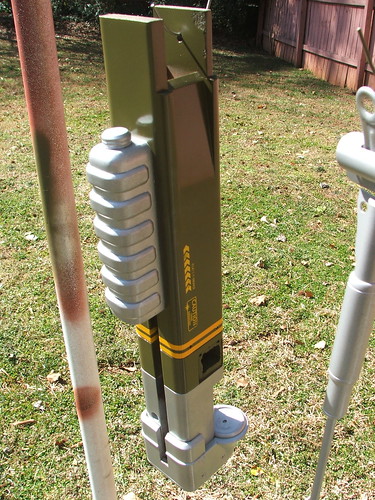
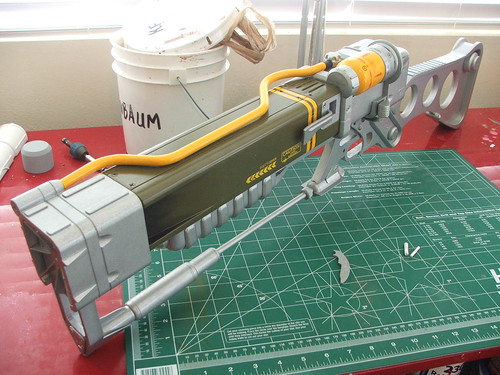
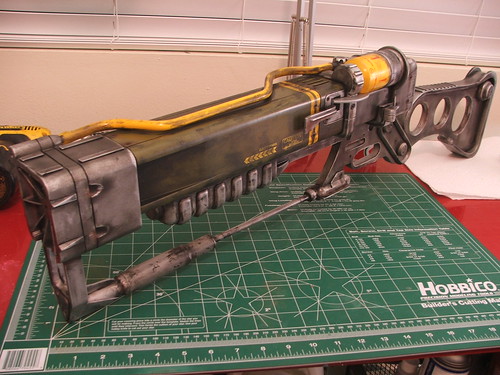
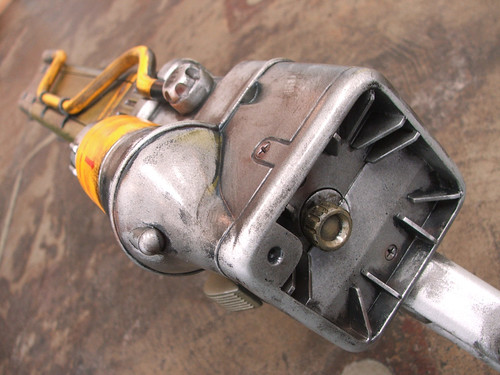
NOTE: If you're interested in purchasing a finished piece, send a note to Mike over at BlindSquirrel Props and let him know. This entry details my creation of a set of molds of his work. The gun itself is his creation and the molds are also his property. I am not taking orders for replicas of this prop!
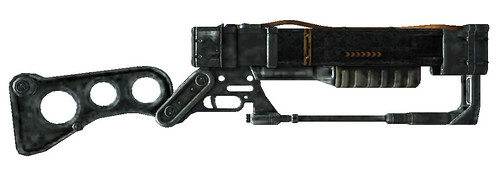
Some people familiar with my builds may recall that I had worked with a fellow prop builder named Mike Iverson to pull the visors for my Daft Punk helmets several months ago. Mike (better known as BlindSquirrel) made a kick ass Caster Gun replica back in 2008.
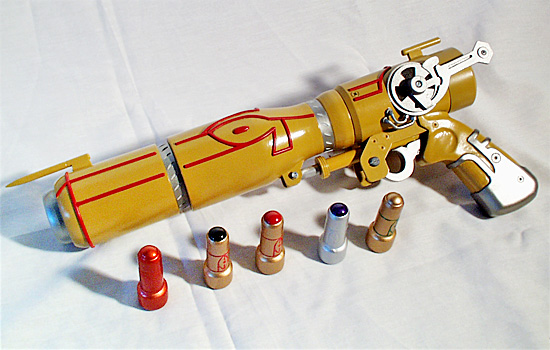
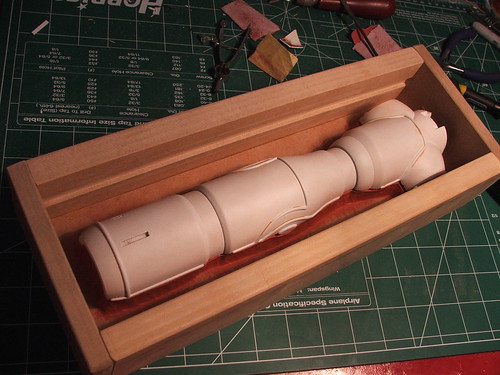
After getting a ton of requests for multiples, he decided to make another, only this time with the intent to mold it. I had offered to make the molds a while ago as a favor, and got to work after the masters showed up in the mail.
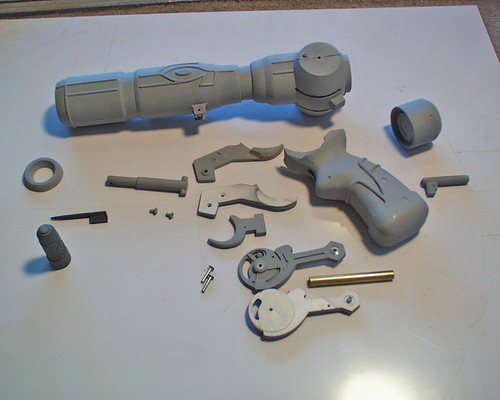
Most of these are fairly typical box molds, a few more intricate than others. For each mold, I used Smooth-On's Mold Max 30.
Rear breech arms and barrel ring were unsupported pour molds. The silicone is thick enough on these to make sure the form stays rigid even without a form on the outside. First pass on the breech arms didn't go so well, so I ended up using a thinned layer of silicone brushed into the details first to minimize the air trapped by the rubber. Second mold went much better.
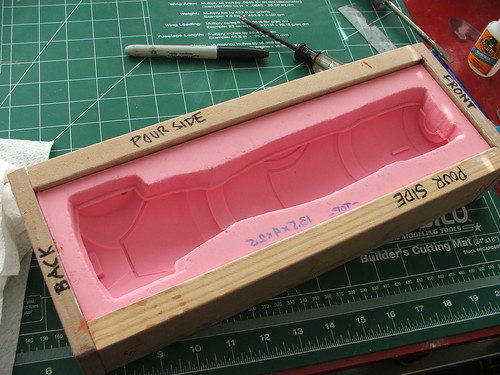
The barrel was molded in two halves to help with slush casting and to save weight. Also, this will help in placing wiring/battery packs if someone wants the gun to illuminate (I know mine will!) The box molds on these halves were done with a channel routed into the interior of the wood which locks the silicone into shape. This way, there's no need for a wooden backer on the box, making demolding much easier later since less of the support structure has to be taken apart.
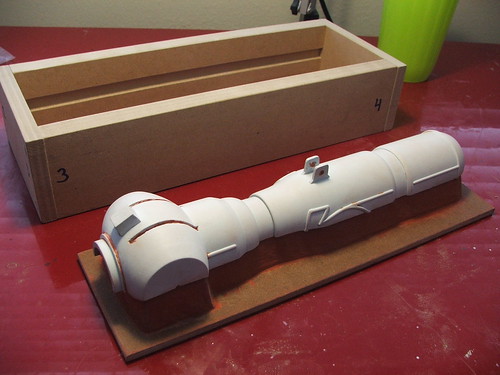
I realize there's a ton of molding tutorials out there, but for my part, here's how I made my molds. This isn't really a step-by-step so much as some neat tricks I've learned that might help people in their builds. Each of the 2-part molds were made in very similar fashion. I'll show the grips as an example.
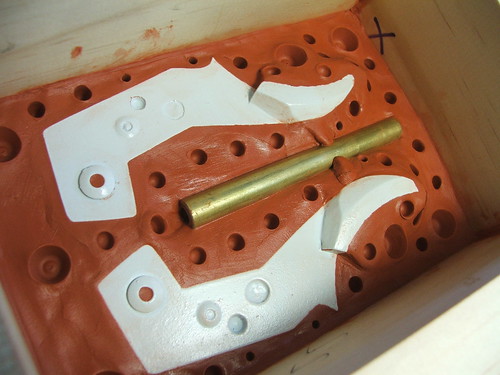
To start with, the piece(s) were embedded in soft non-sulfur oil-based modeling clay. This was smoothed out prior to placing the items in them to make the mold surface as even as possible. I followed certain edges in the master to hide the seam line as much as possible. Pour spouts were made in clay, as well as narrower vent spouts to release air bubbles during pouring. Registration keys were created by indenting the clay with the blunt end of a marker, but any rounded object will work. For some of my smaller molds, I used the back of a paintbrush handle.
On this particular mold, the mold box was keyed vertically to make sure the silicone stayed aligned curing the casting process. To ease in demolding the first pull, the wood received a wax release agent. This keeps the silicone from seeping into the pores of the wood and possibly tearing later.
After the clay and box are sorted out, I started by brushing a thinned layer of silicone over the piece. For brushes, I usually go to wal-mart and buy a pack of 50 kid's craft brushes. They'll get destroyed after one silicone use anyways, so no point in using nice brushes. These are also synthetic fibers, so there's less chance of a bristle falling out into your rubber.
After the brush coat has settled and all the bubbles have worked their way out, I fill the rest of the box up with more non-thinned silicone... then wait 8-10 hours.
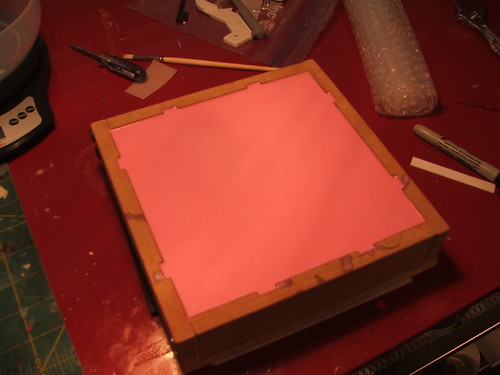
Once thats dry, flip it over and remove the clay. You can see how the indentions made little raised keys in the facing edge of the silicone. The pour and vent spouts are also visible here. Make sure to leave that clay in place, as you'll need these areas empty later.
Repeat the process for the other side. REMEMBER TO USE MOLD RELEASE! Silicone doesn't stick to much, but it DOES stick to other silicone. If you don't put mold wax or some other substance between the two halves, they will form one solid block. Way back when I tried my first mold, I didn't have any mold release wax, so I used automotive wax instead. I still use it to this day and it hasn't let me down yet. No idea if its cheaper or not, but its what I had on hand and it worked wonderfully.
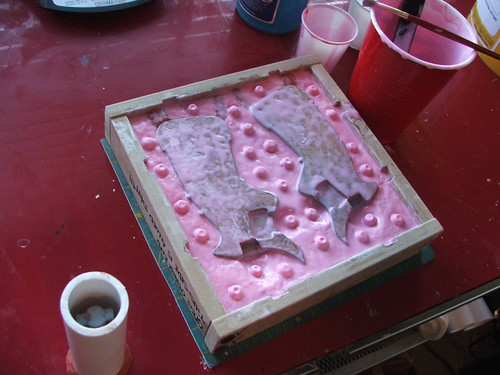
Finished mold!
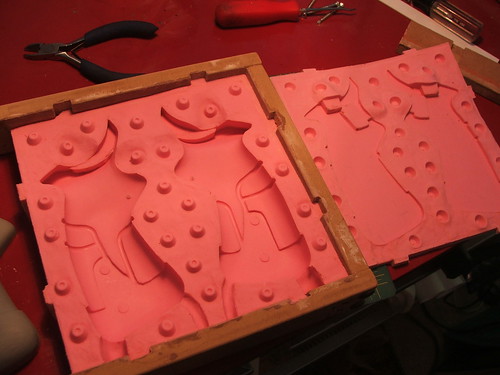
This is how the pour is set up. The larger holes on the top are the pour spouts; smaller ones are the vents. There are 2 pieces of MDF lightly clamped to the mold frame to keep the silicone aligned during casting.
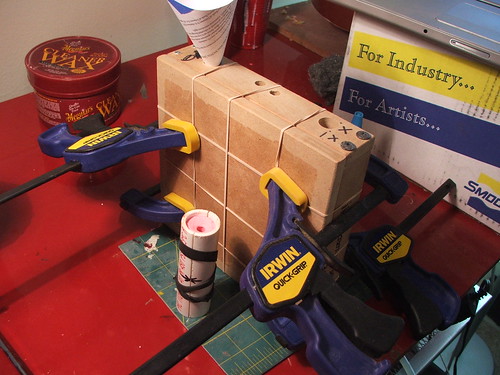
And the first pull! (yes, in pink casting resin... I had a bunch of dye laying around...)
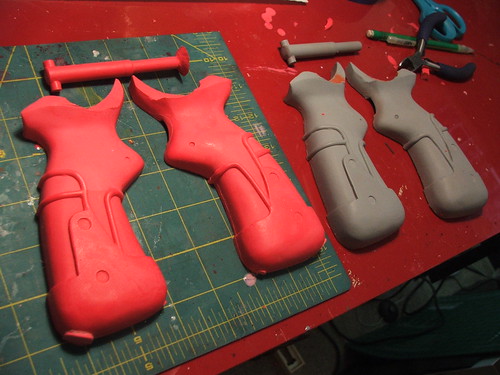
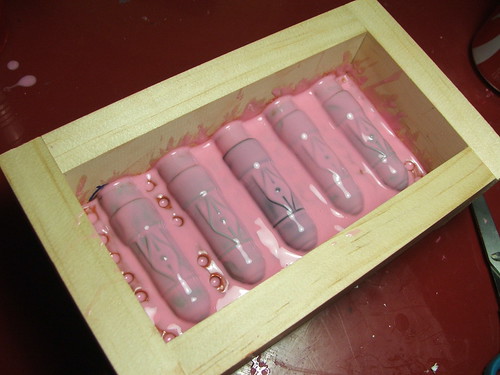
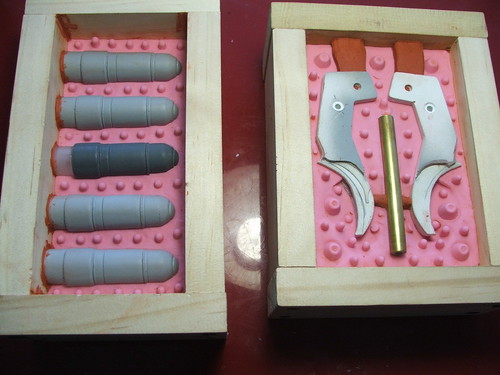
Some more of the 2-part molds in various stages of process:
Trigger and sights
Caster Shells
Grip support arms and breech cap lever bar (seriously, I'm just making names up here...) This one is a strange mold - the resin from the arms fills the bar as its poured.
Both of the above after the first coat had dried
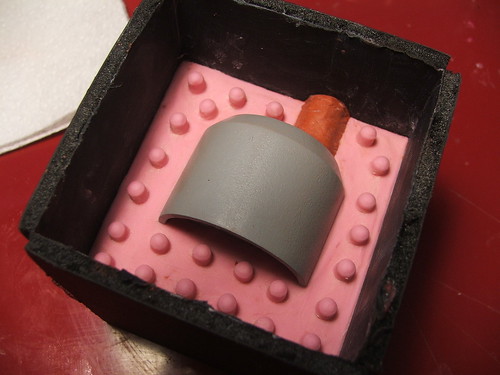
Breech cap
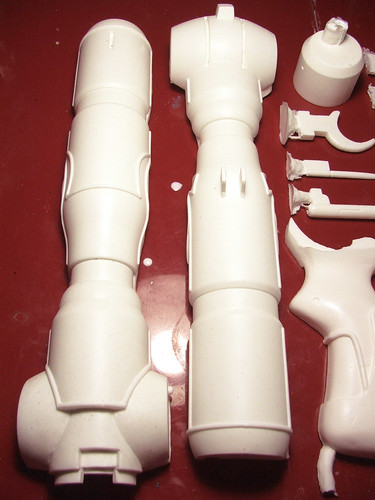
All the molds finished and ready for a run. In a test, I was able to pull an entire caster gun "kit" in a little under 90 minutes, using only 3 cups of resin. MUCH faster than scratchbuilding one after another!
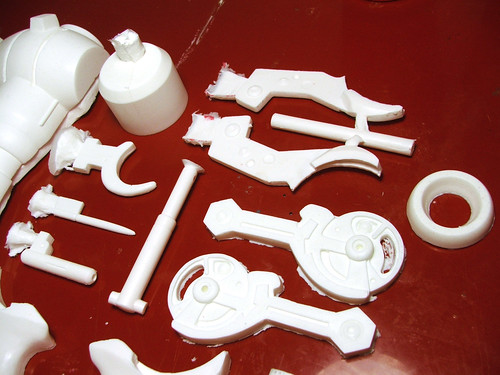
Here's some detail shots of the pulls from the molds:
And finally, one complete Caster Gun kit.
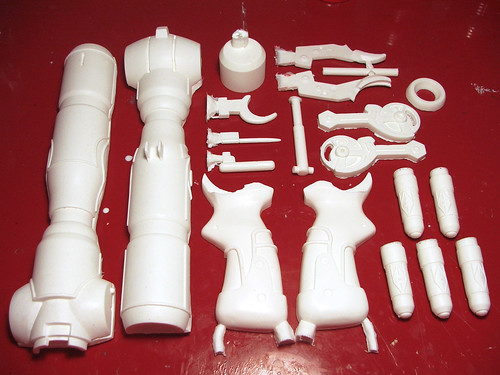
If you're interested in purchasing a finished piece, send a note to Mike over at BlindSquirrel Props and let him know.
Thanks for reading!
Monday, March 29, 2010
Thursday, March 4, 2010
AER9: Once more, with feeling
If you're familiar with my last AER9, you'll recall that the project was completed in only 4 days. I recently had a chance to take another whack at it with a much more lenient deadline, and I'm very, very happy with the results.
The basic steps at the beginning were the same as my last build. Make a blueprint, transcribe it to wood, and start cutting, gluing and clamping.
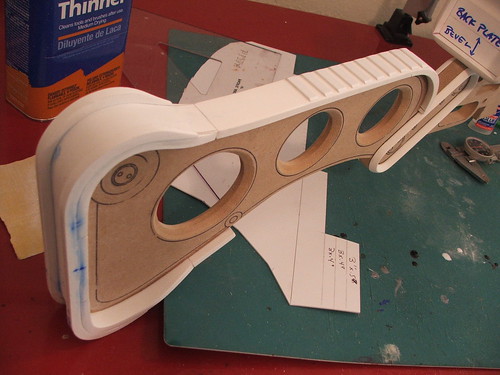
I did discover a random and somewhat neat trick for scribing the lines on this though. By printing to vellum on an injket printer, I was able to directly transfer the pattern of the print from the paper to the wood. Using laquer thinner brushed over the ink, I burnished the paper against the MDF and the lines transferred perfectly! Made transcribing my blueprints MUCH easier.
The main difference between this build and my last is the materials used. Outside of the stock base, barrel, grip and MF cell, all other parts were made from sintra, styrene, or aluminum. These materials can take detail much better than MDF which afforded me a lot of control in making the shape more accurate.
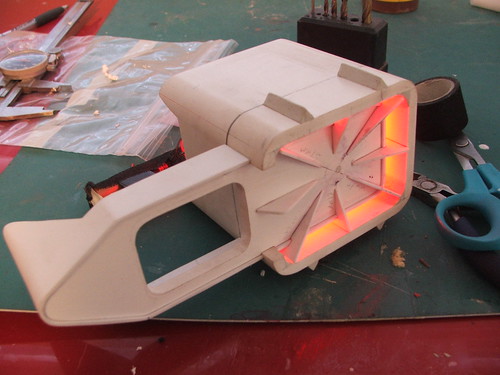
I also decided to use LEDs for a glowing barrel effect. This was a preliminary test-fire to see how the idea would work. In the end, I used the lens out of a laser pointer behind the center hole in the barrel to focus the light and make it brighter in that spot.
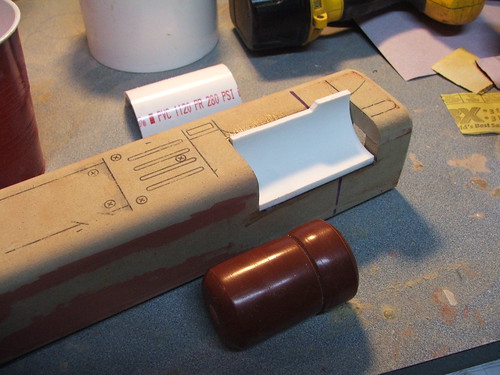
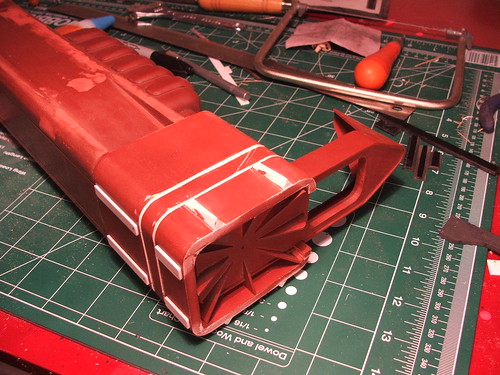
After the barrel and stock were shaped to the correct dimensions, I started adding details in sintra & styrene. The rounded edges on the back and front parts were made by gluing the sintra into a box and rounding the edges on my table router.
Another huge difference in this build was my new lathe. The AER9 has a TON of little rounded bits all over it. These were cut out of MDF or sintra. The microfusion cell is 4 pieces of MDF glued together and shaped on the lathe as well.
This rear knob is also lathed MDF. The tube which sits on top of the barrel is an ABS rod. This was a lot easier to shape than the 5/16" steel tube I used on the last build.
Here's most of the parts going on for a test fit.
The grip is an MDF block with sintra strips shaped over it. To keep a uniform shape, I heat-formed one sheet over the entire grip, then cut it into strips on my bandsaw.
The rear of the barrel is a sintra box with styrene accents. The curved part behind the MF cell was sculpted out of apoxie sculpt and sanded to shape.
Various other smaller bits were shaped out of sintra/styrene before going to primer. Below is the trigger & trigger arm, MF cell area, barrel, cell eject lever, and other bits. I also scribed the panel lines on the parts with a lino block carving tool I had left over from my art school days.
Another test assembly after all the parts had been primed. I had some really tight tolerances when putting it together, as the layers of paint actually made it quite hard to get the front and rear casings over the barrel. Yay precision!
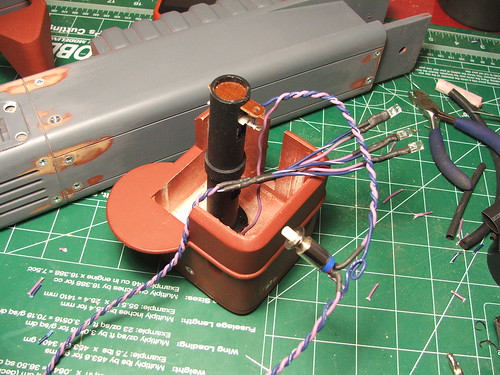
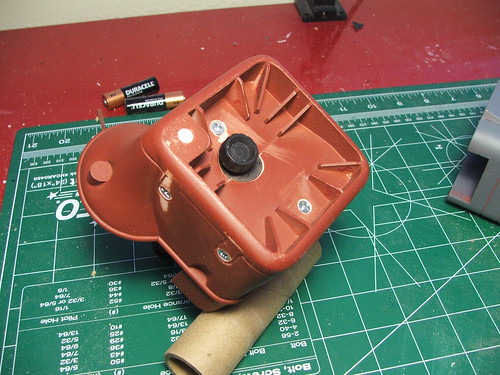
To power the LEDs, I used 2 AA batteries housed in an in-line battery holder. The knob on the back of the gun unscrews to reveal the battery door to replace the cells. I was very very happy with how this turned out. The LEDs are switched on and off by a hidden pushbutton switch on the bottom of the rifle barrel.
The last lathed part was the bottom support bar. This was carved from a pine dowel and cored out to receive a hollow aluminum bar. Styrene accents finished it off. I also found some knurled nuts to use for the two circular parts on the support bar and JB welded them in place.
On to paint!
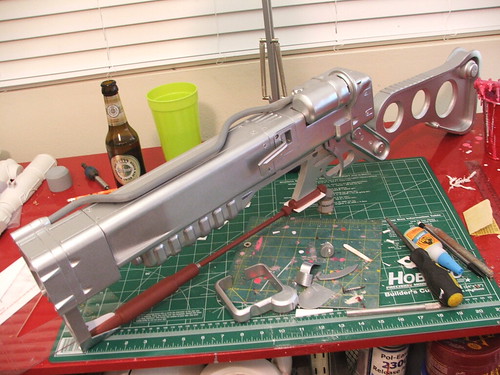
The basecoat silver was done with Krylon chrome paint. After this, I dusted the surface with a darker silver by holding the can about 2 feet away from the part and spraying lightly over the entire surface. This gave the paint a stippled texture like cast aluminum would have (this is shown a little better on the front barrel casing in the shot below with the barrel painted green.)
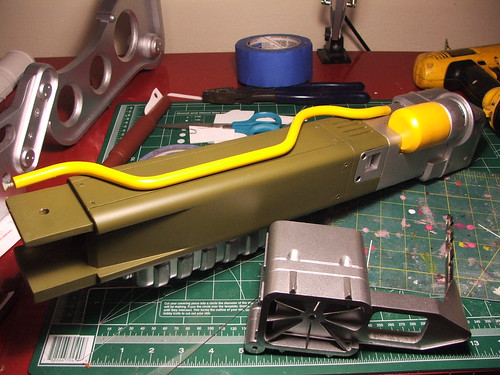
Color was done with Testors spray paint for the barrel (which is annoyingly thin and loves to run) and Testors brush paint for the silver on the MF cell and upper pipe.
After this, each individual part got a coat of clear to protect the finish.
I know I'm going to get a ton of decal questions, so I hope this answers them preemptively. It seems like custom decals are the bane of every replica maker, and it took me a bit to figure out the best way to do it as well. As with my Portal Gun, the AER9 got water-slide decals on the MF cell for the warning messages, arrows, and stripe. These were designed in Adobe Photoshop and printed onto water-slide decal paper on a laserjet printer.
The barrel decals were done differently. The barrel was scanned on a computer scanner to pick up the color & texture of the paint. Then, I designed the side decals in Illustrator, taking them into Photoshop to layer them over the green background and weather them a bit before printing. These were output on adhesive-backed vinyl using a plotter, then applied to the gun. There is a slight seam line around the sides of these, but its only evident under close inspection.
Here's the gun all assembled and shiny brand-new! So pretty, so clean...
So needs a few coats of grime.
This was the first pass. Another new tool I had for this build was an airbrush. I'd never used one before, so this was as much a practice run as it was a weathering effort. It took some getting used to, but I was very satisfied with the results.
NOTE: If you don't seal inkjet decals before acrylic paint weathering, they will run & bleed! This is why I clearcoated the gun before this process.
I also made a display board for the gun to sit on, in maple. This was stained satin black.
Here's the final shots of the gun after all the weathering was completed and given another coat of clear to protect the finish. I am very glad I got to revisit this piece, but I don't think I'll be making another one. 2 was plenty for me, and its time to try another project with my newfound techniques and materials.
These pics and more build images are all available on my flickr page, in much higher resolutions. Thanks for reading!
Subscribe to:
Posts (Atom)