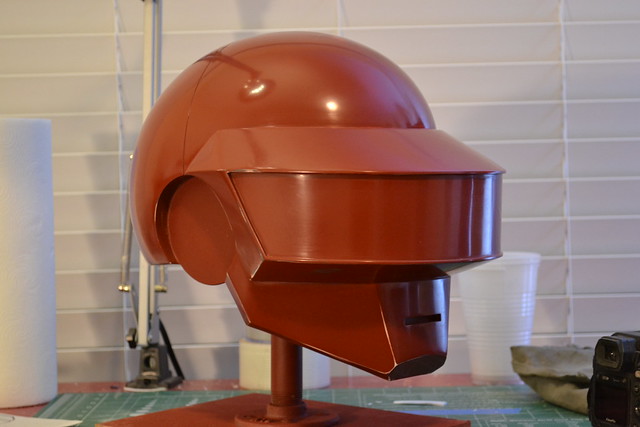
Right. I had a nice shiny master sculpt ready for molding. This entry will provide some details on the molding process and start laying out the details on the electronics.
To start with, I had to seal off some of the thin areas and unfinished undercuts on the helmet. The bottom side got built up areas around the backsides of the ear cutouts as well as the chin - these were done with clay and some scrap styrene.
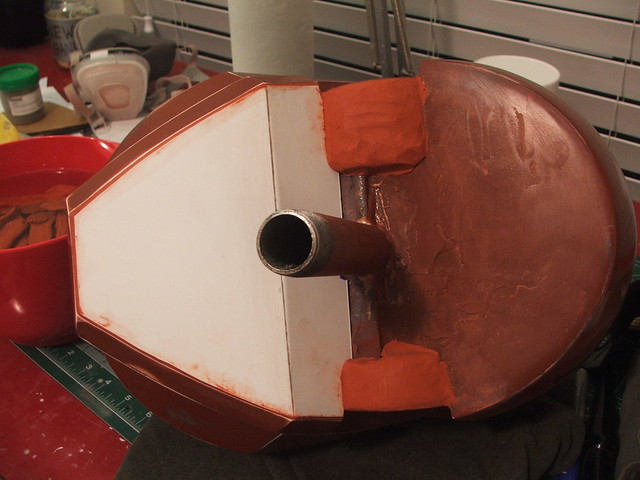
This mold is going to be a 2-part. I learned from the Guy mold that single-piece jacket molds are very difficult to remove the cast parts out of once you're finished. Thomas' mold will have a front and a back section, which will make removing final pieces much, much easier.
You can see the clay wall separating the front and back halves in this shot. This pic also shows the first part of molding; a layer of silicone mixed with silicone thinner to create a "print coat" - this helps to ensure no bubbles are trapped in the final mold. I'm using Smooth-On's Rebound 25 for this piece.
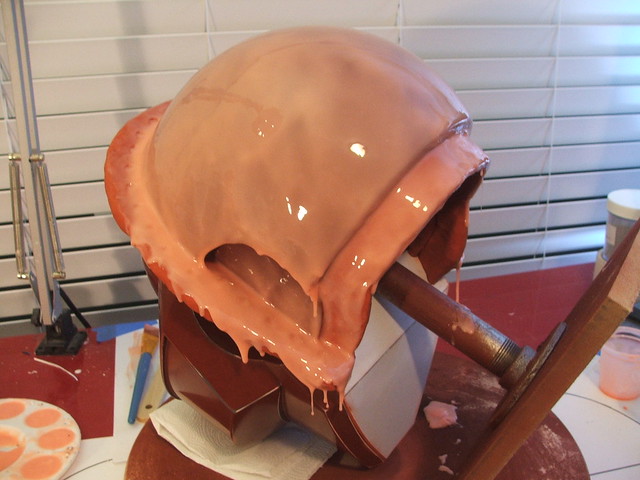
Then the second coat. I added some thickened rubber to the ear indents to build them out a bit
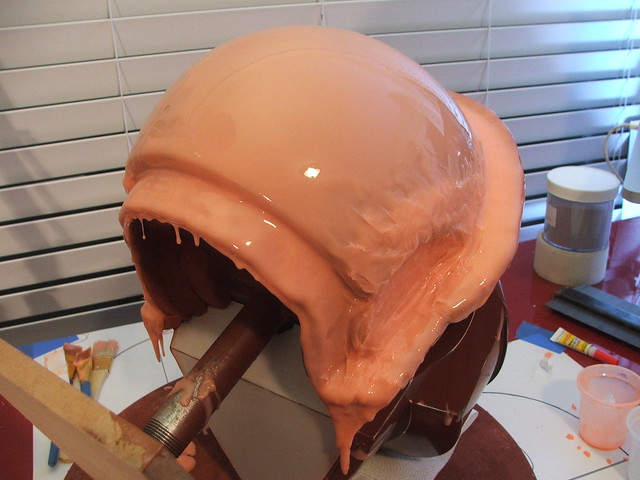
I'm trying something a bit different with the registration keys this time. On Guy, I made them from thickened silicone sculpted into pucks. This works fairly well, but sometimes the rough surface on the pucks themselves causes them to push a couple millimeters out from the mother mold. This time, I took a paint palette and filled it with excess silicone as I was making the first coats.
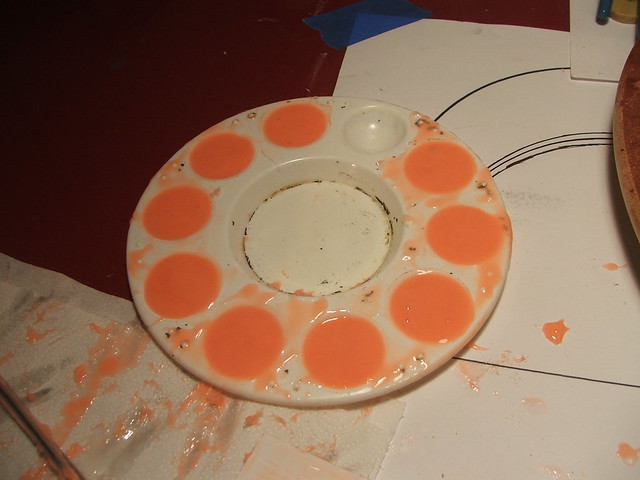
These little egg yolks were popped out when still slightly tacky, and "glued" to a tacky brush coat with some more thickened silicone. Just as a warning, I did get some small air bubbles trapped behind these in a few spots - if you employ my methods, its best to place these in on top of a wet-ish coat of silicone to make sure you don't get any trapped air.
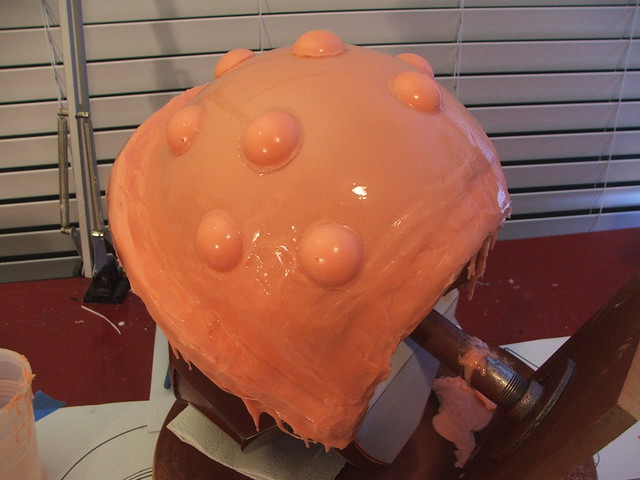
I used 15 of the little bumps in all on the back half, and they're nice and smooth so hopefully they'll keep registration better than their hand-sculpted predecessors.
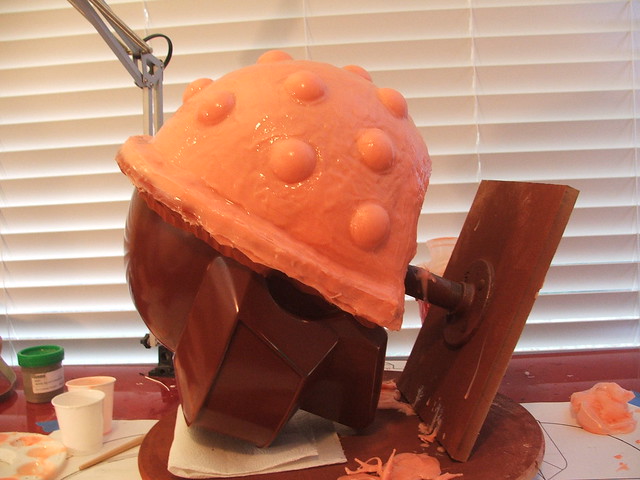
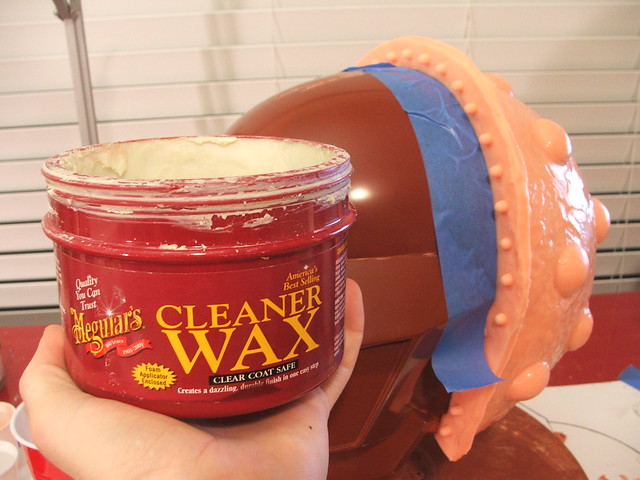
After waiting 24 hours for the back half to dry, I started work on the front. Keep in mind that silicone sticks to silicone, so you'll need to put something between layers to make sure you don't glue the halves of your mold together. For separating the two halves, I use this cleaner wax. Smooth-On makes stuff called "Sonite Wax" for this specific purpose, and when this tub runs dry, I might look into that. For now though, this stuff works great.
Make sure to test homebrew stuff like this first! The line of painter's tape on the helmet in the background is to protect the primer, as this cleaner wax will dissolve it and damage the finish. Always test first!
In prep for molding the front, I added a filler panel underneath and some clay dams along the chin. I also added a small "maker's mark" which will be trimmed off in the end. Not sure how much plastic will even get to this spot, but oh well.
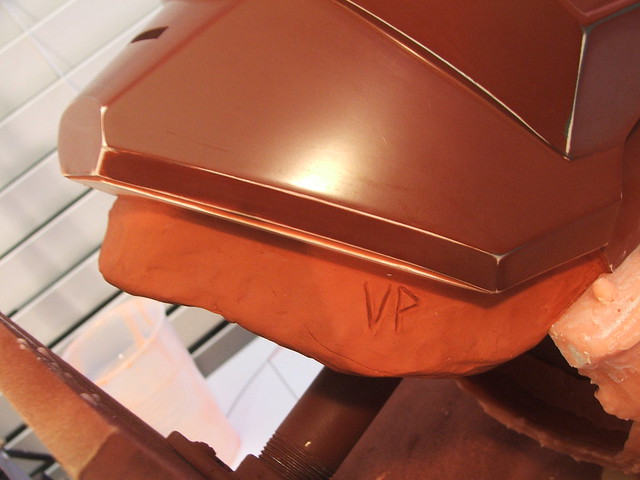
After that it's print coat, thickened coat, and keys. Second verse, same as the first.
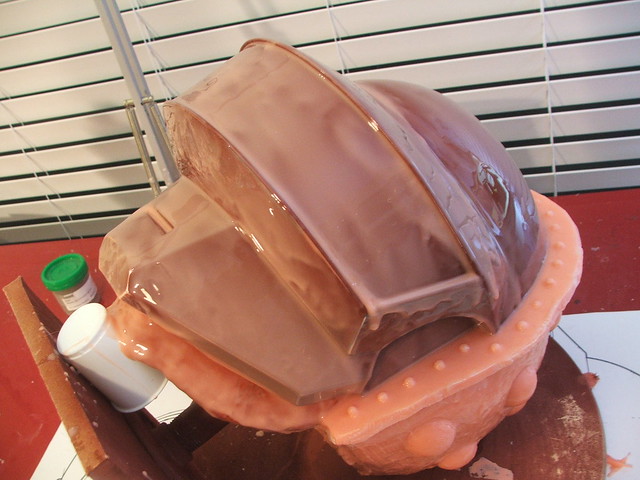
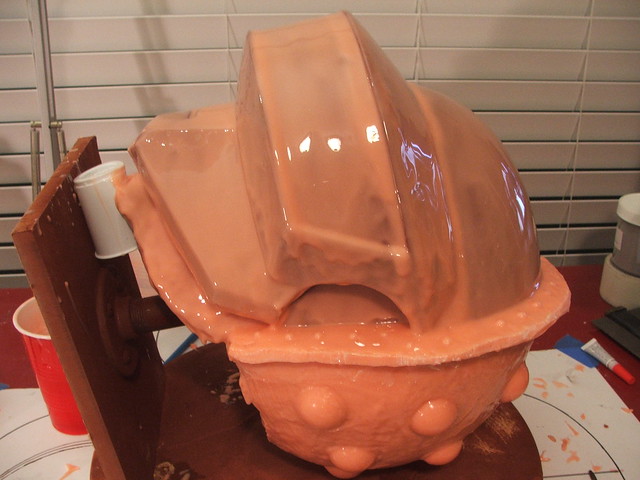
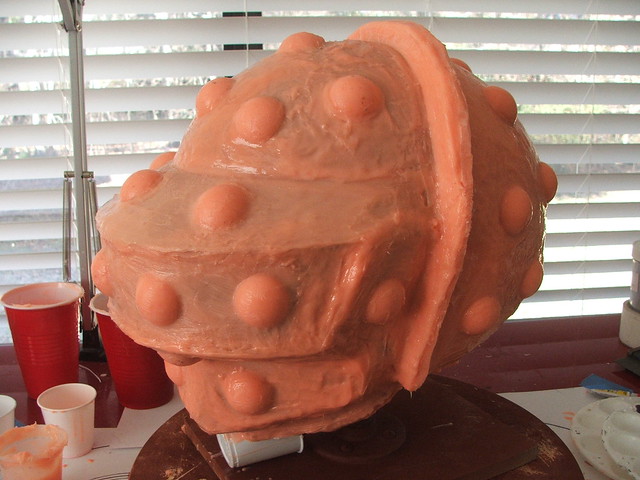
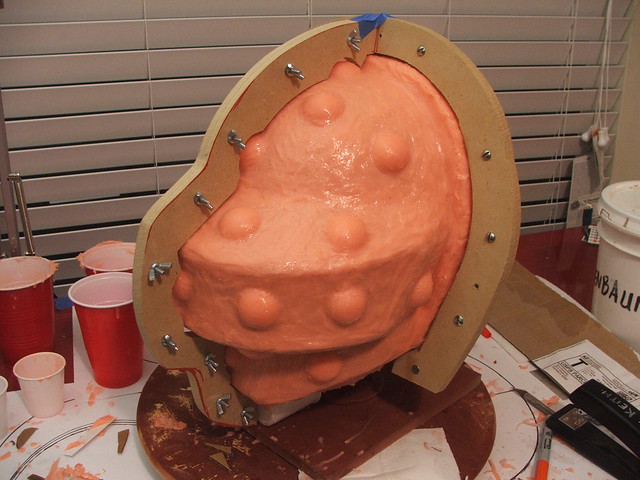
After setting these in place, I filled in the gaps between the MDF and the mold with clay. This prevents the mothermold material from bridging this gap and fusing into one solid piece
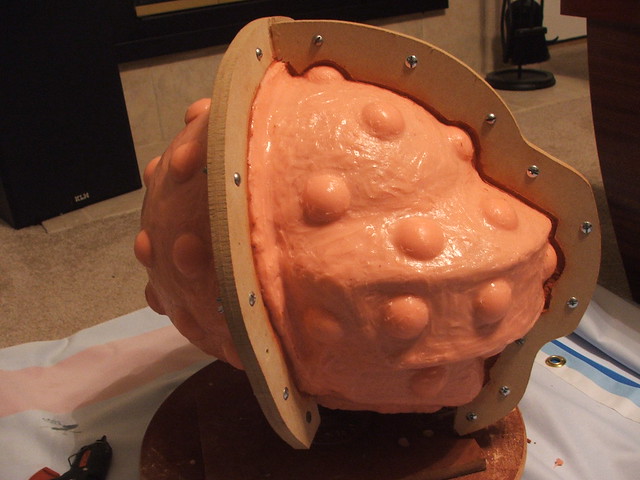
For the mothermold, I decided to use Smooth-On's Plasti-Paste again. This one is a fair bit thinner and smoother than the one I made for the Guy helmet, so its a lot easier to pull copies.
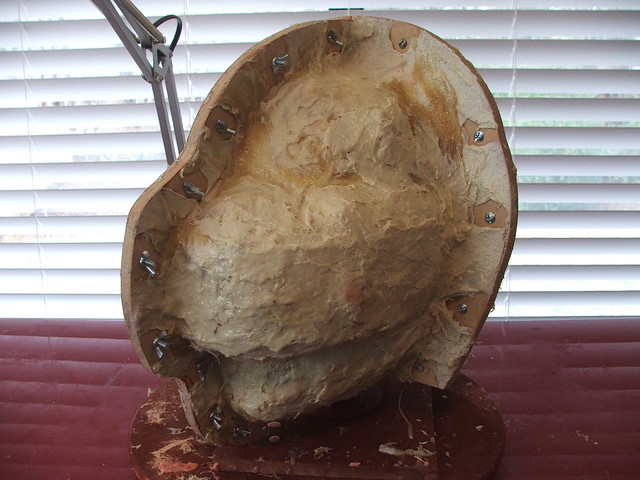
The mothermold sections removed, showing detail on the inside. The MDF rings make re-aligning the sections much, much easier. I think I'll be doing this technique from now on.
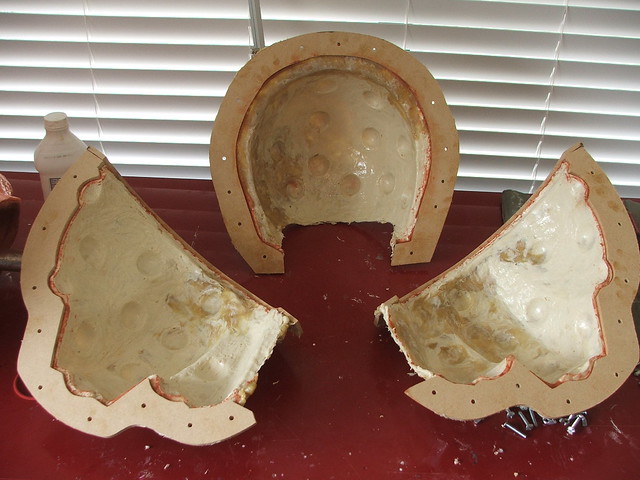
Interior of the Rebound-25 mold. Great detail. There are a few small areas where some air was trapped under the registration keys - most notably on the right cheek. In the future, putting some thickened silicone underneath these will alleviate this problem. It makes for about a 1/32" dent in the final casting, but nothing a small spot of filler can't fix.
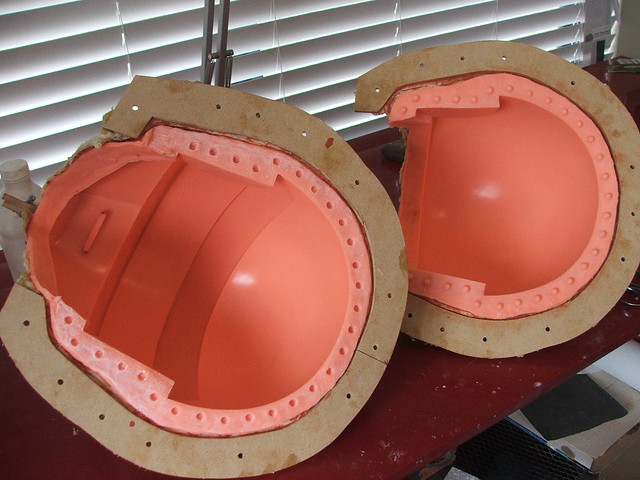
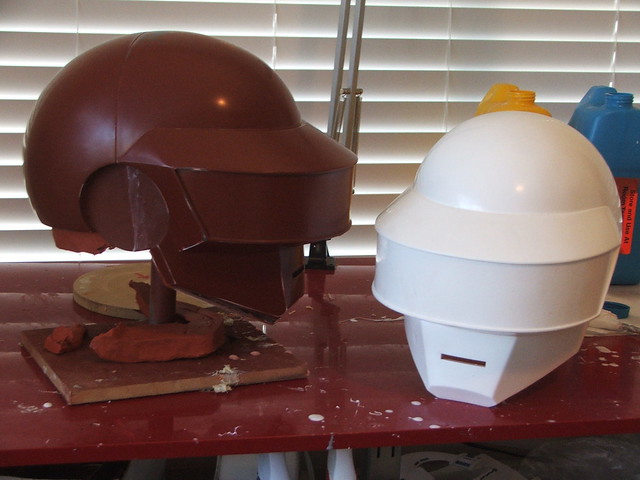
First pull!
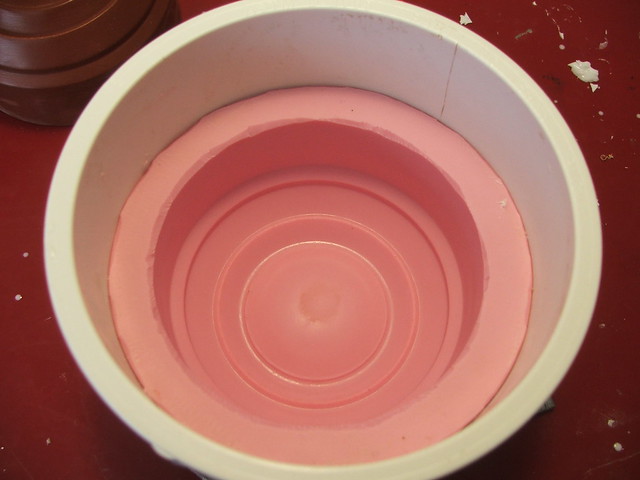
The ear puck molds were much simpler. For these, I used a piece of PVC pipe as a mold jacket and glued the ear puck to a base made out of MDF.

This was filled with Smooth-On's Mold Max 30. Pop the master out and voila!
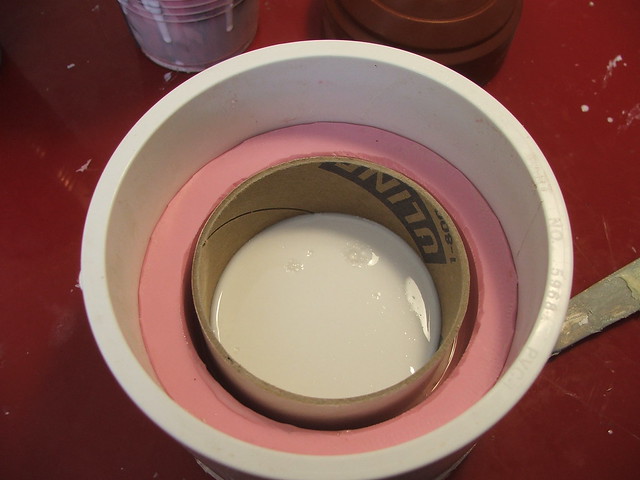
To cast these, I employed a trick I learned when making the barrel for my Portal Gun. To make the ear pucks hollow, I've poured about 1/4 cup of resin into the base of the mold and allowed it to cure around a cardboard ring. Once the lower section cures, you fill in the cavity between the ring and the mold, and BAM - hollow cylinder.
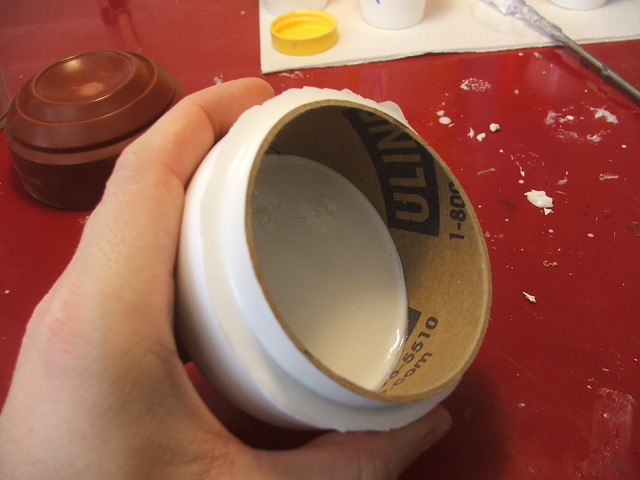
Outside of a finished pull
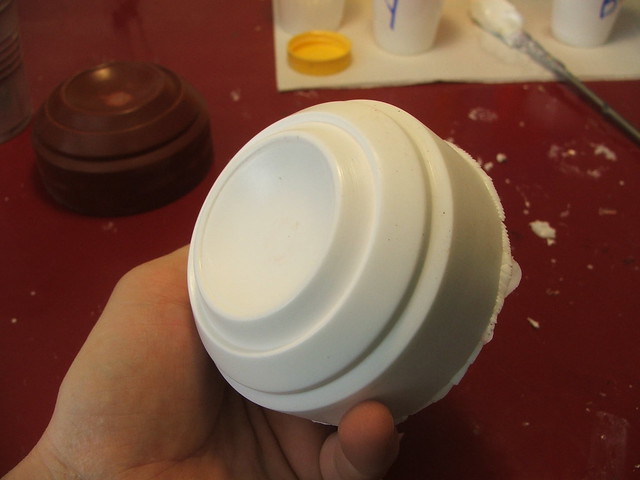
And, lastly, some shots of the helmet with the ears inserted. I can't tell you how happy I was when they just plunked right into place. Almost as if I knew what the hell I was doing.
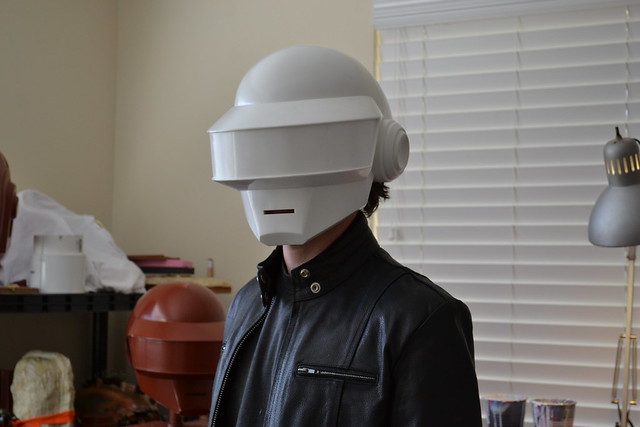
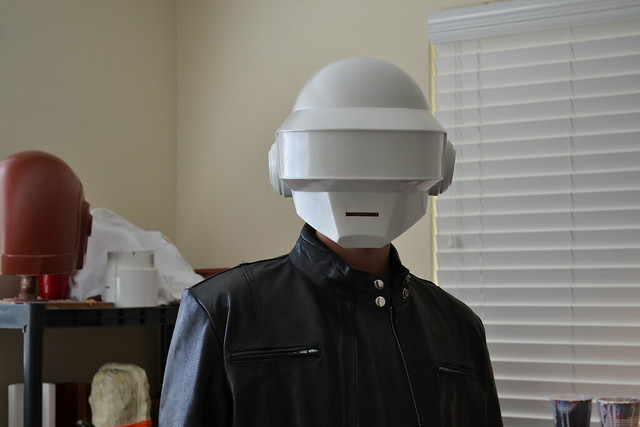
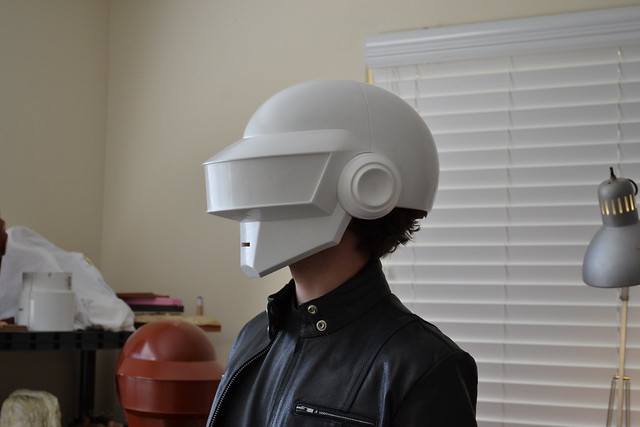
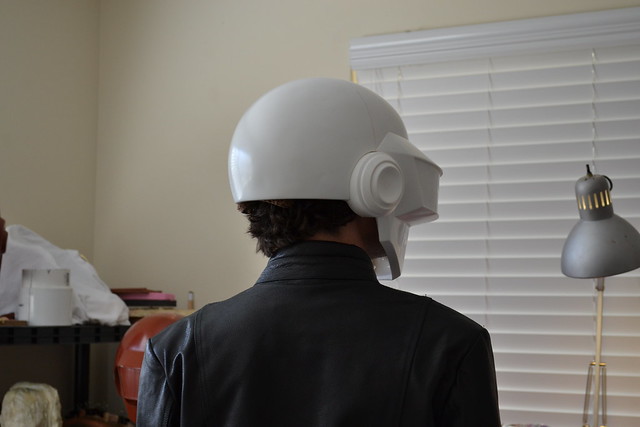
The white casting above was done with Smooth On's Smoothcast 65D rotocasting urethane plastic. This caused issues with the Guy helmets in the past, as part of the chroming process involves a high-heat baking. A byproduct of this was some sagging in the urethane plastic, and I ended up losing about 4 helmets to various deformities. The guys at Creations n' Chrome did come up with a solution to this issue, and were able to send me a couple flawless pieces by the end of things.
This time though, at the recommendation of my friend David over at 2 Story Props, I decided to try casting in fiberglass and polyester resin. The benefits are much lighter weight castings, much thinner, and nearly impervious to baking heat. David has some good tutorial videos up showcasing his process. You can check these 3 vids out here(1) here (2) and here (3).
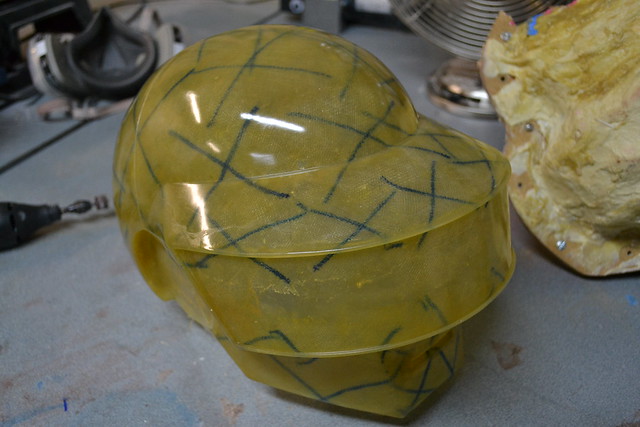
Fiberglass casting is a totally new experience for me, and the cast parts were probably a B+ success. Not bad, but I still have a lot to learn!
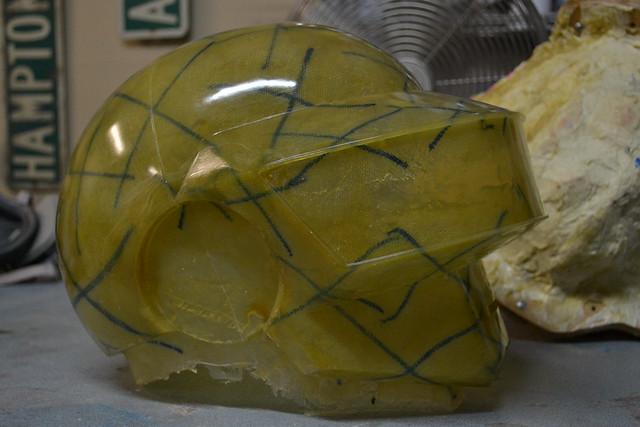
The "X" markings are to show me where I've laid down a second coat of fiberglass cloth, making sure I've got a durable, thick and strong cast.
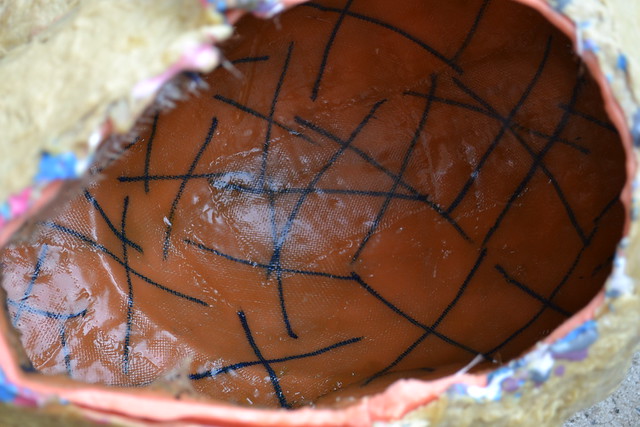
The ear pucks were done in a similar manner, with a T nut inserted into the fiberglass for mounting them later.


The ears will have the ring of lights embedded into them, so they were cut in half and the base piece was glued into the helmet base. I swear this will make more sense later!
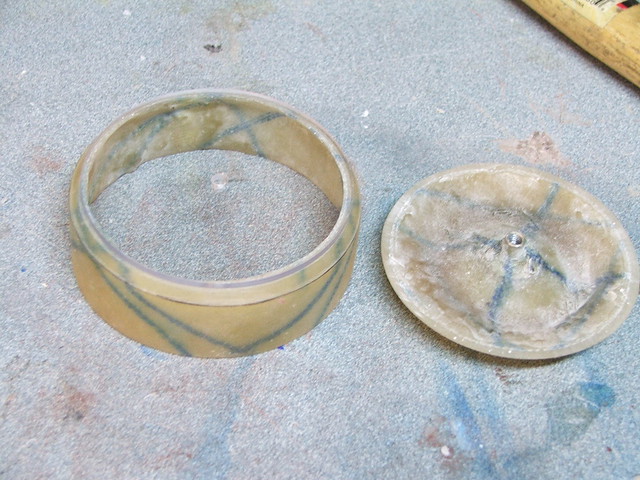

You can see there were a few spots where the helmet needed a little bondo work to get right. The polyester resin pulled away slightly from the mold while I was making it, resulting in odd little dents here and there.

After plenty of sanding, filling, priming, and more sanding, the final coat was wet-sanded down to 2,000 grit and sent off to Creations n' Chrome for its very special and very shiny topcoat! The cardboard panel in the visor area makes sure that no pressure during shipping is transferred to the thinner areas around the visor and nothing cracks on his cross-country journey.
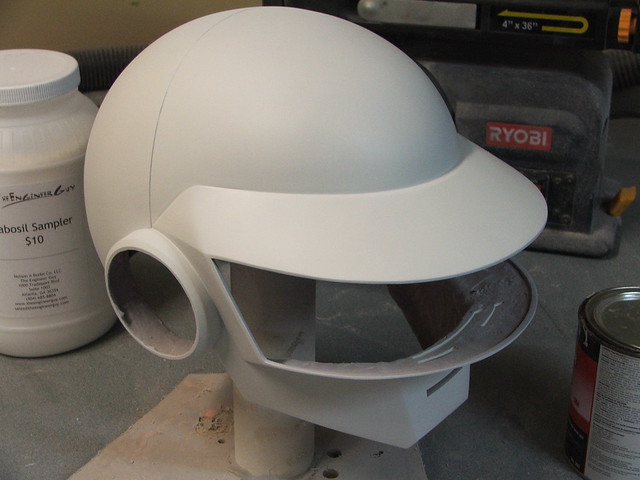
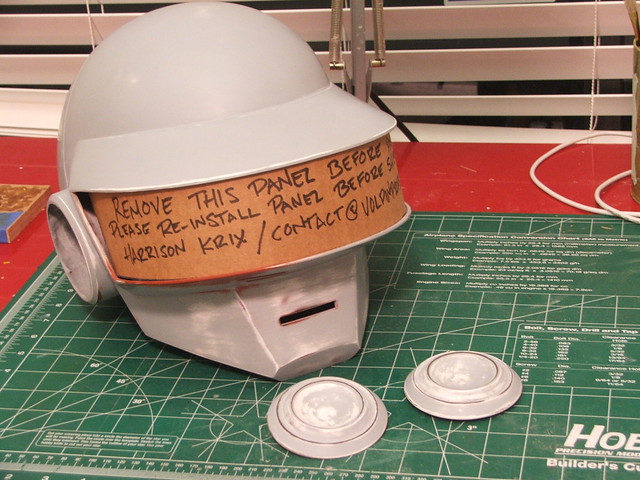
As always, there are more pics available on my flickr page. Also be sure to check out my YouTube for updates and videos!
Thanks for reading!

18 comments:
Amazing work.
I've been looking forward to this write up.
Another method of ensuring total coverage with fiberglass is to add a few drops of food coloring into each layer for differentiation.
Incredible work, as always.
Love the new page layout, by the way.
Wow! Great job! It's fantastic!
Could you go into more detail about the electronics in the next post? Like what chips (I'm guessing shift registers? Or did you use LED drivers?) you used for the project?
Will you use an Arduino in the finalized helmet or a custom microcontroller?
You are incredible! This helmet looks crazy awesome!
I was wondering if u do commissions.
I really want a Rinzler Helmet.
Hey, Love all your work!
I was going to try my hand at making one of these, but I wasnt quite sure where to start out at. Or maybe, if you could make me a replica of one for a price.
But honestly id rather make it myself, you see. So I was wondering if you are willing to give me any advice or tips of how to go about it? Maybe a PDF' tutorial or somthing, it would help greatly. Thanks. :)
ahh esta genial chico yo quiero uno de casualidad no los vendes D:
ahhh chico yo quiero uno de casualidad no lo vendes...
I can't wait to see the rest! I'm sooo impressed with your work!
really an amazing build so far i would love to know how you are driving all the leds as well. schematics possibly?
also i would love to be involved in some way so if you do ever need electronics or programming help just let me know
how do you make the tinted visor? so that you can see through it??? please reply
also is there a way to hook up the led's to the visor and see through the visor?
What kind of clay did you use to fill the gaps in the MDF for the mold jacket?
C'est trop de la bombe..
may be I'm missing somehow but how do you manage to shape interior of the helmet without filling when you molding the outside?
exelente casco desea saber como hicieron la programacion de los leds
Hi, I'm kinda new to mold making, and I'm wondering: How did you make the white first from the pink silicon. Did you vacuum-form it, or is it some sort of rubber? Please reply.
Post a Comment