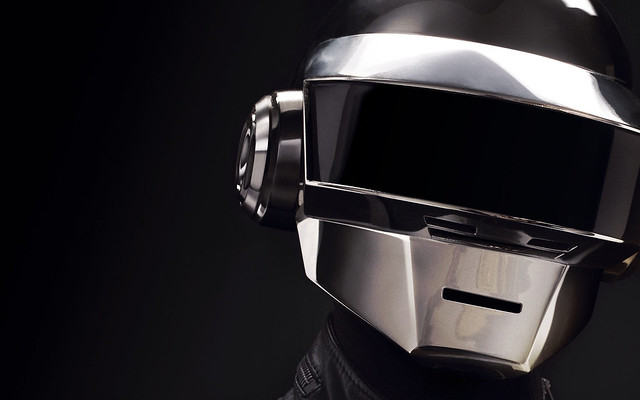
I started out by drawing up some blueprints, taking note this time to do more than 2 views. The width on the Guy helmet was something I struggled with, and more detailed blueprints would have alleviated that.
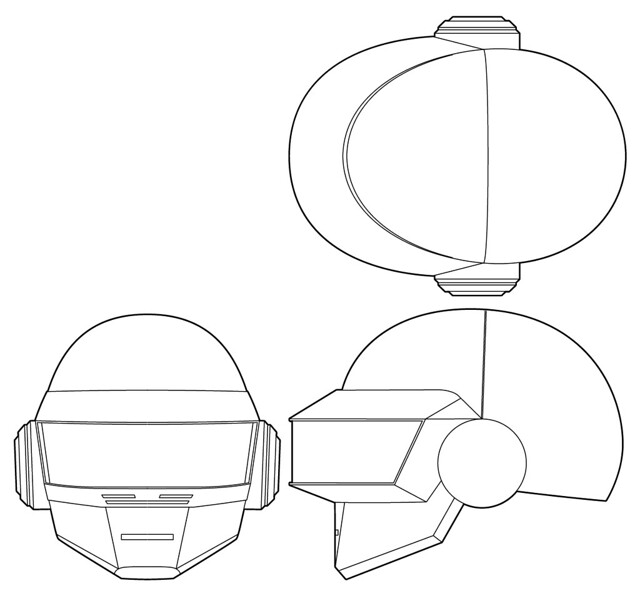
I learned a lot from Guy, most specifically what not to do. Often times, these are the most potent lessons of all. I started this project with a lot more experience, which has shortened the construction times of many things considerably. This bucket won't be knocked out in a month, but I think I can take a pretty good chunk out of my 1.5 year build time from the last helmet!
Right off the bat, things changed. The paper template I made for Guy was lacking in several ways. For Thomas, I created sectioned ribs from 1/4" MDF. These built on top of one another to form a sort of interlocking skeleton.
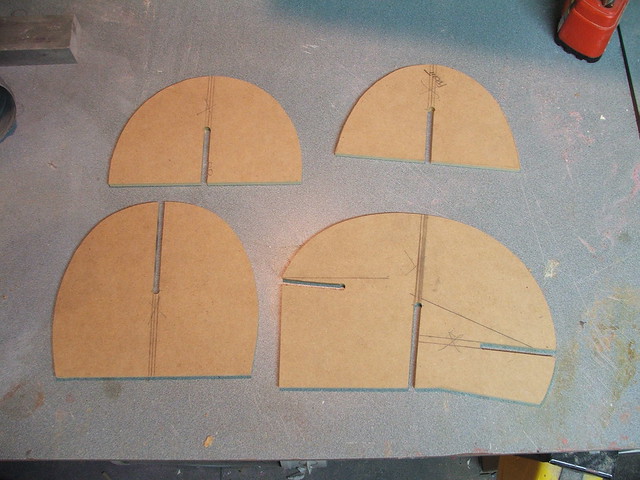
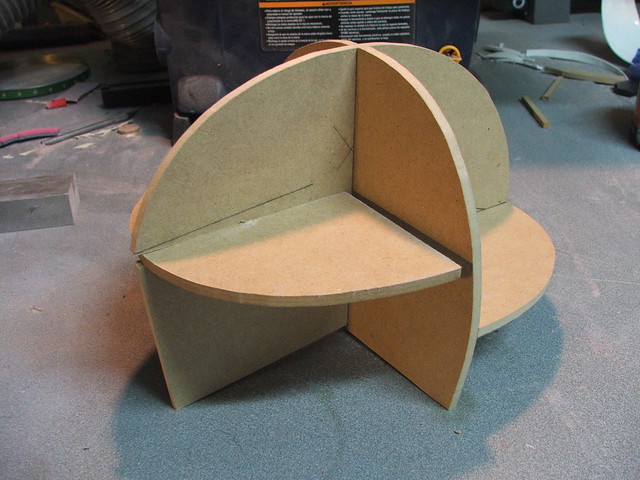
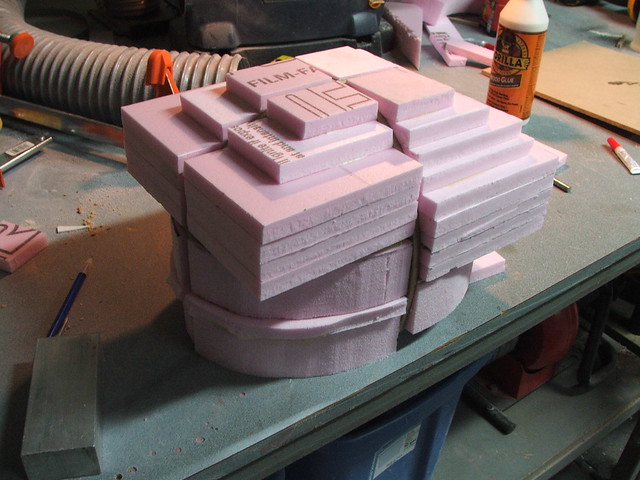
The cavities in the MDF frame were filled up with polystyrene insulation foam, carved to a rough shape with a coping saw, then sanded to the general shape of the dome with an orbital sander.
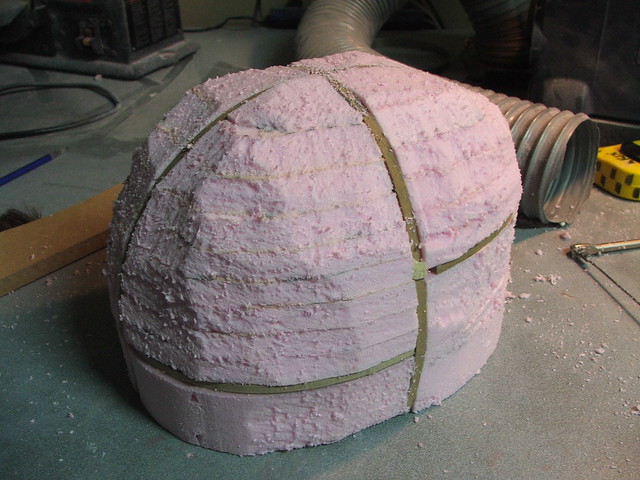
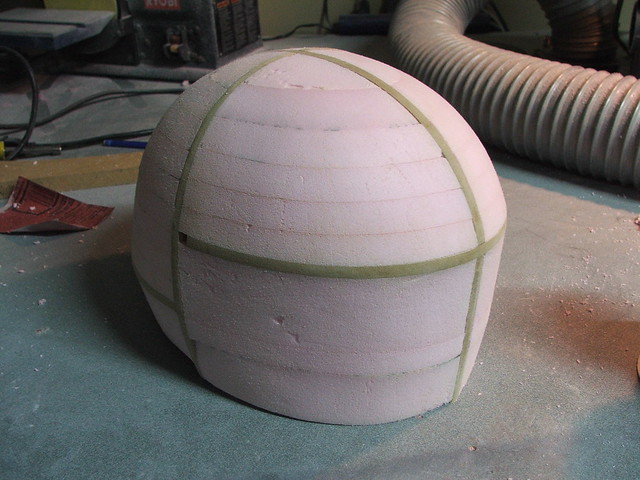
Pink foam acts badly when exposed to polyester resins (bondo, fiberglass, etc) so it was sealed with a few coats of urethane casting resin. This gives me a tough, lightweight shell to work on top of without worrying about it dissolving the foam base.
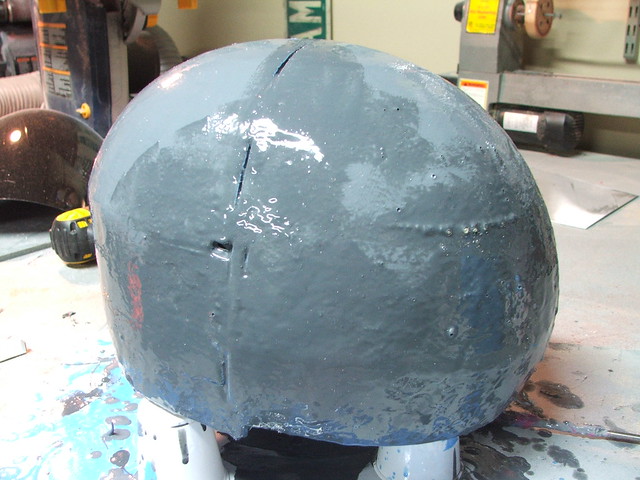
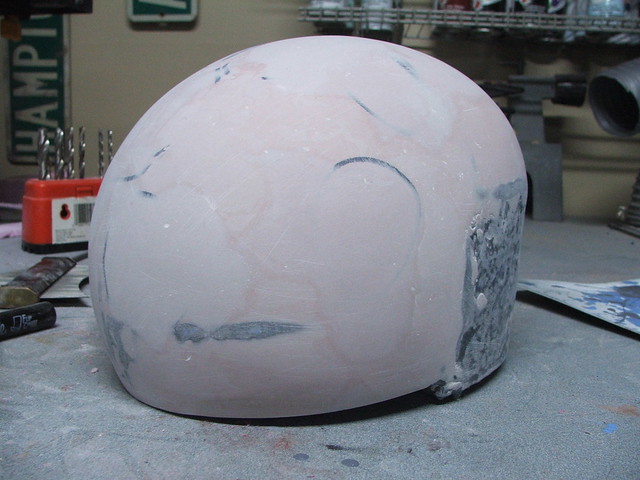
After scuffing the surface of the foam with some 60-grit sandpaper, I coated the urethane resin with a few bondo passes to refine the shape of the dome. The visor and chin sections will be built out later, but getting the base shape correct was the biggest goal at this point.
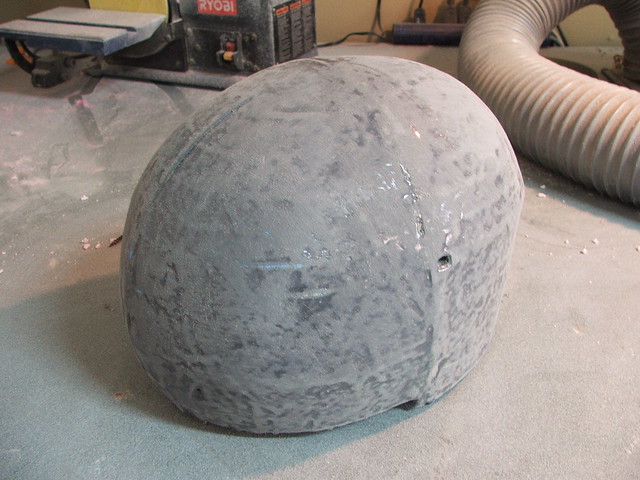
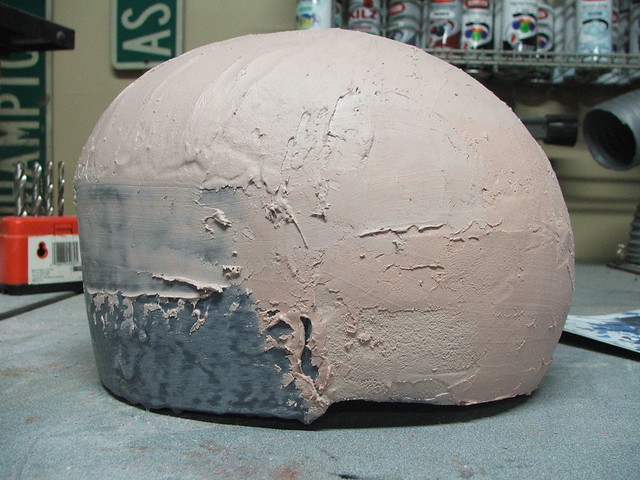
A contour gauge, passed down from my grandfather, makes getting the compound curves of the surface much easier. Take the shape of one side, flip it over to the mirrored side, and add/remove material as necessary…
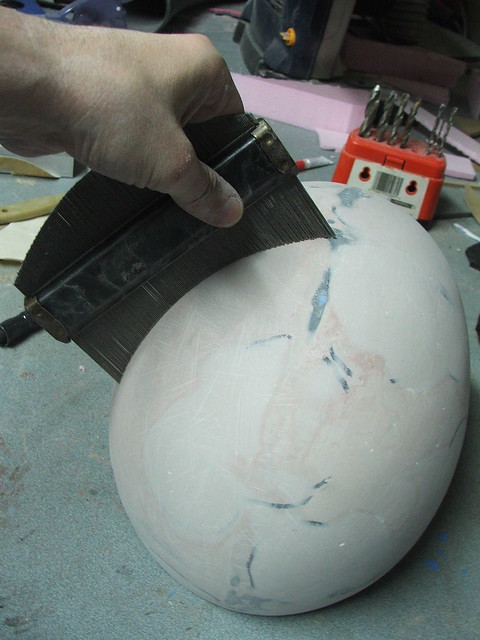
…and there was quite a lot of this add/remove process.

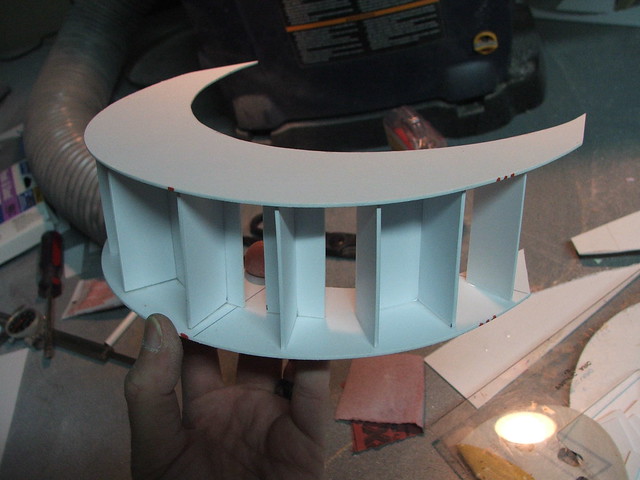
My plan for the visor was to make the shape as a standalone piece, adhere it to the finished dome, then blend the upper and lower sections in. The upper and lower sections were cut from styrene, and spaced apart with upright inserts.

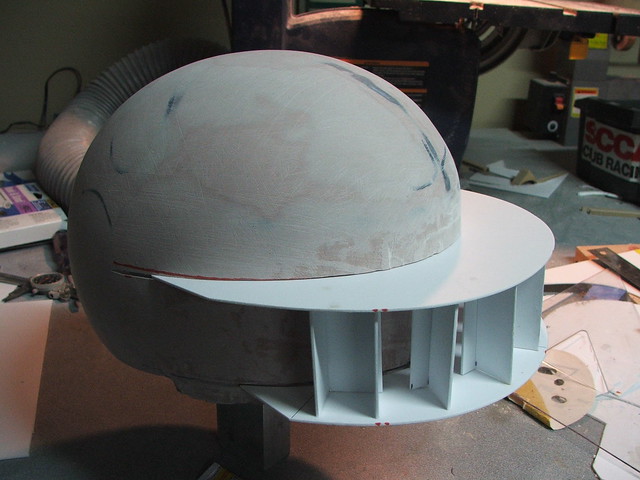
The dome was then slotted to hold the visor sections in place so i could check the symmetry and alignment.
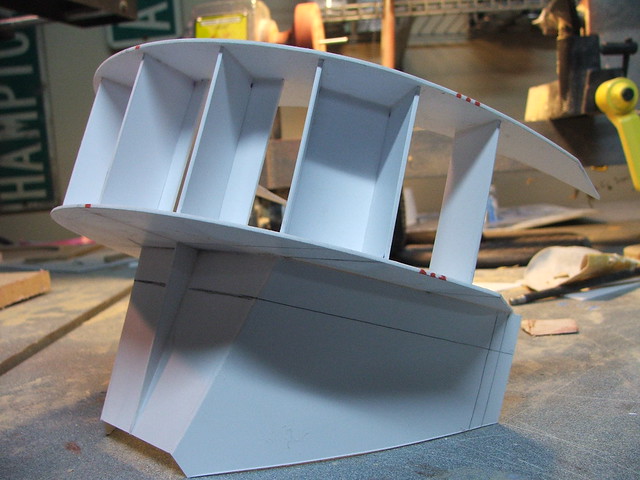
More styrene was used to make the "chin" and "cheek" sections, which rounded out the front removable section of the helmet.
Now that the visor had a place to sit, I could build the ears for the helmet. Thomas' ears change pretty frequently on his helmet from version to version, so I decided to make the ears on this helmet removable. In the future, I can make new pucks and replace the ears in the helmet to represent a Discovery, Tron, or Human After All style helmet.
The ears themselves were lathed from a stack of MDF. For this helmet, I decided to make the ears "Electroma" style.
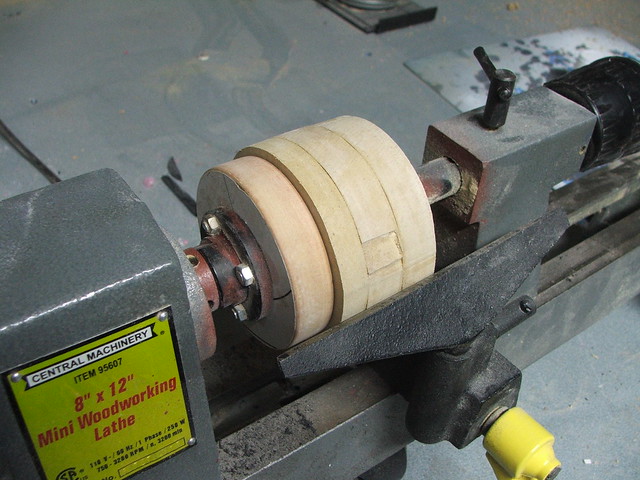
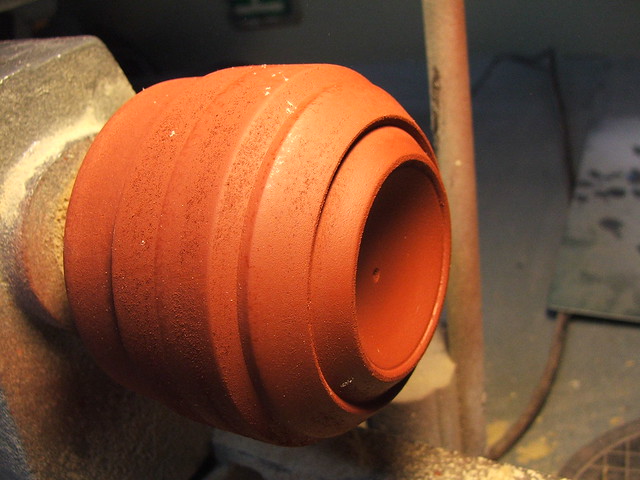
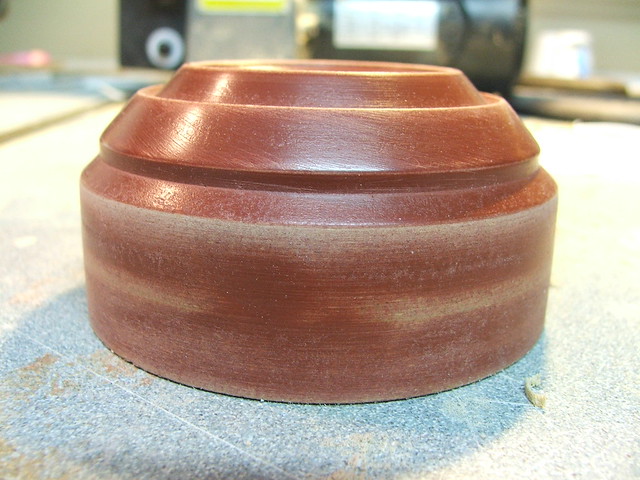
Quick mockup!
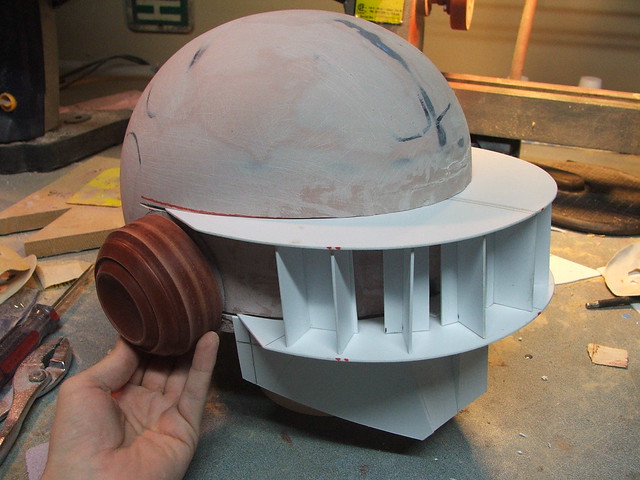
To fit the ears, recesses were carved into the foam base. Styrene "caps" were placed over the rough edges, and the interior surface was smoothed out to make a tight fit with the ear puck.
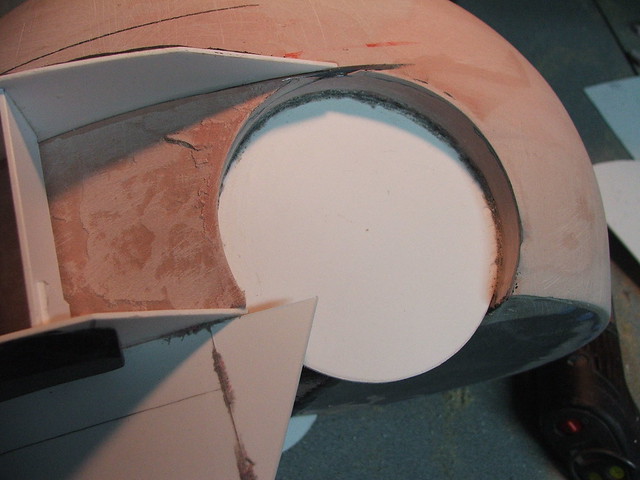
Getting back to the visor, I started working on blending the edges upward and downward into the front of the helmet. In order to make sure everything ended at the same point, I added a thin ridge of styrene at the upper edge of the visor intersection with the helmet dome.
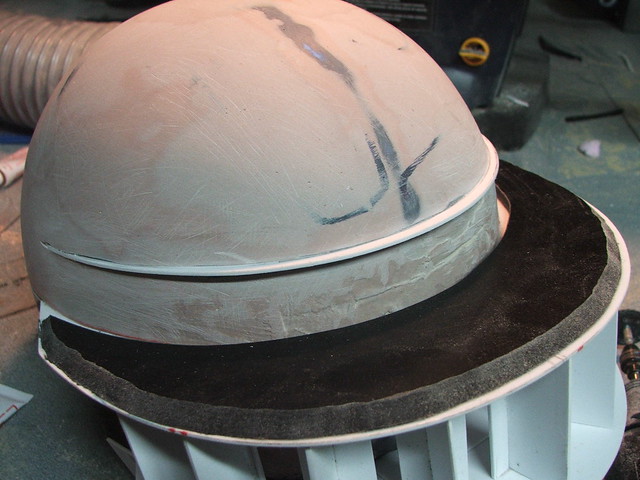
Much like the domed shape, polystyrene foam was placed in these cavities then sanded to shape.
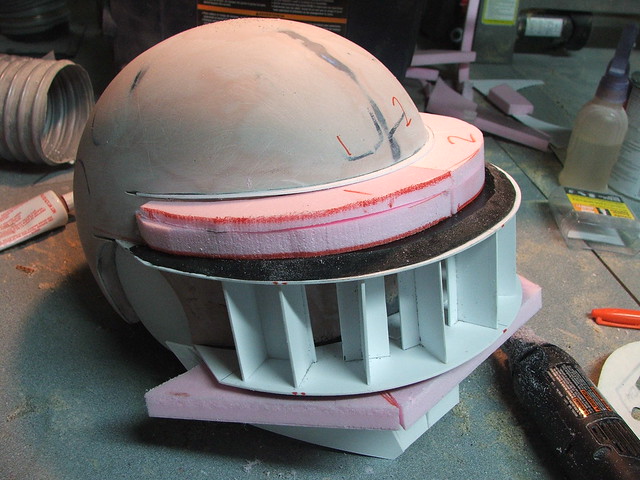
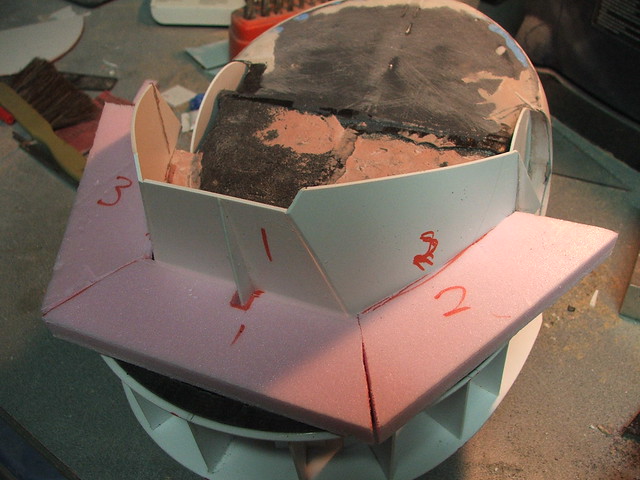
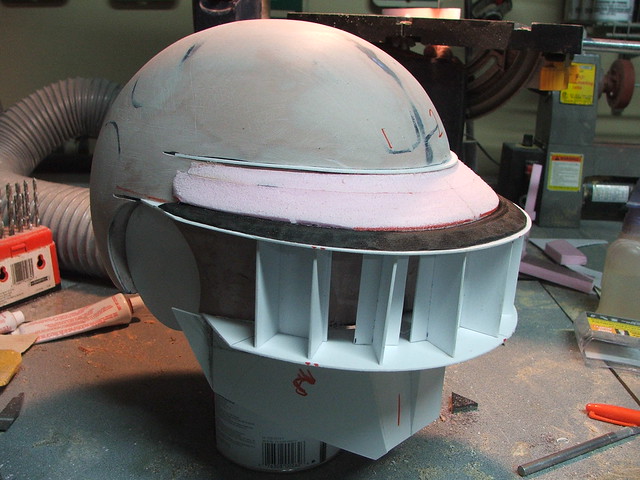
After coating the foam, I skimmed bondo over these bevels and sanded them to a smooth curve. I also added the front and side visor sections in as well at this point, with more styrene.
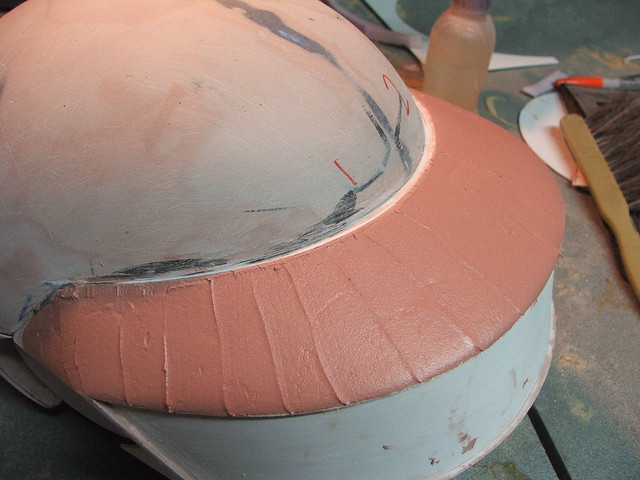
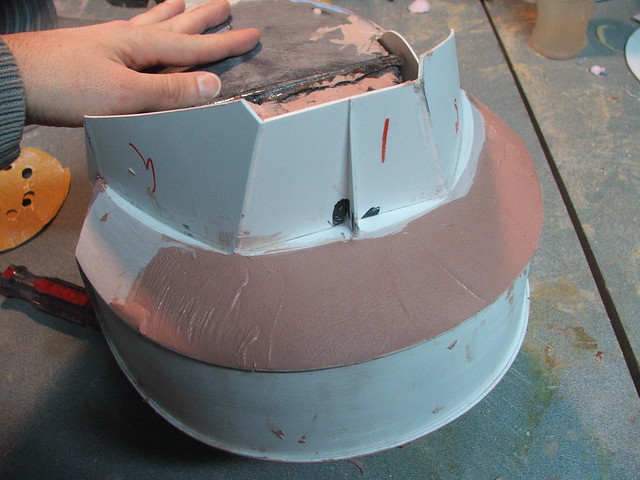
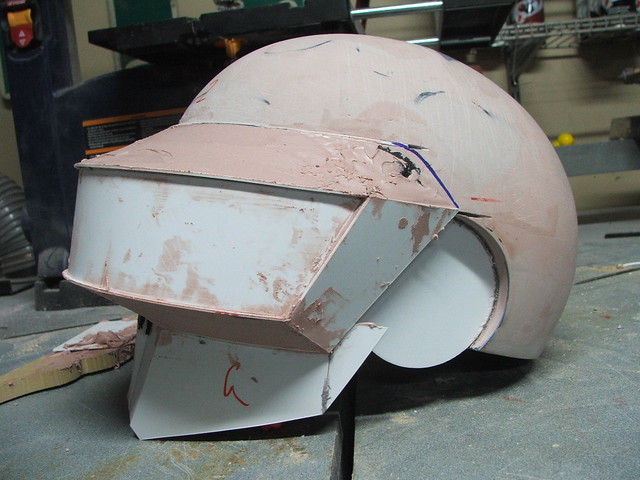
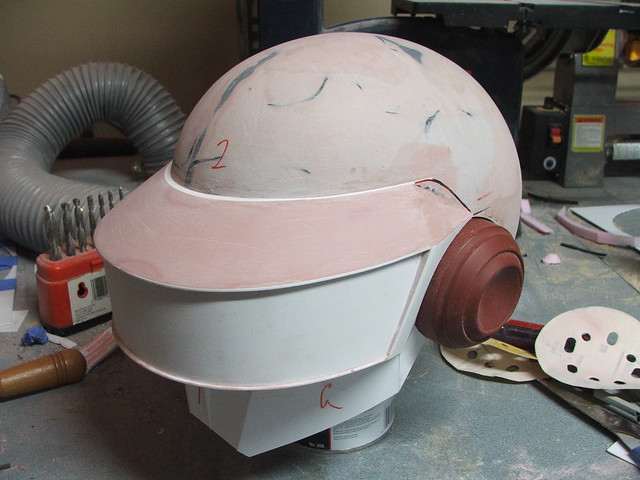
Details around the edges and at the chin, which were harder to accomplish in bondo, were made in Apoxie Sculpt.
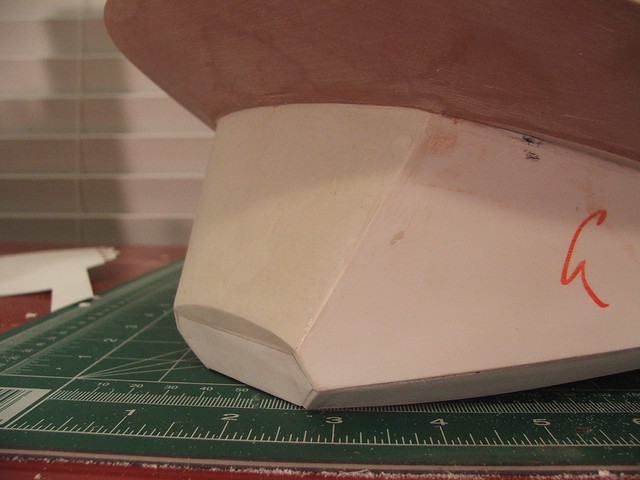
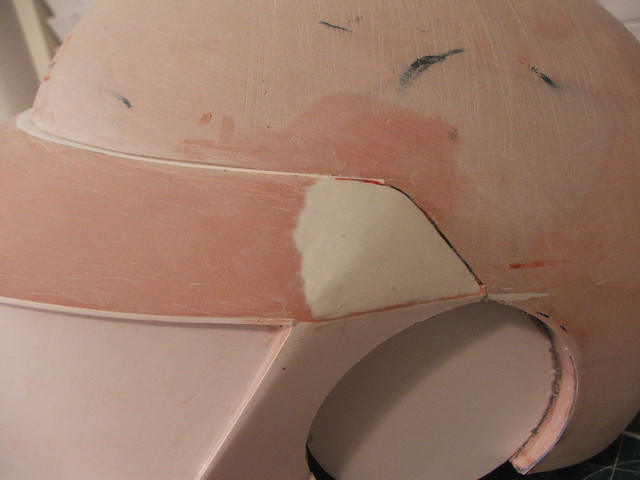
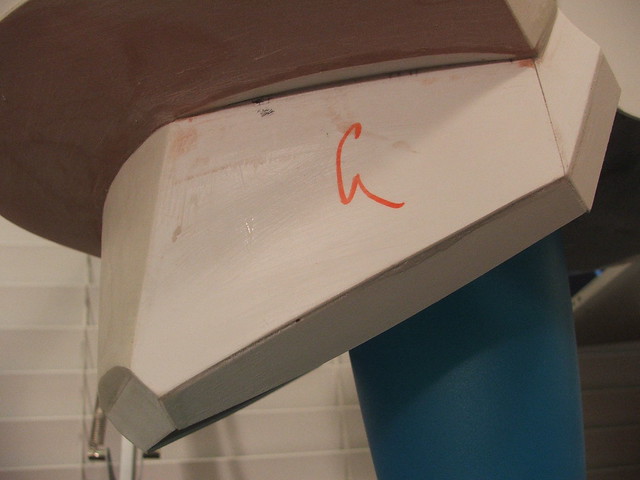
The remainder of the beveled edges around the bottom of the chin were made with about a hundred paper templates, then eventually trimmed out and glued into place with styrene.
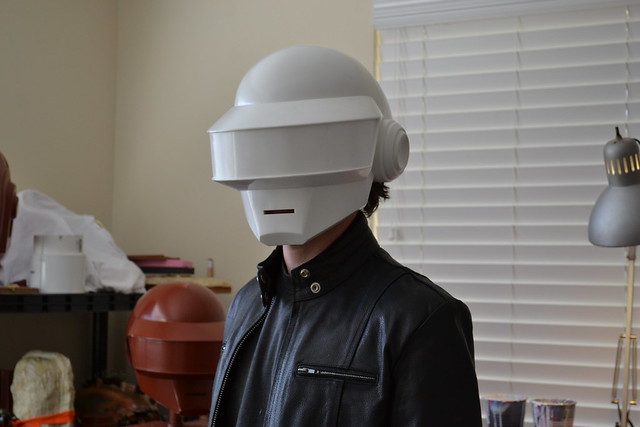
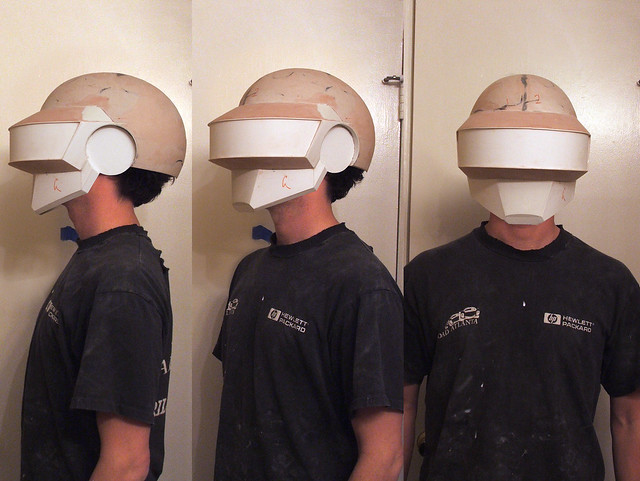
Even though the helmet was a solid piece, I couldn't resist a little photoshop testing. I set up a tripod and the timer on my Nikon, then set up the helmet on an adjacent tripod and took a few shots. By standing in the same spot and snapping a couple pics of myself, i was able to get a pretty good idea of the scale. It was perfect!
At this point, it was a bit difficult to see problem areas that needed filler, so the bucket was painted with some brown primer. Having a uniform surface makes fixing problem spots much easier.
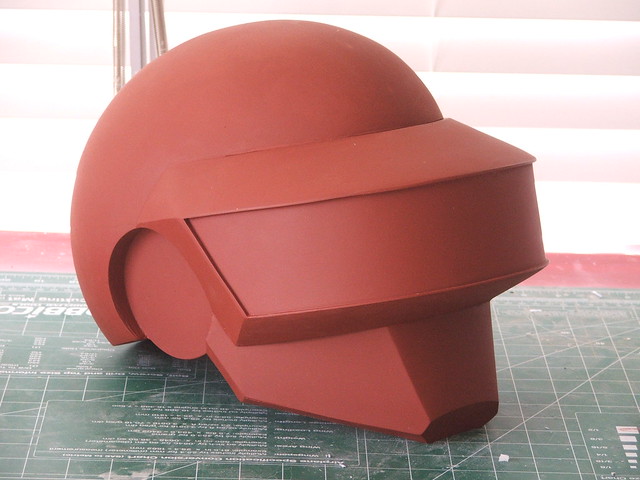
After a few thin skim passes with bondo, details like the sharp visor edges were refined.

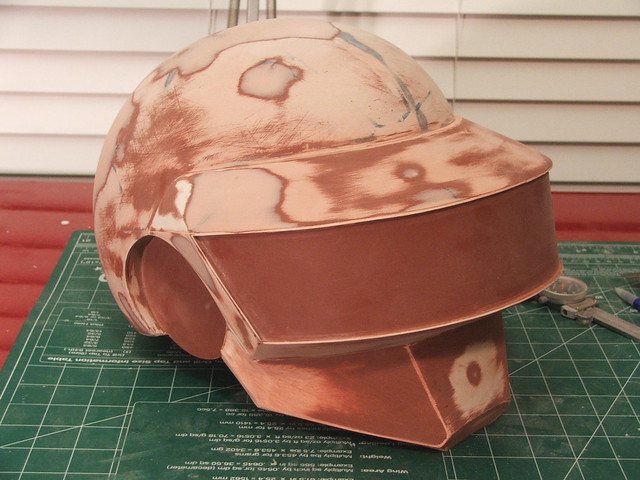
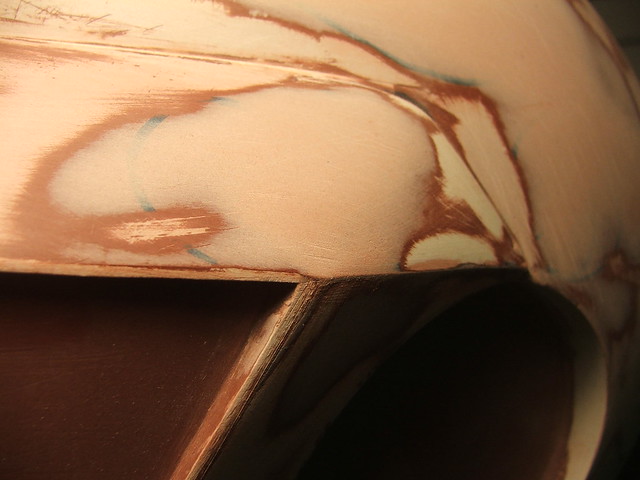
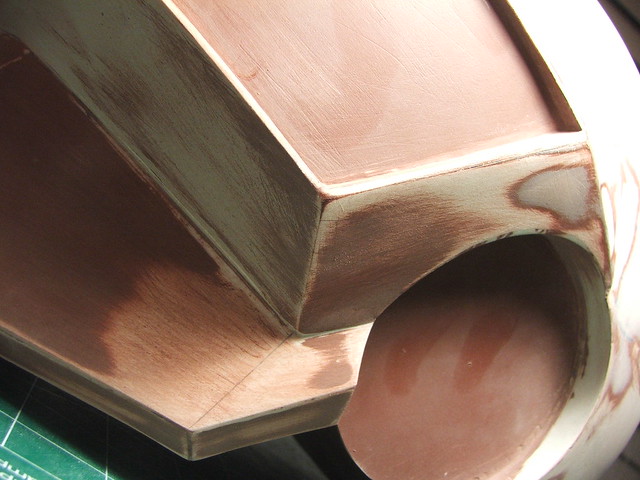
For the mouth of the helmet, I made a styrene box and countersunk it into the chin of the helmet. When castings are pulled, all you just need to hit the backside of this cavity with a dremel to open the mouth up - no tricky carving necessary!
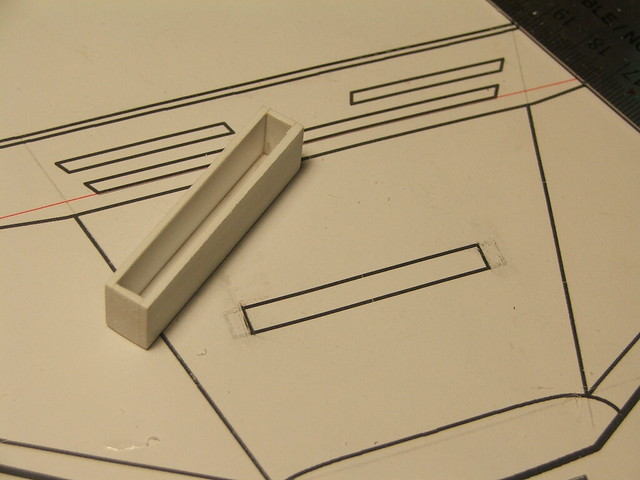
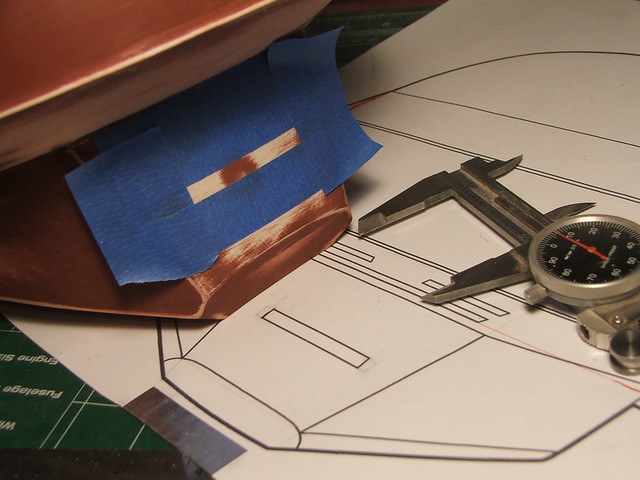
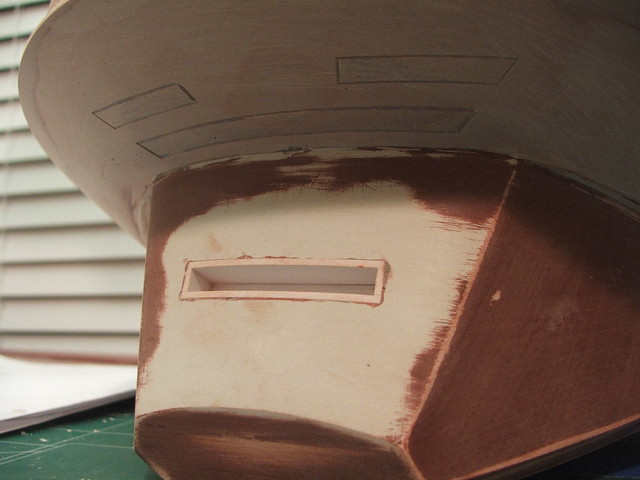
The lower "nose vents" were scribed into the bondo with an etching tool. These didn't get the same styrene box treatment as the mouth, because making those curved edges would have been a solid pain. For these, some hand-sanding later on down the road will be necessary.
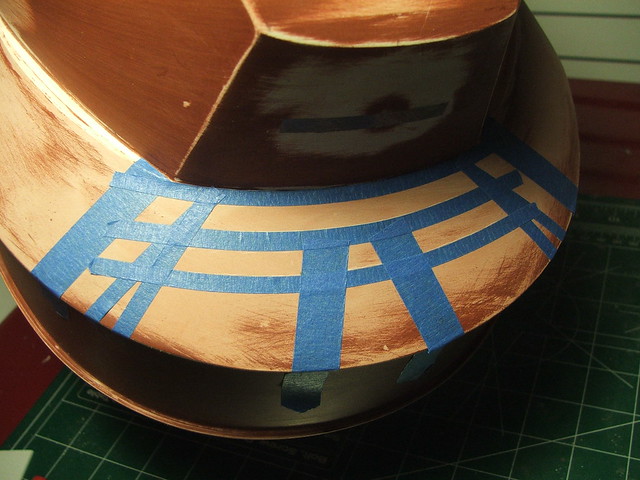

There's a seam line that runs from ear-to-ear on the top of the helmet that was a bit tricky to get right. I tried scribing this line with a tape stripe at first, but it ended up being very curvy even after several tries. I eventually figured out that using a piece of string yielded a perfectly straight result.
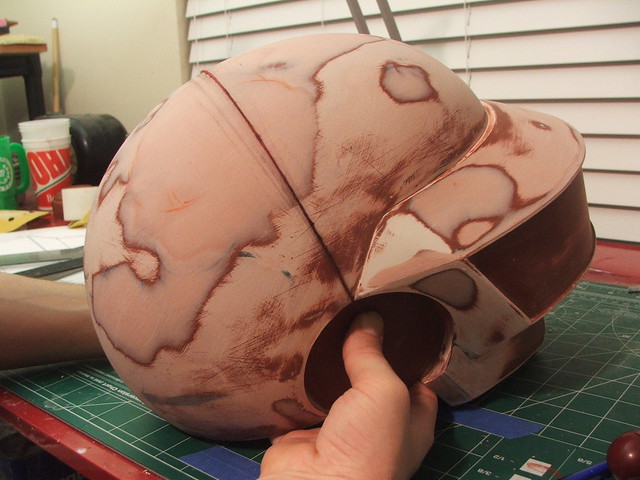
For some reason, this is my favorite look.
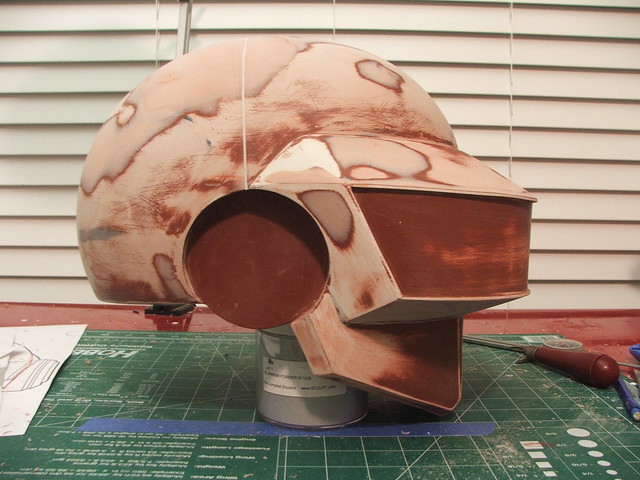
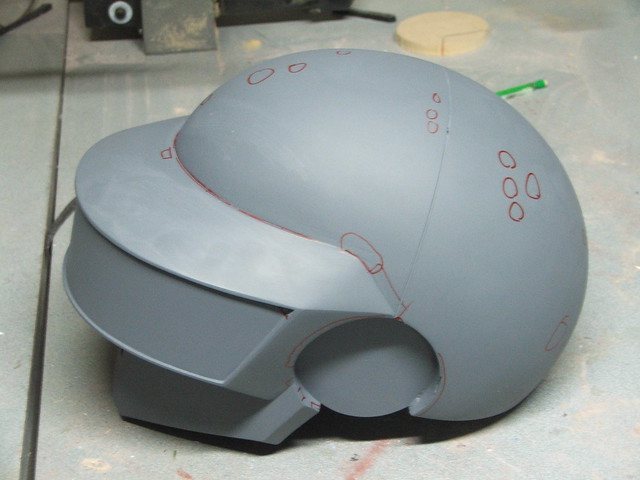
But all things must change! After another primer pass, a few small areas were marked for very thin spots of filler.
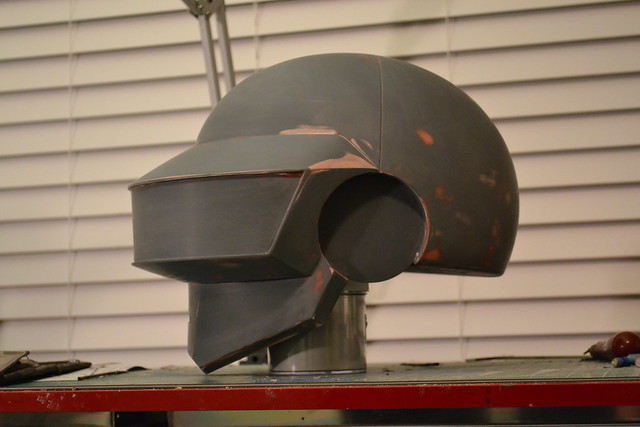
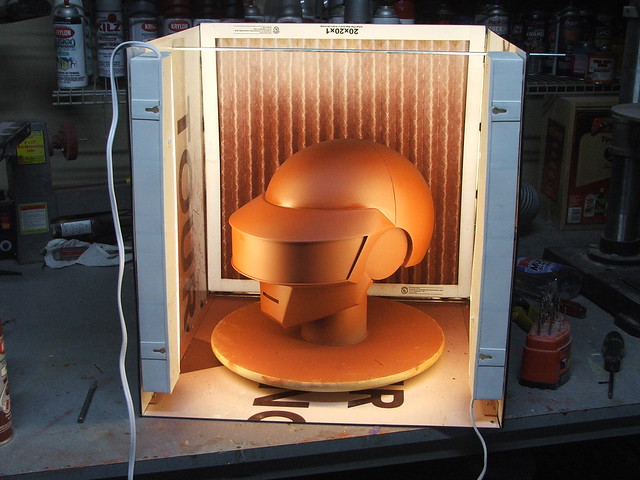
Despite the freezing weather in January, I was able to get these primer coats on thanks to my new portable spray booth. This was built mostly from scraps, but it is a fantastic addition to my shop. Now I can paint in the rain, at night, even in the cold with a space heater!
After the last coat of primer, it was time for the super-awesome-fun-wetsanding stage! I started with a sponge to get the shape as uniform as possible, then moved up from 400, 600, then 1,000 grit sandpaper.
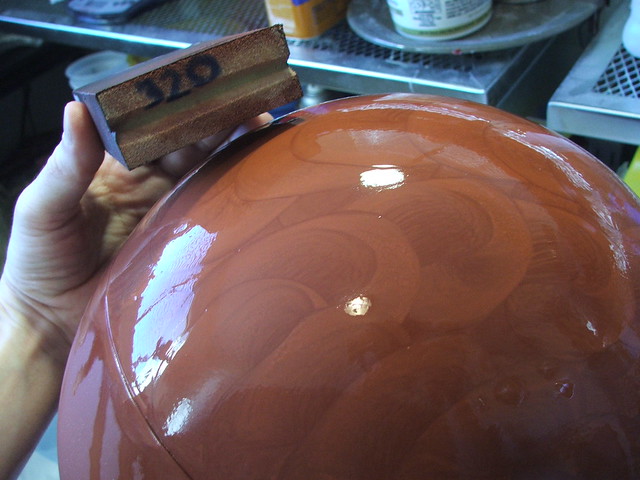
To get the form as smooth as possible in anticipation for the molding process, the primer was buffed to as mirror-shiny as primer gets.
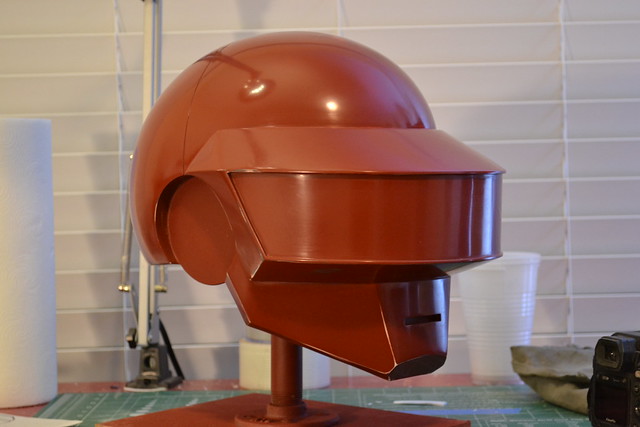
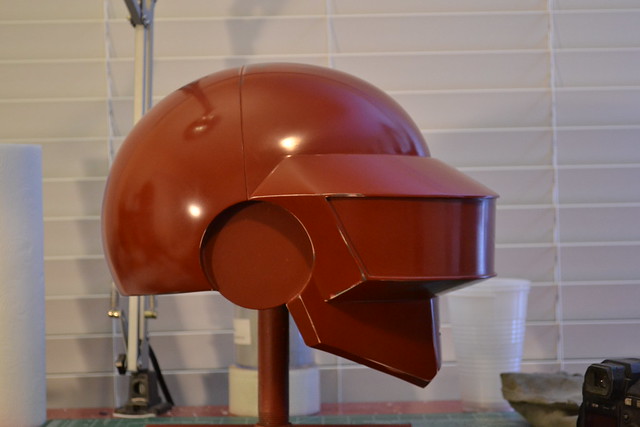
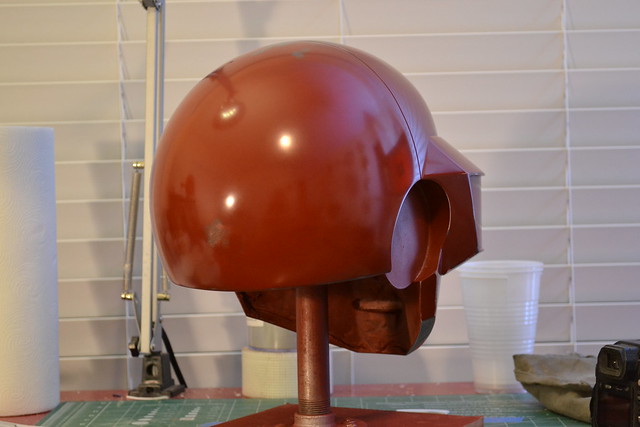
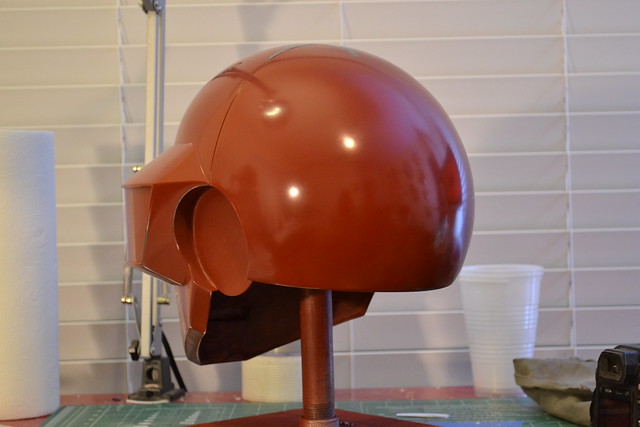
Total time to build the completed master this time was only 4 weeks! Seeing as how Guy took me 5 months, I'd say I'm actually starting to figure out what I'm doing here.
More build pics, and higher resolution, available on my flickr page! As with the last project, this will be broken up into several sections. Look forward to steps 2 and 3, Molding/Chrome and Electronics. If you're interested in getting more play-by-play updates, check out my Facebook page. I try to post as often as possible when I have new work to show.
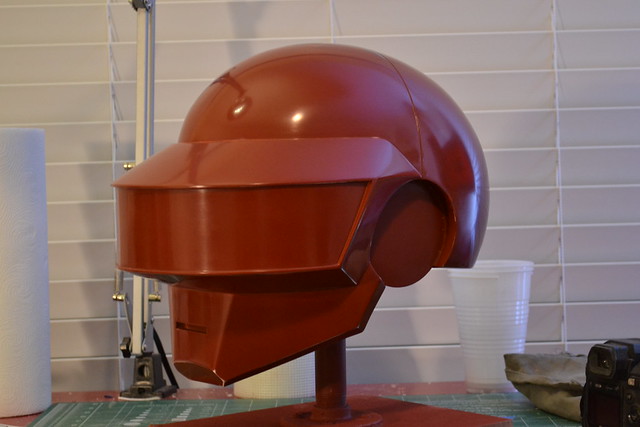
This one is going to be a whole new level from my last build. Check back soon for more, and hope you enjoy the read!
