

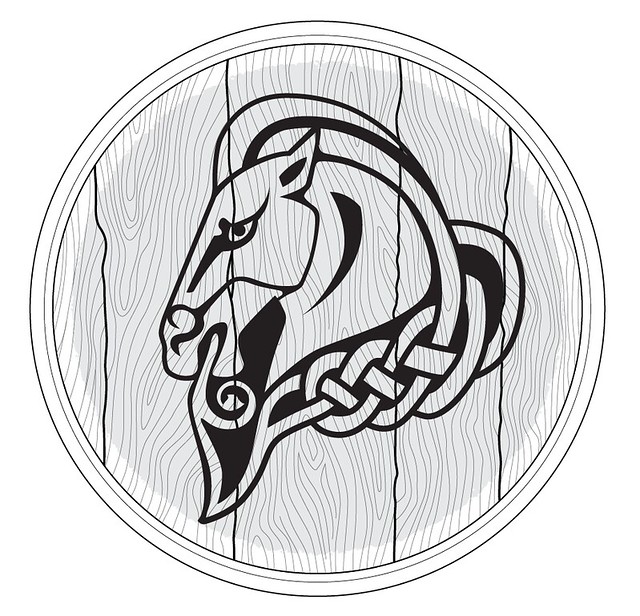
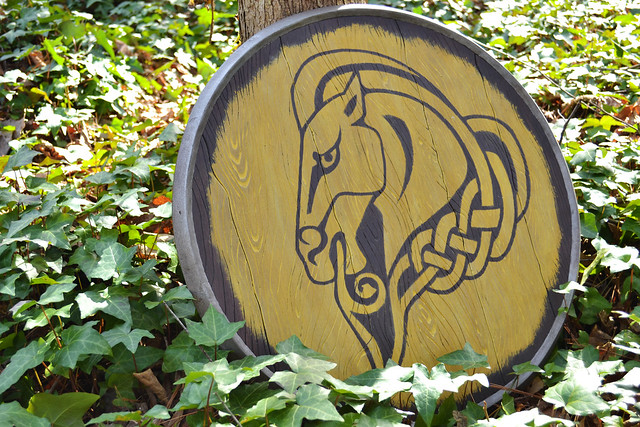
While a Whiterun Shield isn't really something you'd carry around in game unless you wanted to show off the fact that you randomly killed some town guards, I had an affinity for Whiterun due to spending so much time there. Also, the celtic knots on the horse and the yellow color seemed to work well with the rest of the warmer earth tones in the armor. I started out with some simple illustrator blueprints. There are a lot of good references for these shields on the Elder Scrolls wiki, though for some reason the shields all seem a bit oval shaped in a model viewer. For the sake of symmetry, I decided to make mine round, and 24" in diameter.
I wanted to use real wood that could take stain, but the piece also had to be as light as possible for costuming purposes. My plan was to sandwich a piece of polystyrene foam with a few sheets of luan board, then stain the wood the appropriate color. I started out by telling my
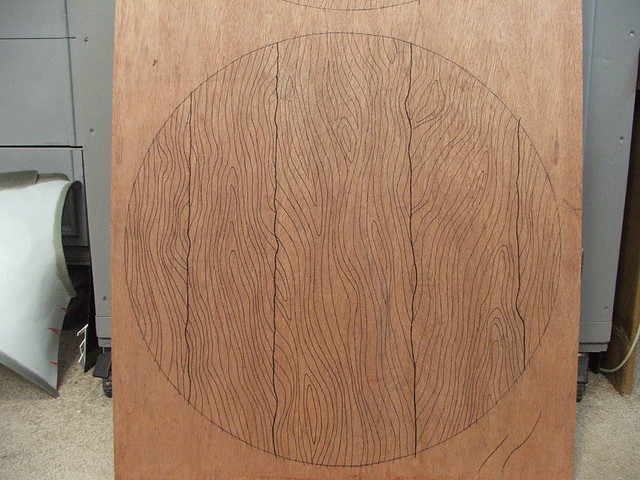
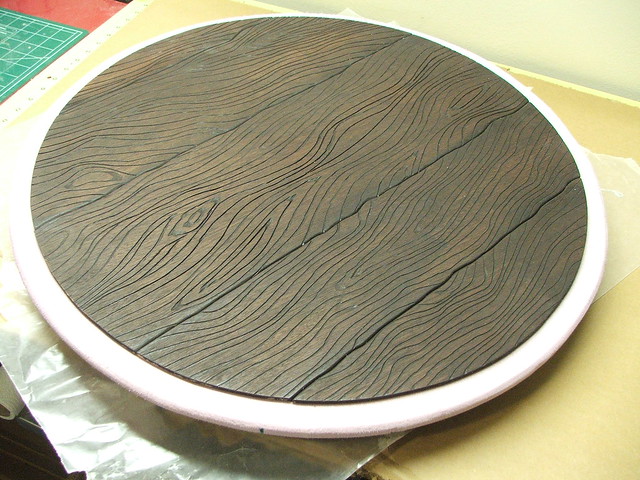
After the patterns were transferred, I cut out the wood "slats" on my scroll saw. The edges were then beveled with my dremel tool to better simulate the look of separate boards that were fitted together.

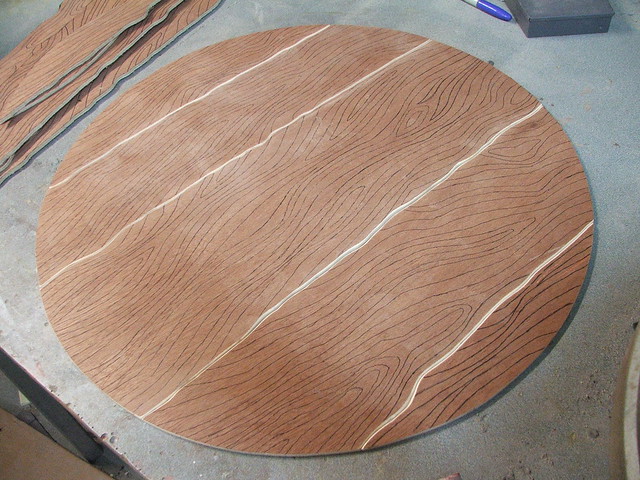
The natural woodgrain of the luan is very subtle, since it's just sheet plywood. The actual shield looks like a much deeper grain that has been accentuated with age and inclement weather. I needed a way to carve a lot of very exaggerated wood grain texture into some thin wood paneling for a shield I'm working on. After trying out a couple methods with a router, hand files, and an engraving tool, it was looking like this segment of the project was going to take forever.
I figured what I needed was something like my scrollsaw, except with a dremel wheel attached to it. I pulled the blade from the saw, rigged my rotary tool with a clamp and a zip tie, and set up a few pieces of scrap board to set the table to the right height for the paneling. The patterns in this shot only took about 5 minutes, and I had the whole thing carved in a little over an hour.

After a little while the cutting wheel built up some dust and started leaving a burned edge behind it as it cut the patterns, but with the heavy stain the wood was going to get, this wasn't too problematic.

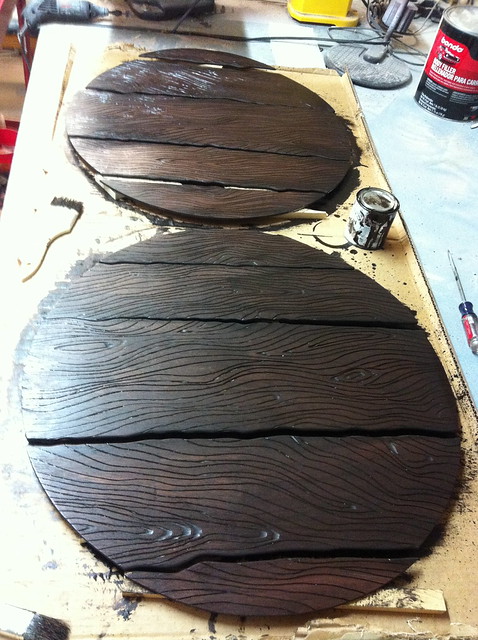
For stain, I bought some dark Minwax and brushed on two thick coats, wiping off excess while it cured to let a little more of the natural wood texture through. This isn't high end furniture work, but I think it turned out alright.
In order to make the shield thicker than the combined .25" thickness of the luan panels, I cut out a 24" circular disc of polystyrene foam to mount the pieces to.
Each board was dampened with water, spread with gorilla glue and placed on top of the foam. I piled everything heavy from my shop on top of it to keep the boards in place while they cured overnight. I call this "Adequate Clamping Pressure"

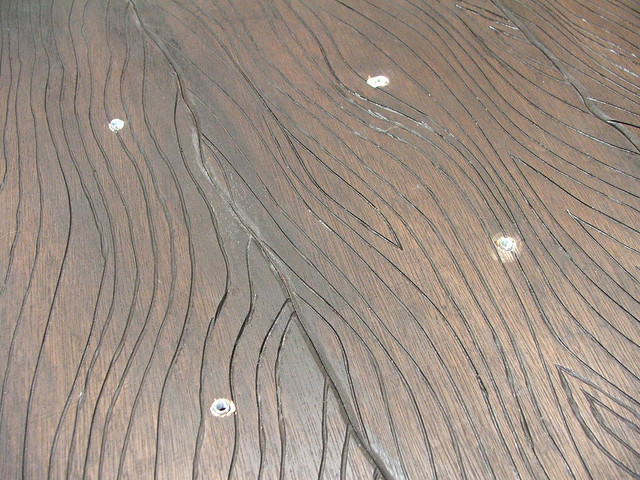
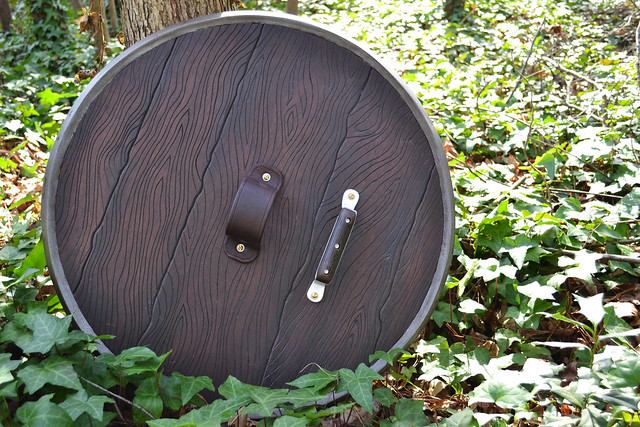
Four T-nuts were embedded into the back of the shield to hold the arm strap and handle in place. These only anchor into the wooden boards, and in retrospect it may have been a bit more structurally sound to adhere these two boards to one another as well. No failures yet, but I tend to over-enginner things for peace of mind.
The inner lip on the the shield was made with Apoxie Sculpt. As an added feature I hadn't counted on, this actually made the shield far stronger. than just the boards glued to a foam disc.
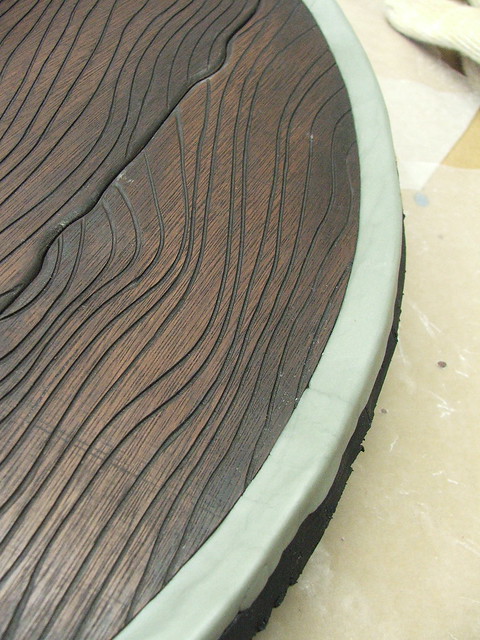
The remainder of the lip was built with bondo. Mostly this was a cost cutting measure since skinning the the entire outer edge in Apoxie Sculpt would cost an arm and a leg. I left some of the pits and gouges in the bondo when it was sanded to give the perimeter of the shield a bit more of a rougher edges like quickly banded metal. These are supposed to be utilitarian pieces made en masse for city guards, not museum pieces.

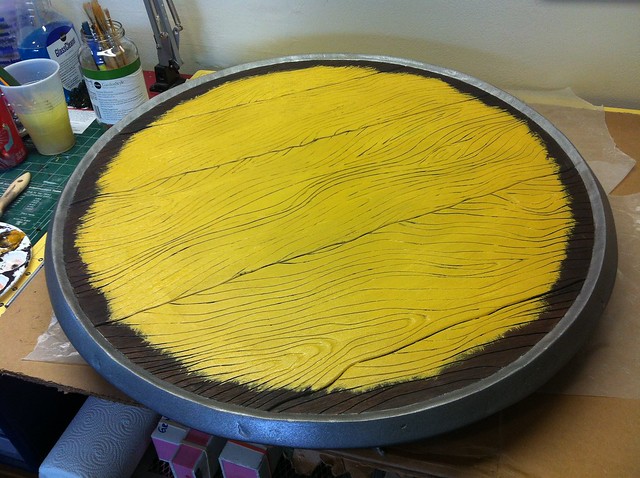
After taping off the wooden parts, the shield rim got a cot of primer and a few passes of hammered silver.

Onto painting! All of the work on the front of the shield was done with acrylics. The first pass was way, way too bright but I managed to pull it back down a bit more neutral later with some weathering and light yellow washes.
I will freely admit to being a bit spoiled by my laser cutting machine, and this was no exception. Painting the horse freehand would have been a disaster for me, so I made a set of paint masks, laser cut onto some stencil paper. Each quarter was laid down separately, then sponged over lightly to give me an outline of where to paint later.
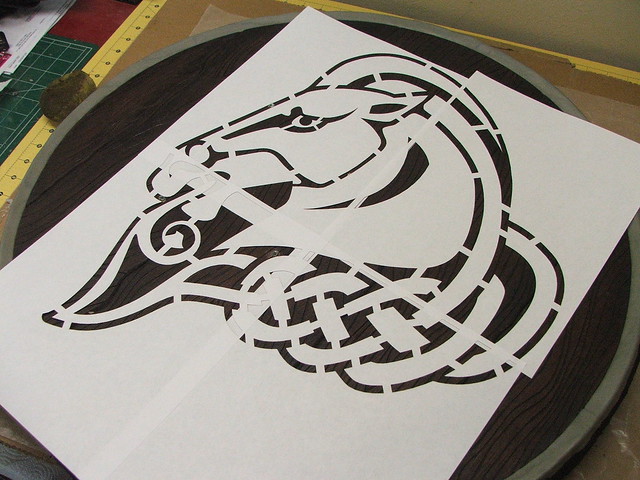

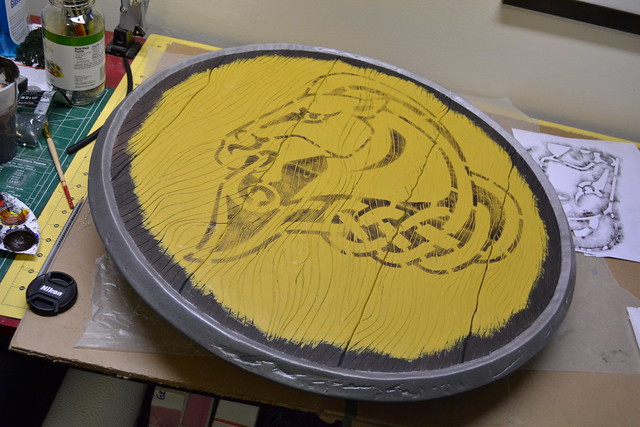
Here's the finished sponged pass. I didn't want to go too heavy here and risk later layers of paint looking uneven.
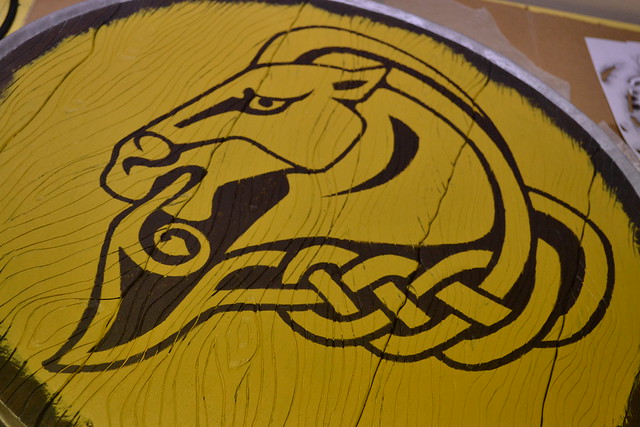
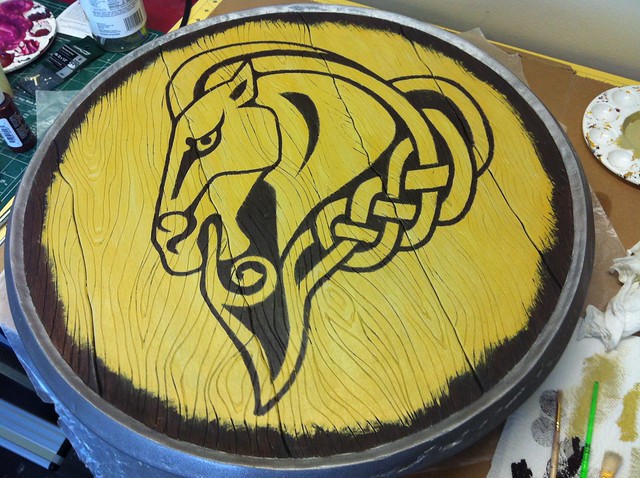
After a lot of filling in and close attention to staying inside the lines (thanks, kindergarden art class!) I had a finished horsey. I don't think the Whiterun guards call him that, but I was kind of tired and loopy at this point so his name became "Horsey".
The shield still needed some weathering since the paint and horse were too vibrant, so I did a few layers of a more bleached out yellow, applied in streaks to give the paint a more uneven and randomly worn effect. This photo is an iPhone shot and it blows the colors out a bit, but the contrast helps call out the lighter areas somewhat better.
The finished shield! It only weighs about 2.5lbs, not bad for something this large.

Admittedly, the strap and handle aren't the most impressive things in the world. My leather skills have a long way to go.
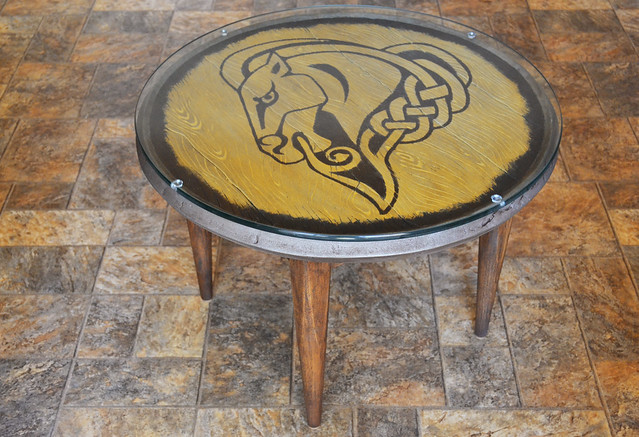
After the convention was finished, I needed somewhere to put this thing. Unfortunately, there isn't much space on my walls for a 2-foot-large disc… but there's plenty of room on the floor! I keep all my replicas in my game room, so I decided to make a little end table out of this guy. I already had an end table in my gaming room, but it was a thrift store find leftover from my college days - water ring stains on unfinished wood and a wobbly frame. Still, it had parts I could pirate for this project. I yanked off the legs and stripped the old finish with my orbital sander.

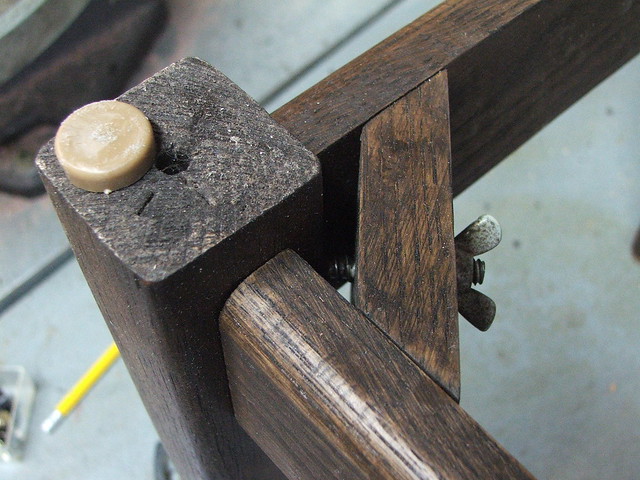
The legs turned out to be red oak, so I picked up a couple matching boards at Home Depot and built a simple box frame. The center running board holds the shield in place, anchoring to the two T-nuts used to secure the arm strap.

Each corner has a small nylon furniture foot on it that keeps the frame from scuffing up the under/backside of the shield.
After sourcing a 24" sheet of glass for the top (thanks, Mom!) I now had a much more impressive side table for my game room than my leftover college thrift store find.

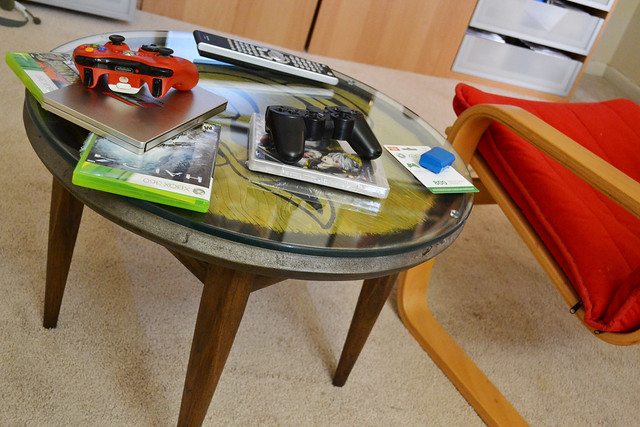
Obviously, it's not always this clean. Here it is in a more natural scenario…

Thanks for reading!