This is the N7 rifle (which, at the time of this writing, I don't think has even been formally announced yet!) It's an Assault Rifle which takes cues from the weapons included in the collector's edition of Mass Effect 3. Its style mirrors the already-announced N7 pistol, shotgun, sniper rifle and SMG.
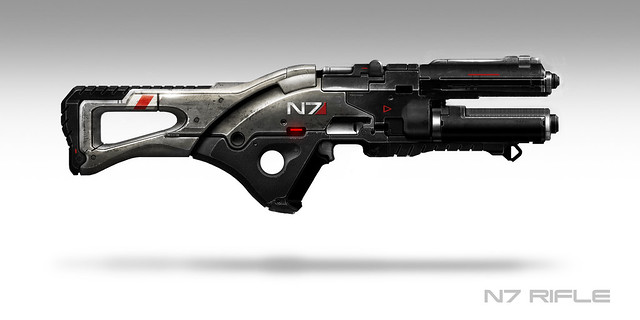
The guys at Bioware wanted theirs ready for San Diego Comic-Con 2011, which gave me roughly 14 working days. LETS GO!
I started in a very familiar way - drafting out line art patterns onto MDF. These shapes here are what I decided to call the "main body" of the rifle.
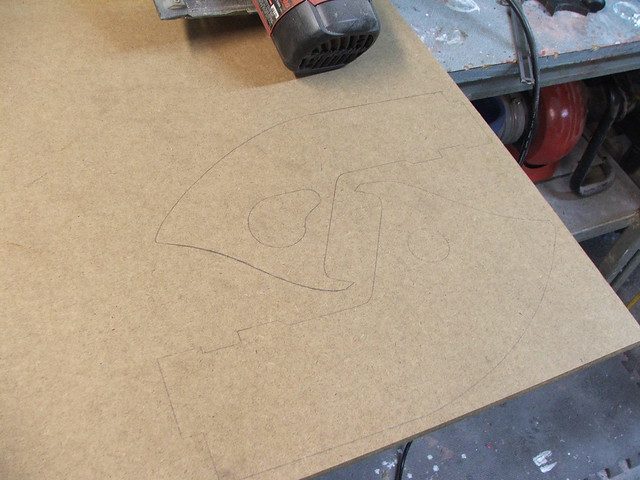
The idea was to make the rifle in several different parts which would be molded and painted separately, then assembled and weathered as the finished rifle. Here you see parts for the main body and rear stock cut out.
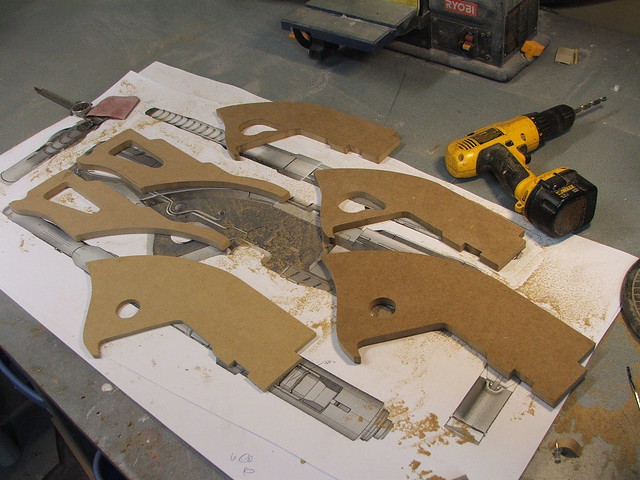
These layered parts were glued and clamped to dry.
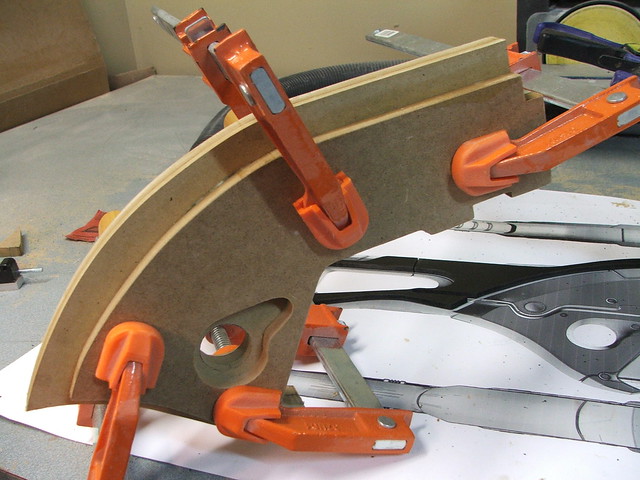
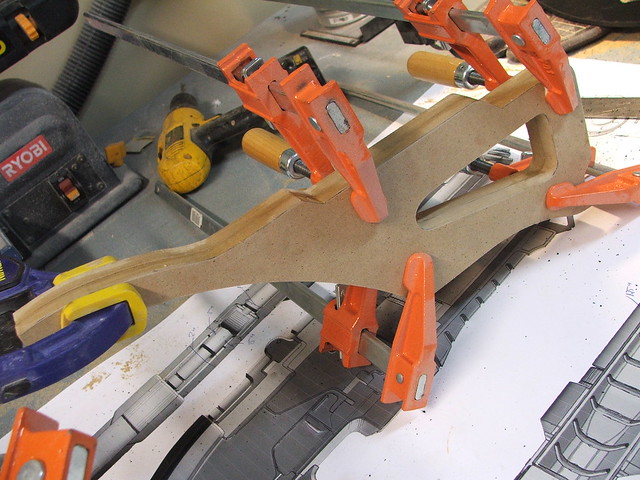
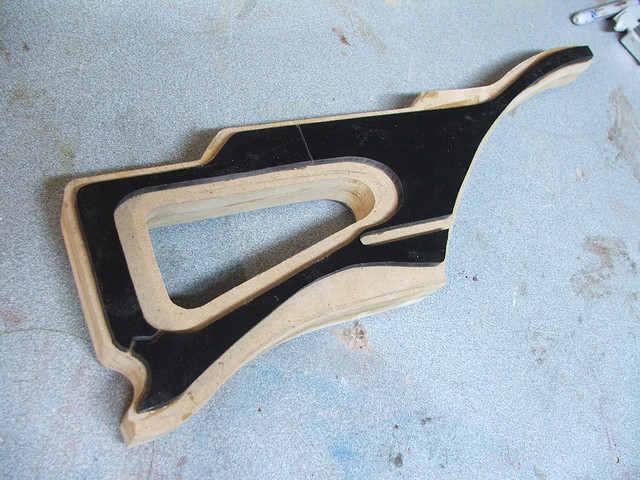
On the rear stock, a shape trimmed from 1/4" sintra marks the area where the rifle edges curve up to a flat facing surface. This will make a bit more sense later.
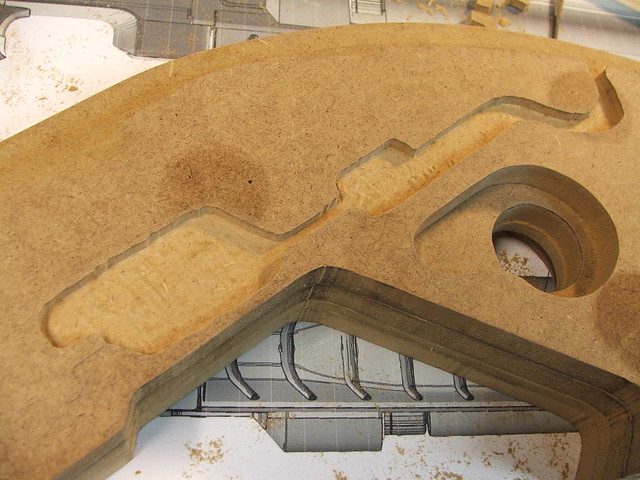
To add dimension to the side of the rifle, a channel was carved out of the top layer of MDF with a dremel tool. Afterward, a piece of styrene is dropped in to make a flat surface - this is much easier than trying to sand something smooth in a tiny area.
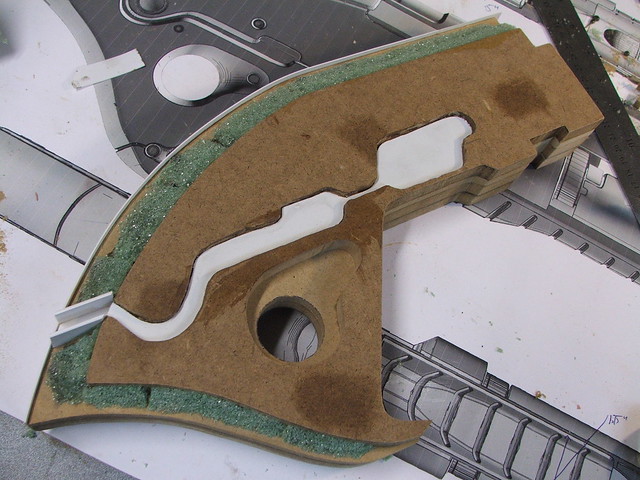
In the shot above, you can see the "step" in the MDF body of the rifle has been filled with green foam. This was then skimmed with bondo to make the large bevel seen on the trailing edge of the main body. I'm missing photos of it, but the rear stock was treated in the same way with the sintra layer acting as the upper edge.
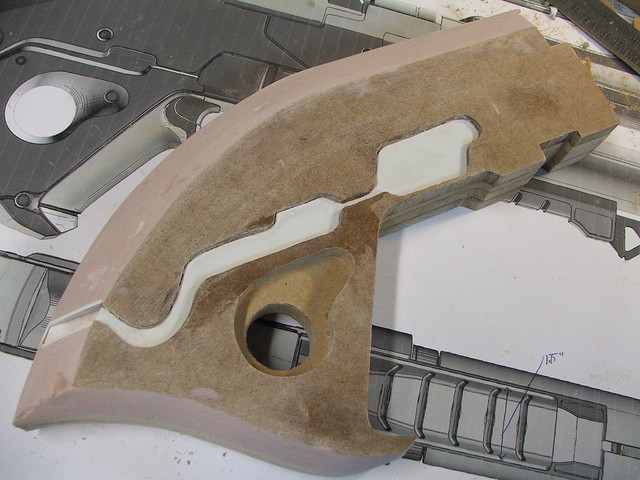
The rest of the raised detailing and panel lines for the body of the rifle were made by cutting .080" styrene sheet. These pieces were first joined with double-sided tape before being trimmed on my scrollsaw, to make sure they were perfectly symmetrical.
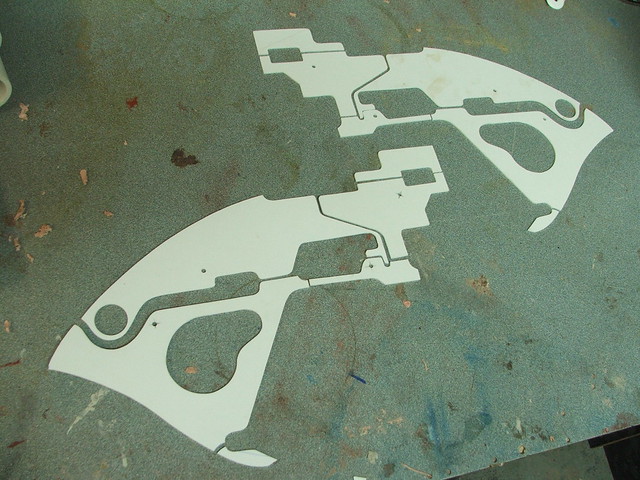
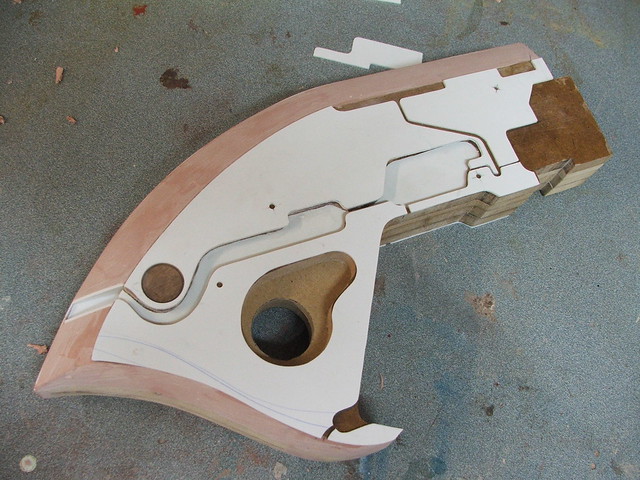
Here's the styrene plates in place on the rifle body.
Gluing styrene to wood is odd, but I've found that if you brush a coat of sealer (in this case because of the fast timeline, I used superglue) over the MDF, then getting a strong bond is much easier.
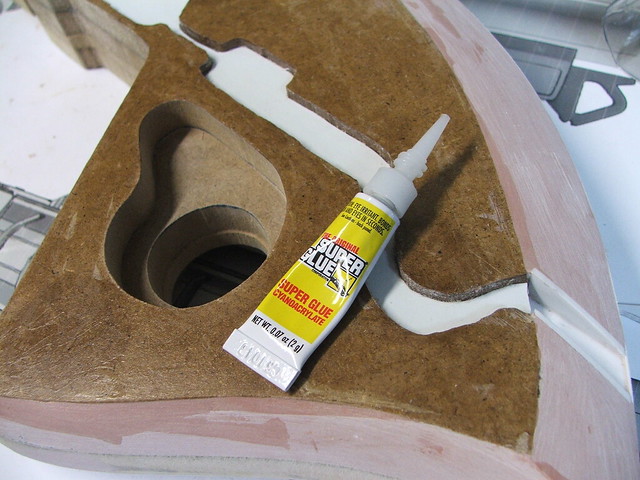
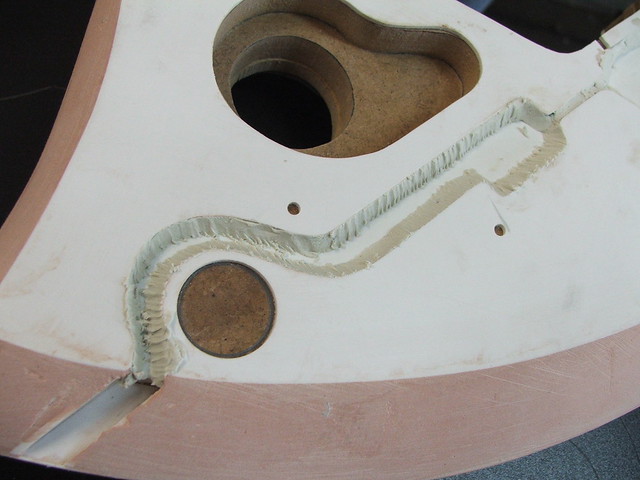
The edges of the channel were still raw MDF, so I filled them with apoxie sculpt to make a clean beveled edge. The first shot shows getting the clay in place, and the second is after some smoothing out with clay tools.
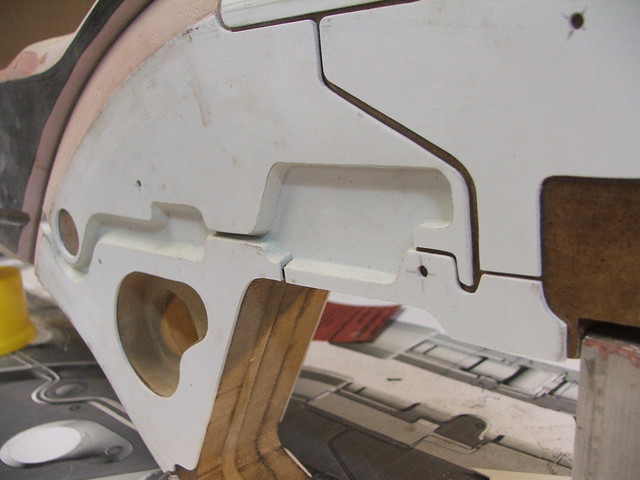
The upper details on the main receiver were a mishmash of acrylic rod, PVC, styrene and sintra. If you have the space, keep all your little plastic scraps - there's no telling when they'll come in handy!
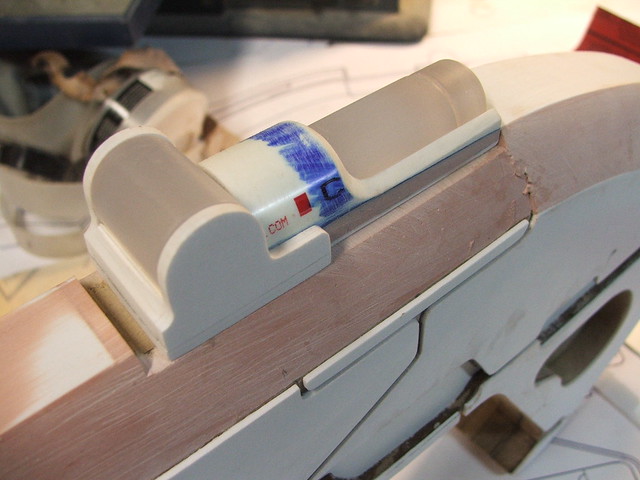
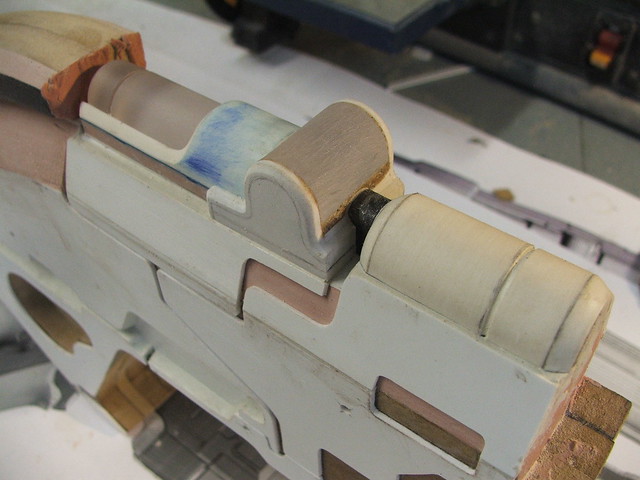
Case in point, the "drum magazine" shape at the back of the lower barrel was created by bending .040" styrene sheets over sections of acrylic tube I had left over from my Portal Gun builds.
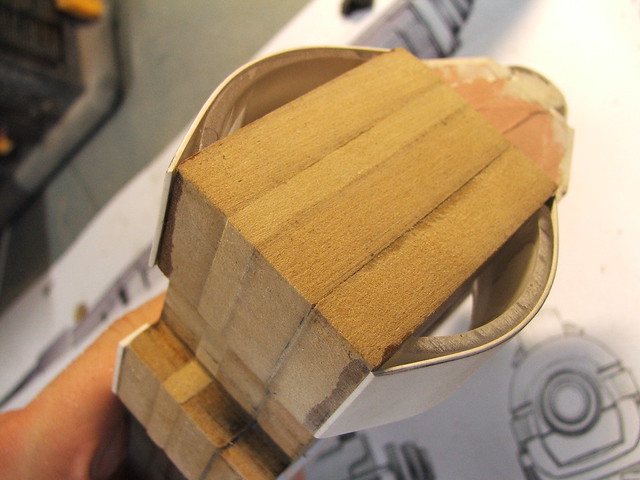
The rear of the magazine was made from 1/2" sintra shaped with a dremel.
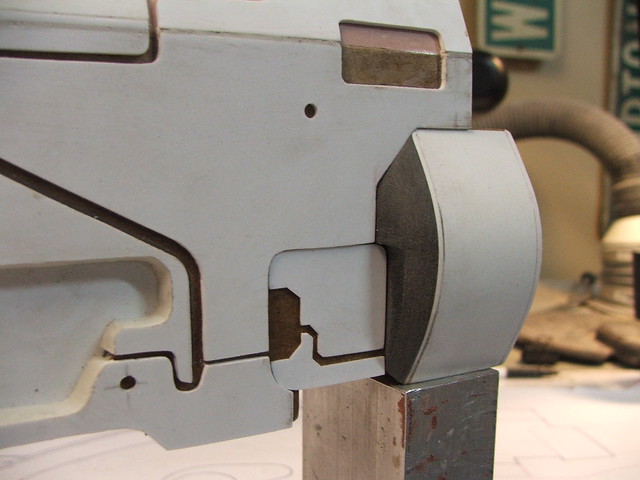
The grip shape started out as a rough spine cut from 1/2" sintra. The trigger area here has been created with a piece of .020" styrene. This makes it easier for me to sculpt later.
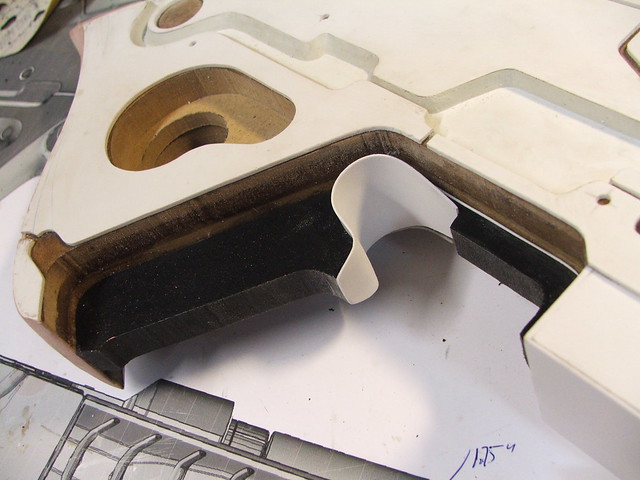
The actual grip was shaped with Apoxie Sculpt. By mocking in the trigger area earlier, I just had to push the clay into position around it. Much easier than trying to get a clean even curved shape like that by sculpting!
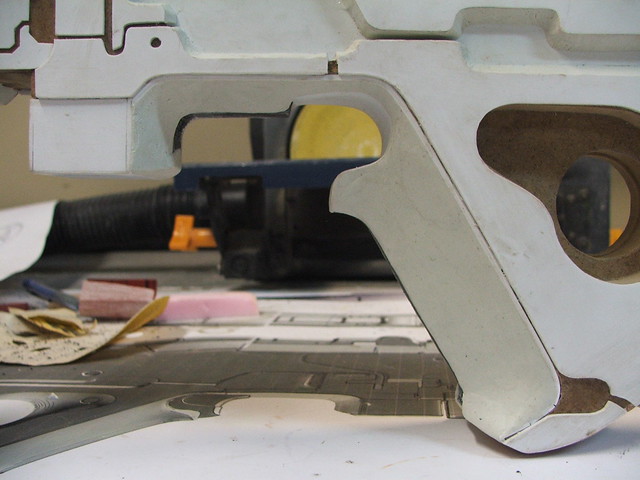
After this addition, the main rifle body is starting to look fairly complete. Certain seams have been filled in with apoxie sculpt in preparation for molding. You have to make sure that there are no open seams which can trap silicone and cause tears in your molds later on. Its tedious, but saves a lot of time in the long run.
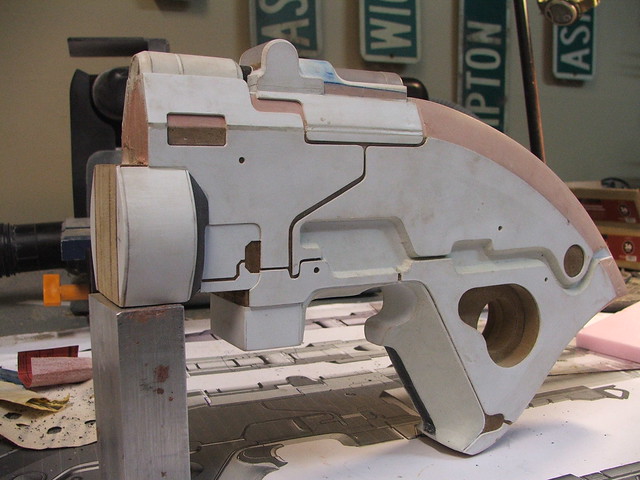
With the main body fleshed out, I started work on the barrels. The lower barrel came first, as it was a fairly simple piece to construct. There are 2 PVC pipes nested into one another to create the stepped look, and section of styrene create the beveled edges.
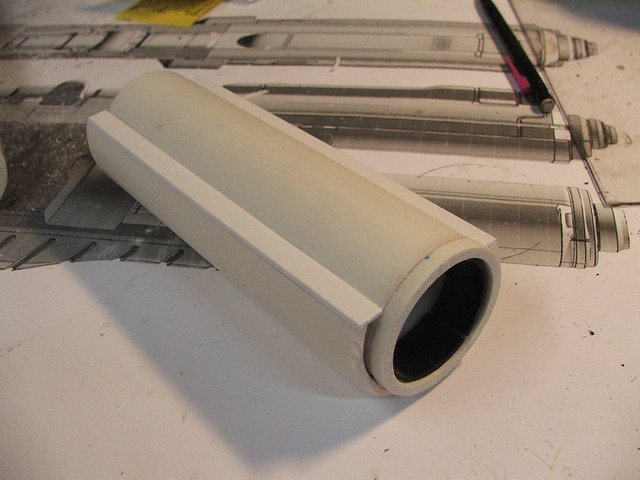
Towards the back of the barrel, additional details were created by making some styrene boxes. Bondo was used to smooth the details into one another. On the backside, I added a PVC connector to sink into a recessed section on the rifle body. This post will make the eventual glued joint on this piece much stronger.
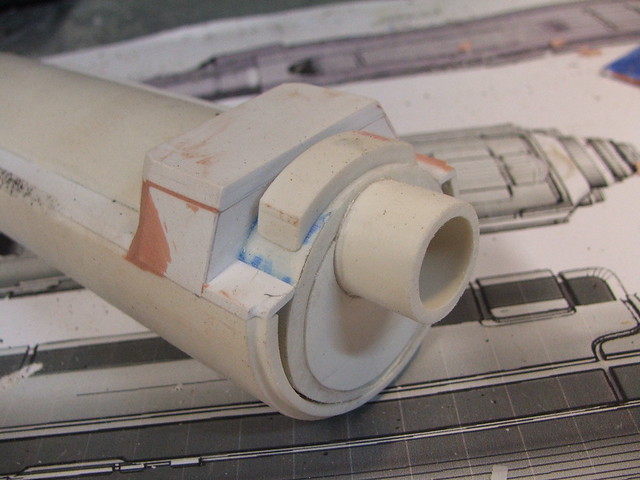
The PVC connector slots into this cylinder, mounted at the front of the rifle body. You can see the connection in the second pic below.
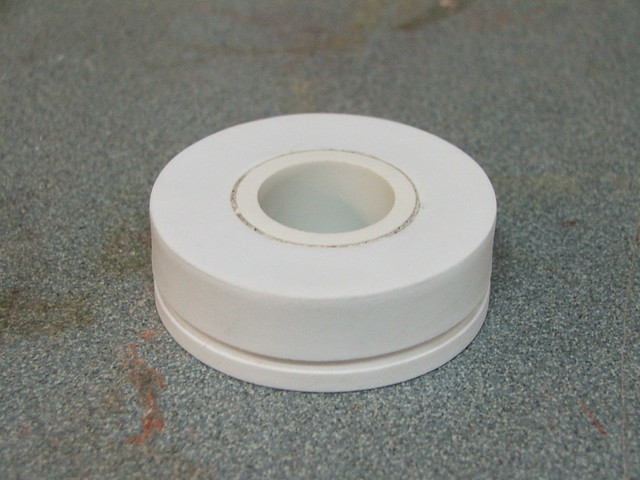
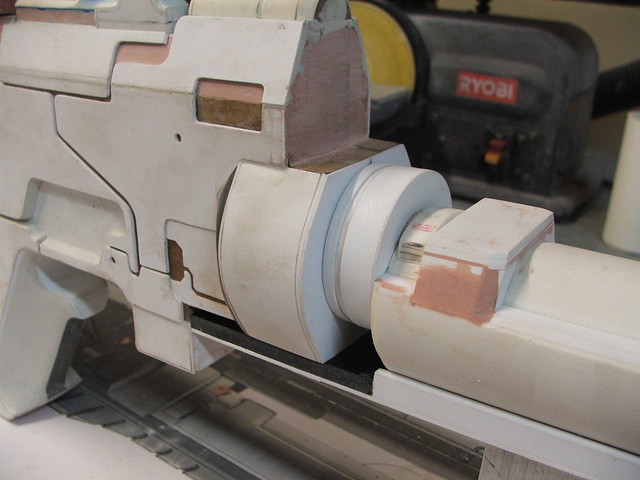
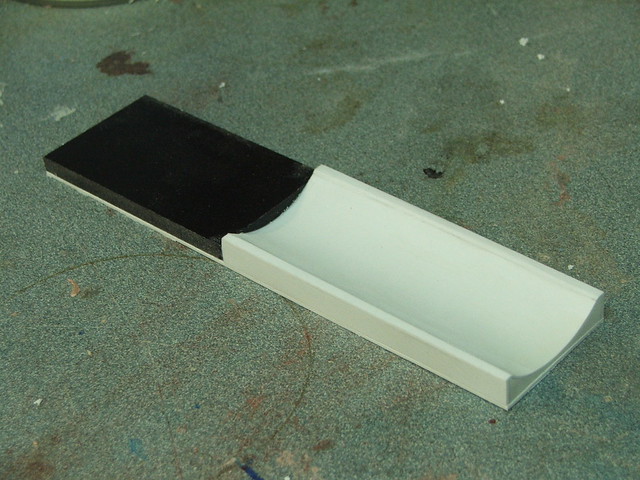
Next up was the lower grip. Since this has to fit to some very complex contours, I decided to make a "base" first which would slot up into the lower barrel and rifle body. By making this piece span across both sections, it provides strength to the final assembled rifle. It is also a section which will be handled fairly often, so it had to be strong. This is the first part, with the front curved section mating to the lower barrel bottom and the back connecting to the rifle body.
The actual textured part of the grip was first cut from a block of sintra, then several cuts were made to mark the position of the oval-shaped grip lines.
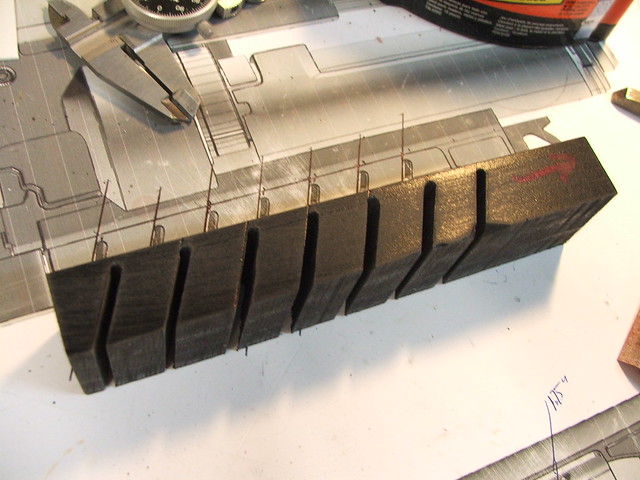
Cutting these in first made sure the lines were in the correct position after the piece was trimmed to shape. The grip was cut down on the sides and front on my bandsaw, followed by some shaping with a dremel.
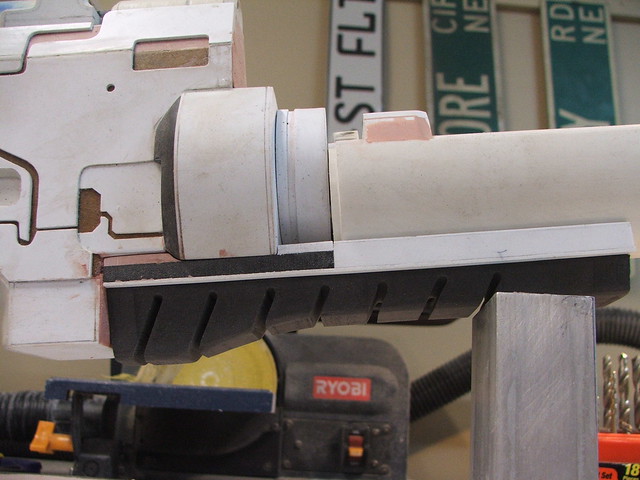
The cavities left from the cutting were then filled with apoxie sculpt to form the recessed cuts. I repeated a similar process for the grip texture on the rear stock. The D ring on the front of the grip is made from 1/4" sintra, and the rest of the recessed details are more layered styrene.
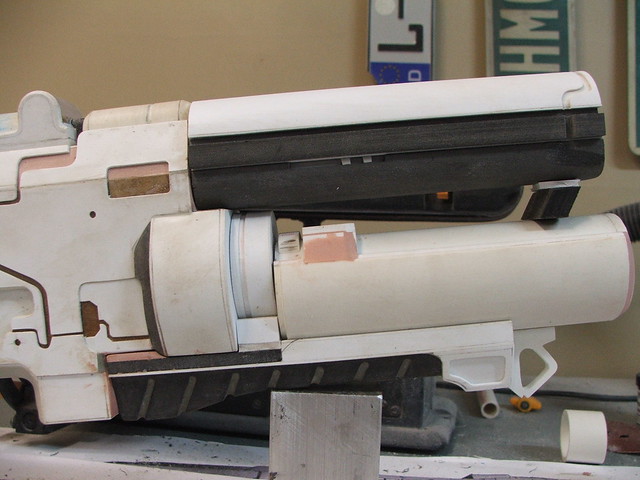
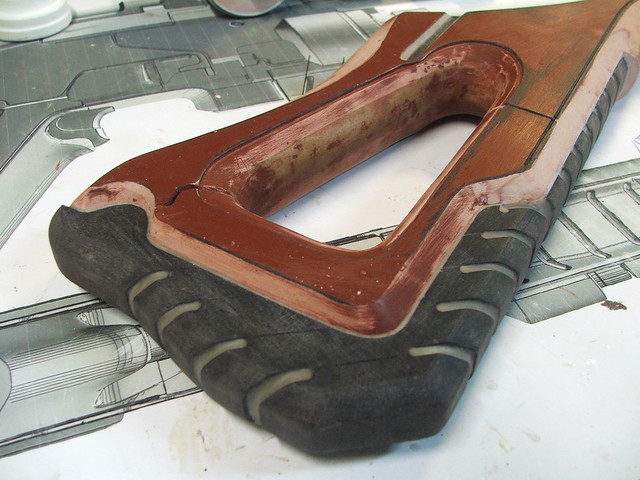
In the first shot above, you can see some work on the upper barrel. With the deadline looming, I unfortunately omitted a lot of the photography of that component as it was being constructed. The upper section is a piece of 3" PVC pipe with styrene vacuumformed over it to increase its diameter and create panel lines. Both lower sections are 1/2" sintra shaped on a table router.
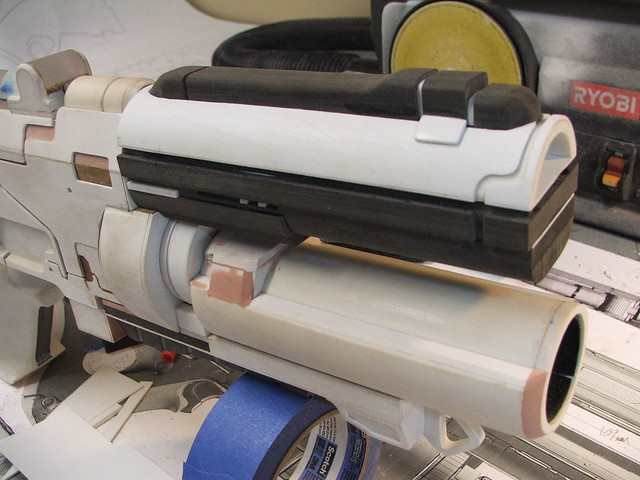
The rather chunky sight rail is made from 3/8" sintra (it really feels like I'm repeating myself...) as well as the front beveled details. After a few bondo touchups and some sanding, the upper barrel was ready!
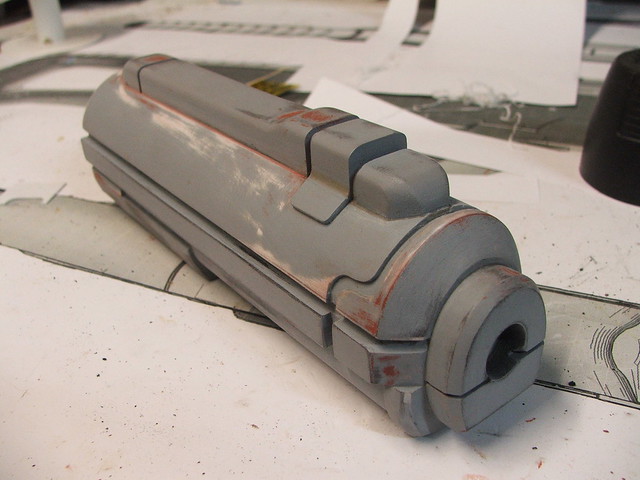
There were a few small other details needed before getting the components ready for molding.
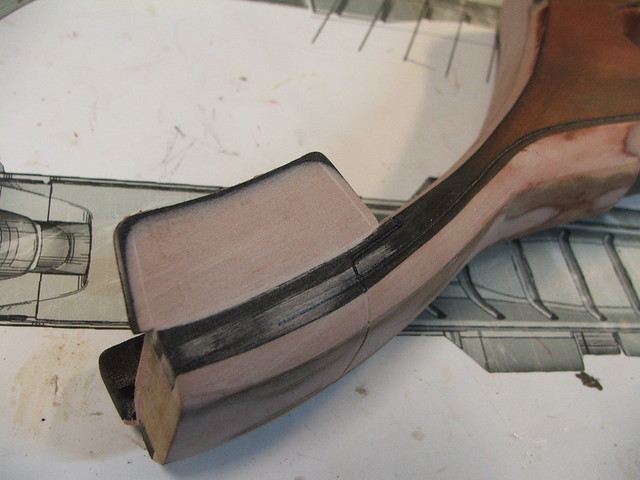
The rear stock needed its finned mounts added...
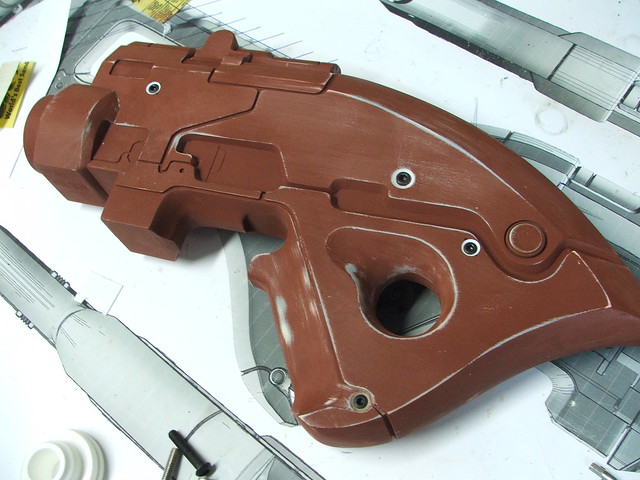
...the main rifle body needed a couple hex bolts countersunk into the surface (I also scribed a few detail lines in the channel above the trigger and spent a lot of time smoothing the seam lines)...
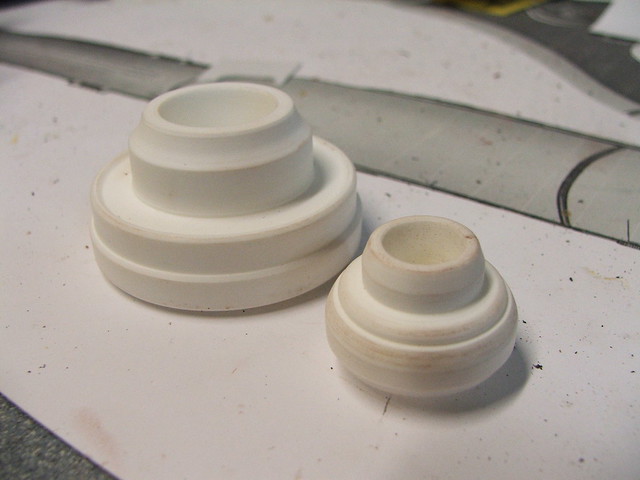
...and the barrel muzzles needed to be lathed out of some resin blocks.
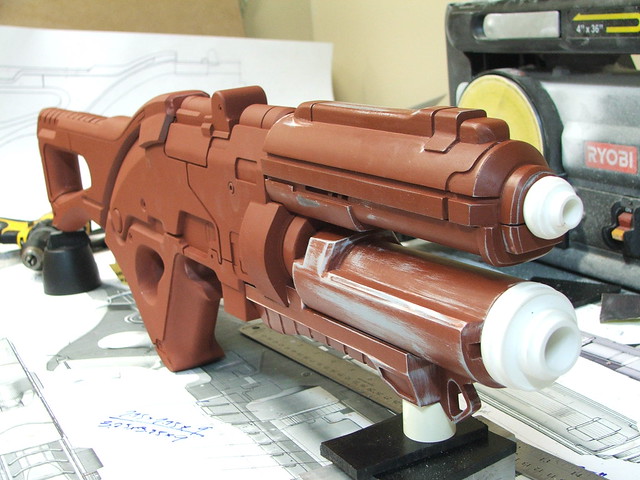
With these details complete, and after a couple dozen hours filling small cracks and divots with spot putty, the gun was ready for silicone!
I opted to mold the two barrels and lower grip in simple box molds, while the (much larger) main body and rear stock would be brushed on. The boxes themselves were made out of 1/4" sintra. MDF would have been cheaper, but sintra glues very quickly and has no pores for silicone to seep into. With time a precious commodity, I went with what was available!
The masters were embedded into one half of the box molds with clay, and sprayed with mold release. After brushing on a thinned coat of silicone (Smooth-on's "Omoo 30"), the boxes were clamped together and filled with rubber, then allowed to cure overnight.
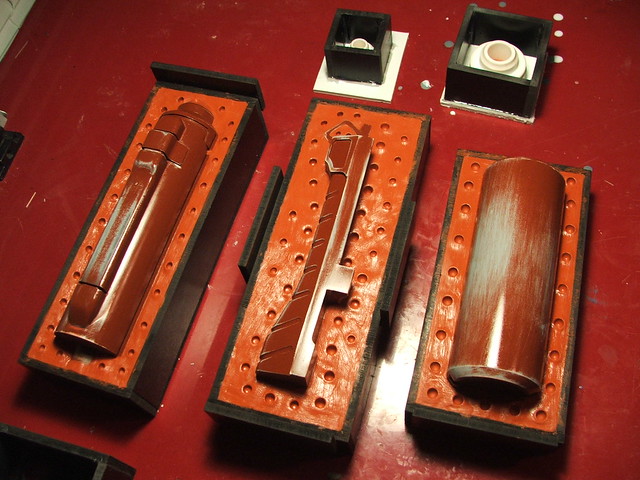
After the first half cured, I repeated the process to the other side. Mold wax was used to keep the silicone from curing to itself. The finished molds were easily some of my best, and yielded fantastic results.
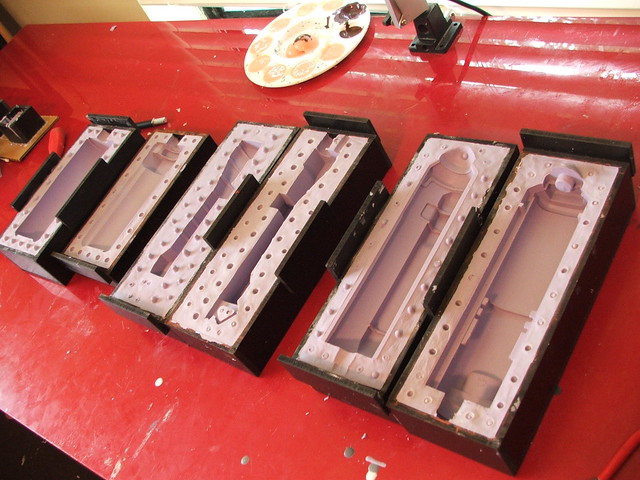
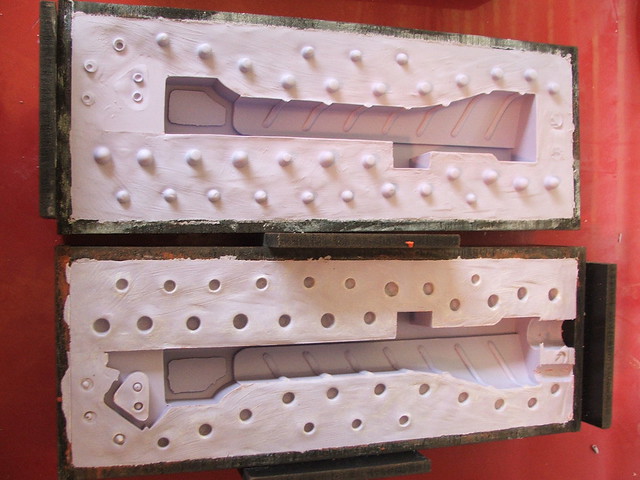
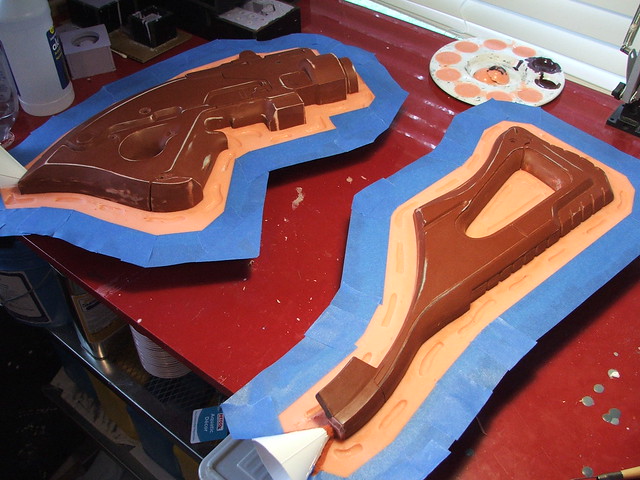
For the body and rear stock, I trimmed sheets of foamcore to fit around the outside of the master. These were then secured in place with a thin clay wall.
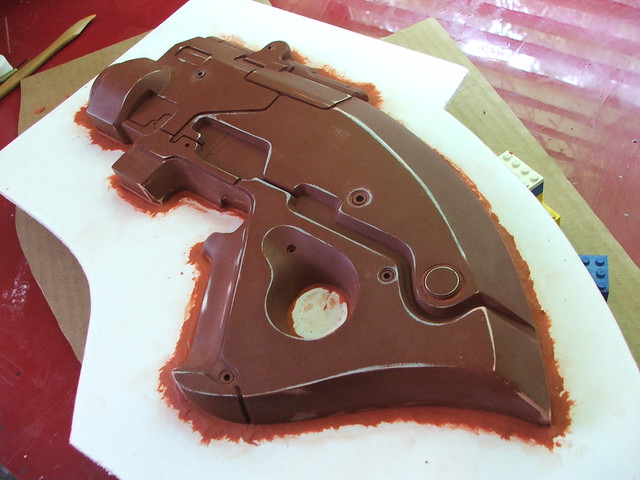
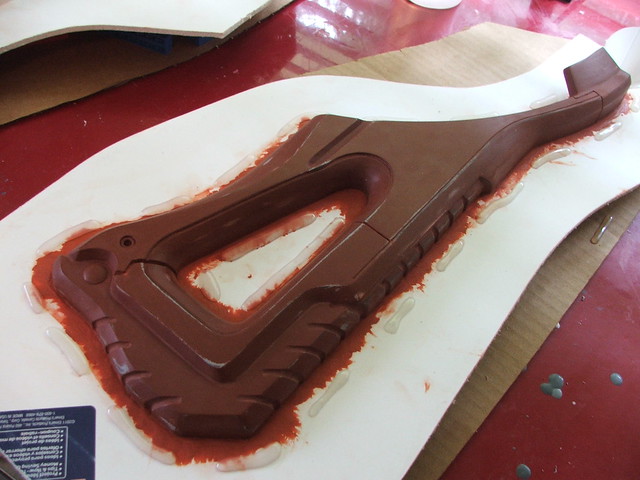
I used Rebound 25 silicone for the brush on molds. If you've seen any of my helmet molds, the process is very similar. Thinned brush coat first followed by regular coats, then thickened with registration keys.
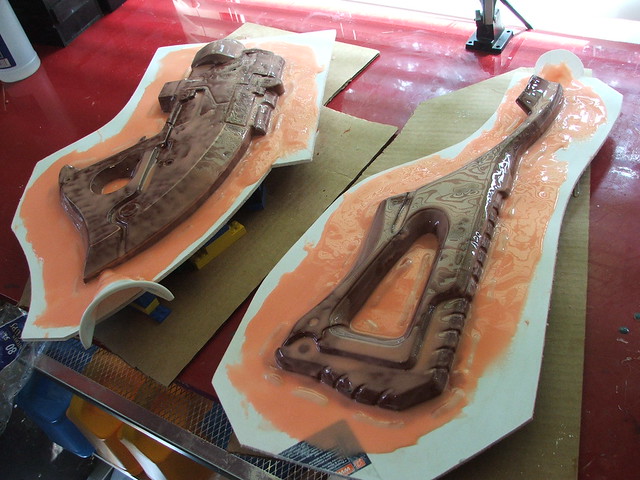
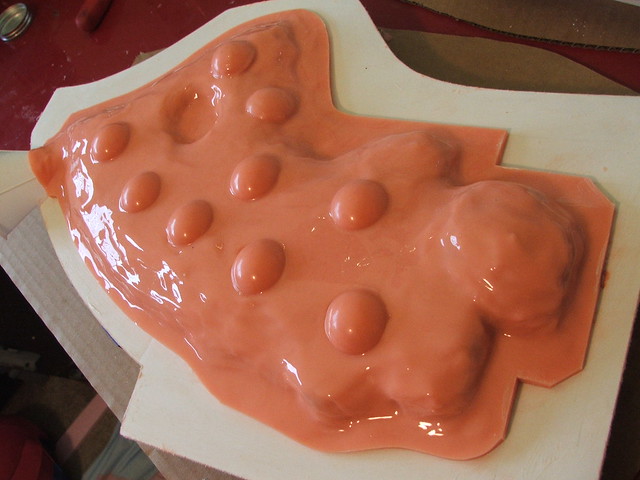
The foamcore really made sure I had a clean even edge for both the mold and the mold jacket. After 12 hours of cure time, the pieces were flipped and I molded the opposite side.
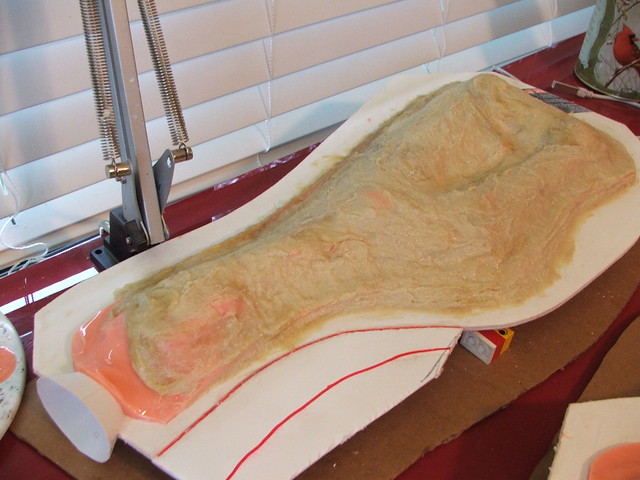
The mold jacket is made with Smooth-on's "Plasti-paste." A tip about working with it: taking a large stiff brush and going over the surface with rubbing alcohol will smooth out any jagged edges and make the final cured piece much easier to handle.
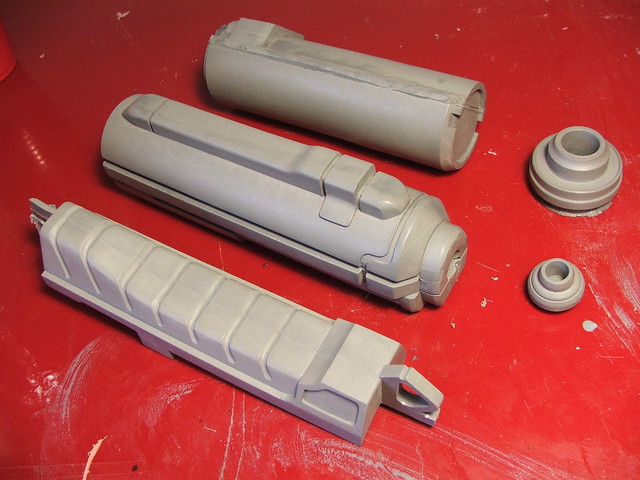
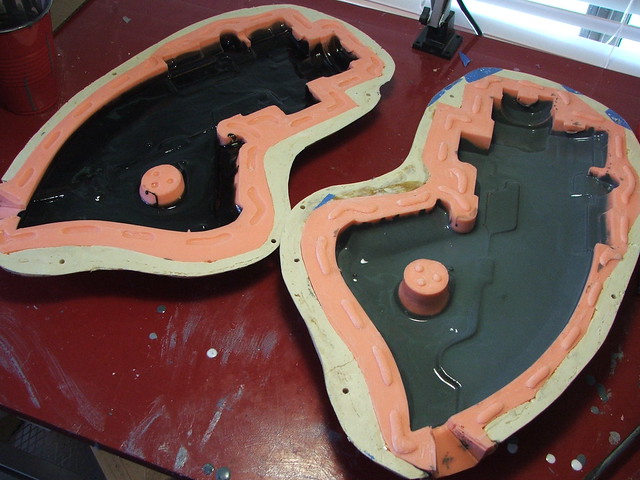
A few shots of the finished molds, in use, and with their first pulled copies. The final pulls needed very little sanding and had almost no trapped air bubbles. I think I'm finally getting the hang of this!

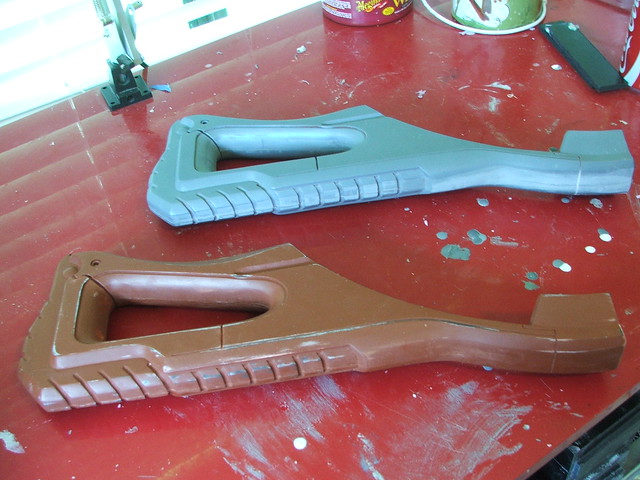
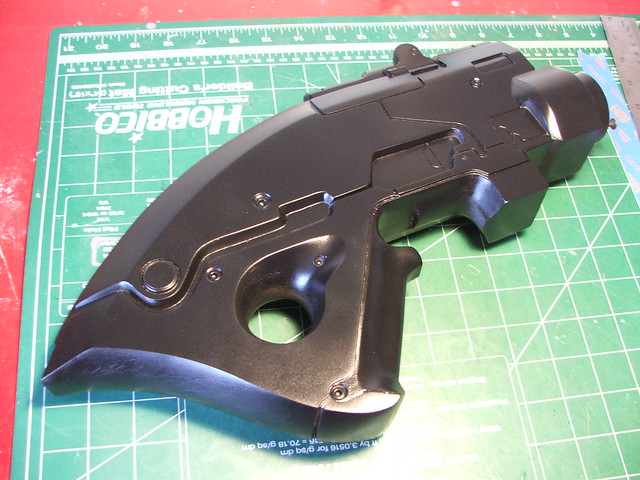
The painting process was, unfortunately, another area where my photo documentation suffered in order to make the deadline. All parts were first painted with satin black, then masked off in various areas for topcoats of silver and texture.
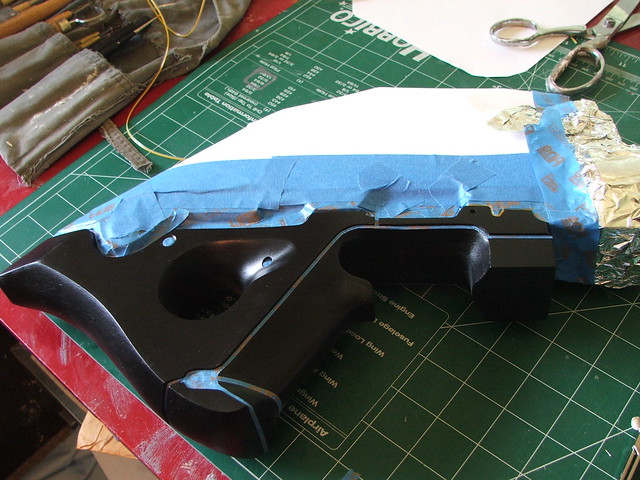
The grip texture was accomplished by first painting the selected area with Rustoleum Multicolored Textured paint, then topcoating in flat black. This creates a much better textured finish that is far more durable than the Plasti-dip spray I used on my prior M8 rifle project.
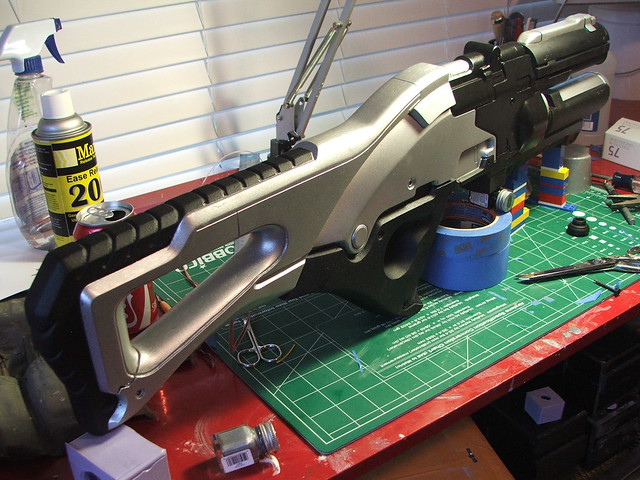
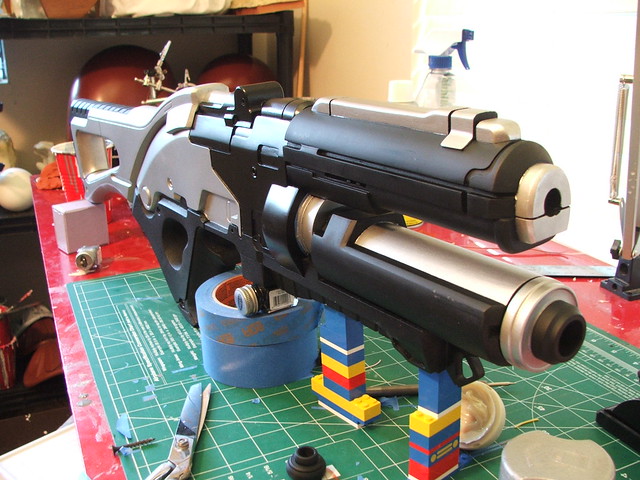
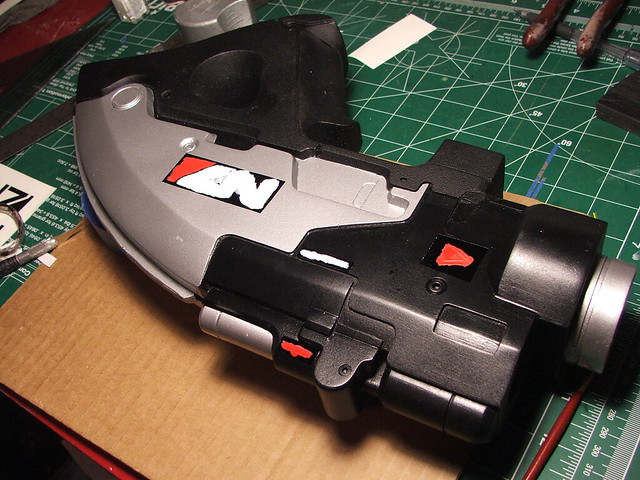
After the base colors were dry, vinyl decals were used to mask off areas for the N7 logo, as well as other text details and line markings.
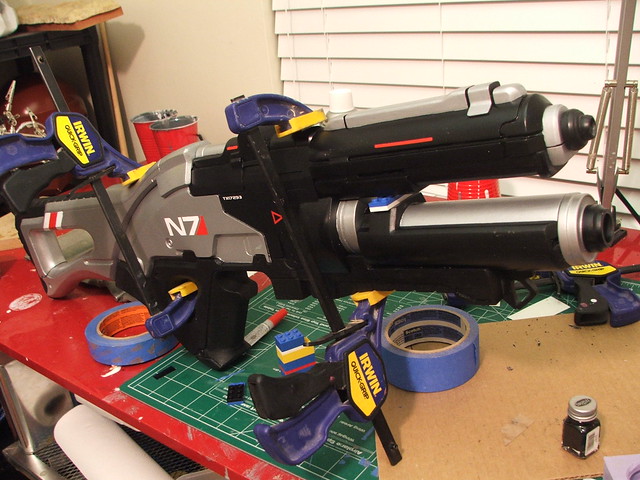
Finally, the rifle was epoxied together into one solid piece! There are three long pins securing the grip into the barrel and rifle body, and a 1" wide spine runs the entire length of the seam between the rear stock and the rifle body. After the epoxy set, I was able to pick up and handle the rifle by any one of its individual component pieces; even the D-ring on the front grip is functional!
Weathering the rifle was a blast - with heavily worn replicas, this is always my favorite step. If you're interested in the process, you can check out my time-lapse video detailing the weathering of the M8 Avenger. The process is largely similar, though for the N7, an airbrush was used for some areas.
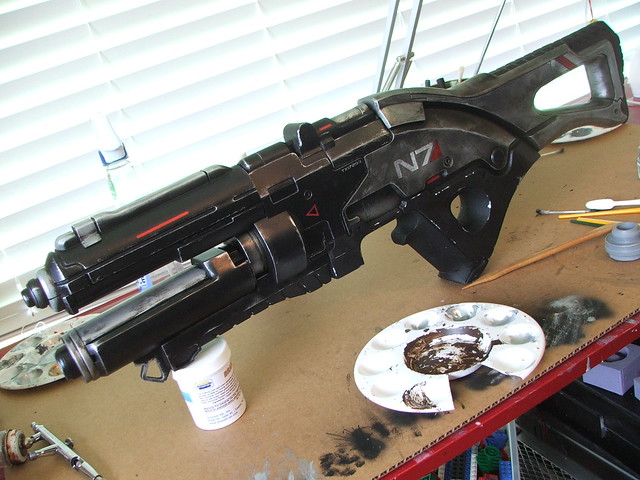
The final step was a coat of clear, to make sure the acrylic weathering job wouldn't wear off with the handling the piece would get at Comic-Con. If anyone happens to watch "The Pulse" episodes on Bioware TV, this is the gun that David Silverman is waving around all convention long. I guess he liked it!
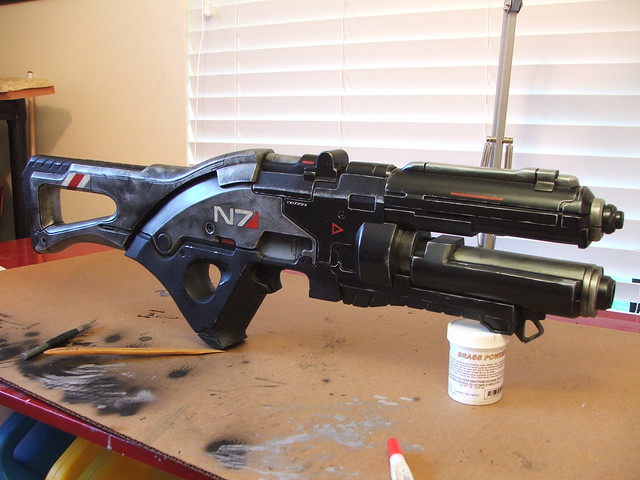
And finally, some beauty shots of the finished product!
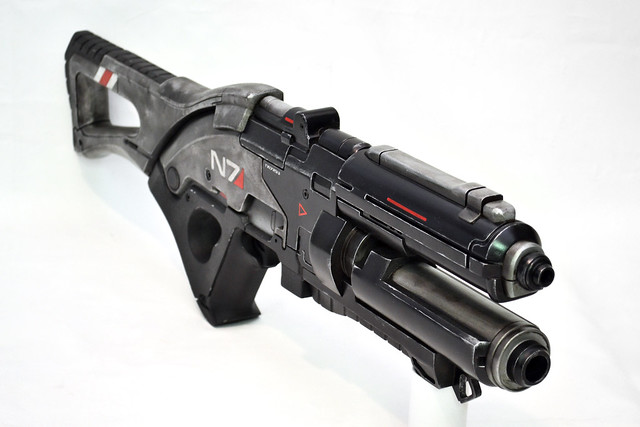
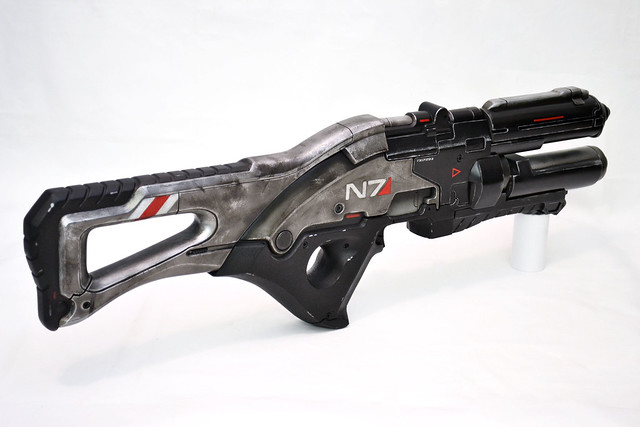
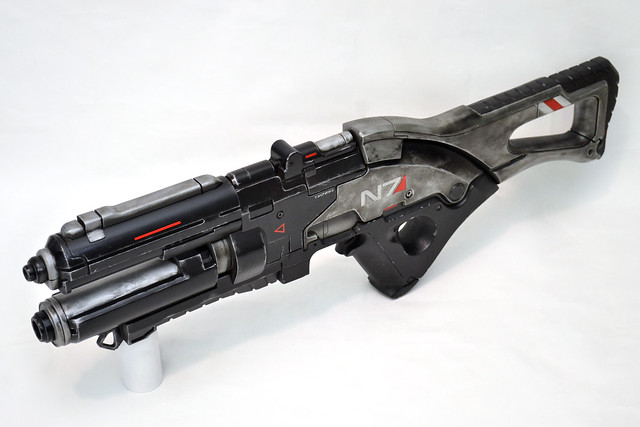
Some more detailed close-ups
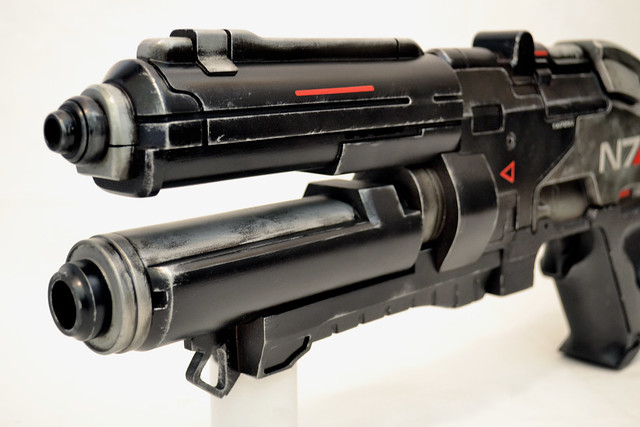
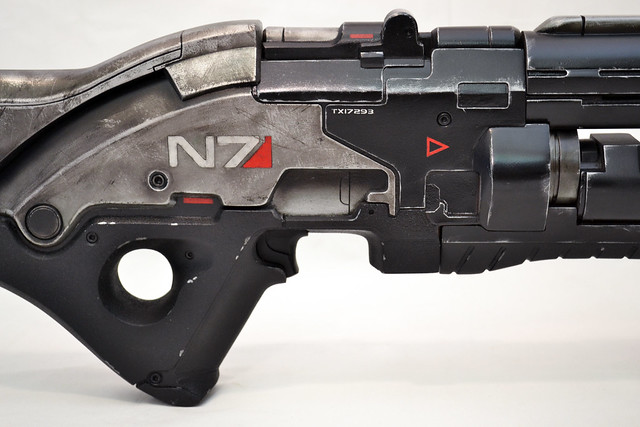
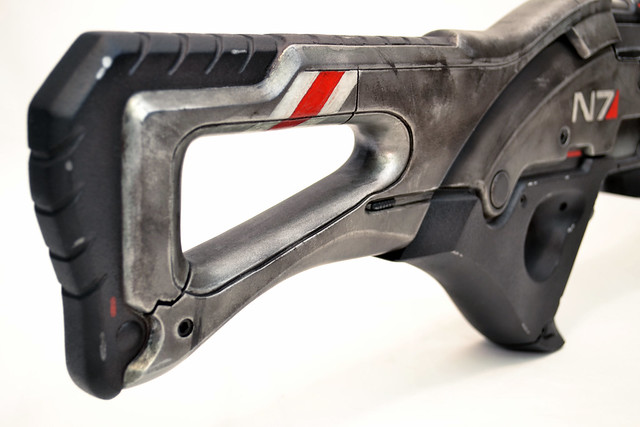
There's many more process photos on my Flickr, and in much higher resolution for those interested in seeing more detail. I may be returning to the world of Mass Effect very soon, so keep an eye here or on my Facebook page (which I try to update as often as possible with WIP shots) for more info.
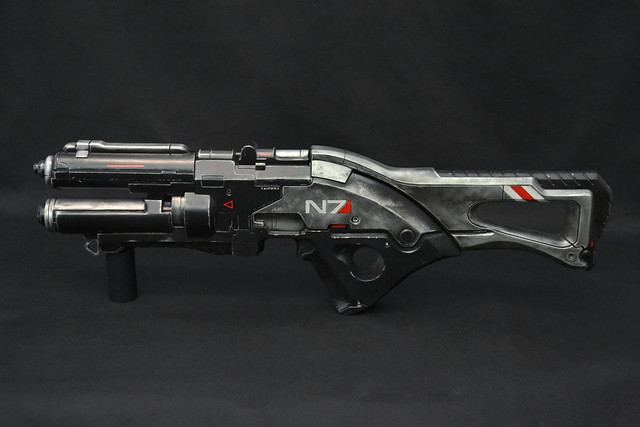
Thanks for reading!
