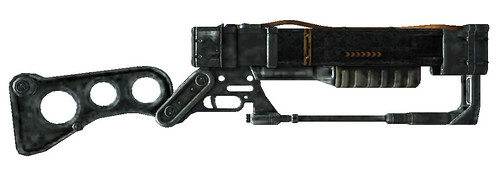
A commission came to me very, very last minute for a good friend of mine. He was planning on doing a Vault Dweller costume from Fallout 3, and needed a weapon in a month. Unfortunately I had other commissions, deadlines, and large projects to finish in that span of time. I looked at my schedule, decided I could shave off some sleep, and promised him 30 hours of build time. What follows is the result of that hurried errand.
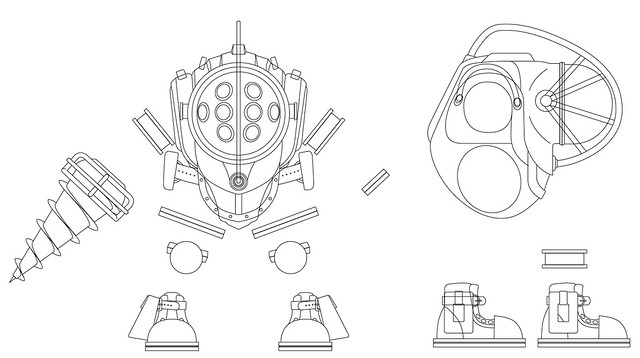
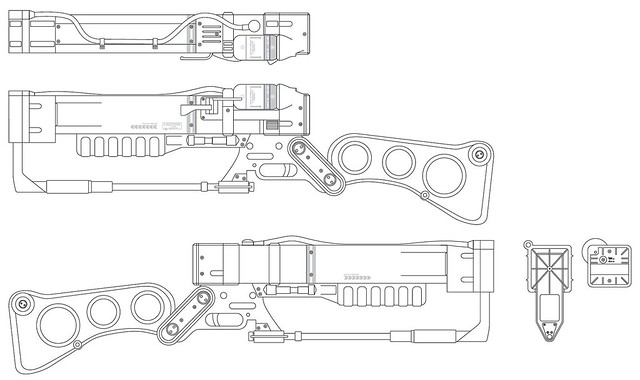
First, as always, I put together some blueprints. These are fairly low-detail, but work well for the scope of what I'm doing with this build. After this build was about 80% finished, I was pointed in the direction of currently-existing and much better and more accurate blueprints, but thats a story for when I take on this project again in the future and give it the proper time it deserves.
In order to save time, my friend came over and traced my blueprints onto MDF. I taught him how to use a bandsaw (nothing like a crash course in something that can leave you fingerless!) and he went to town rough-cutting the shapes I'd refine later into the gun. Here's where we started:
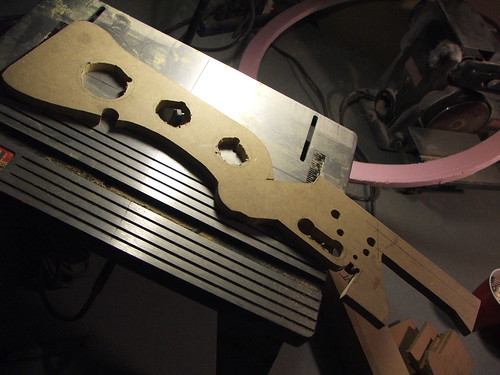

Impressive, right? I had a sick idea of just scotch-taping all these together, painting the whole thing silver, and handing it to him the day of the convention... but I'm not that mean. Ignore the lighter pieces near the bottom - those are part of another build.
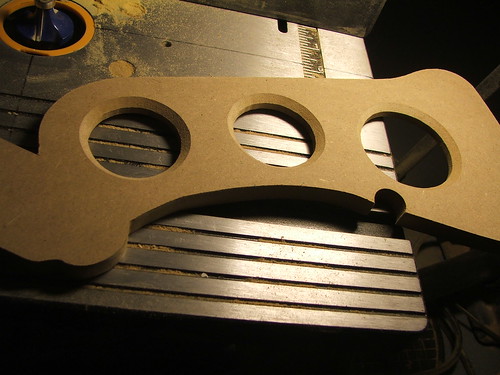
After cleaning up the cuts on a belt sander, I began the assembly of the main body in the 2 most prominent parts - the square "barrel" and the rear stock. These are both made from 1/2" MDF. The barrel has a few sections cut out for the microfusion cell...

...and a space for the rear stock and lower receiver to mount

I used a table router to re-shape the holes in the stock and bevel the edges. This was also a low-budget build, so I didn't have the liberty of going out and buying fancy new holesaws.
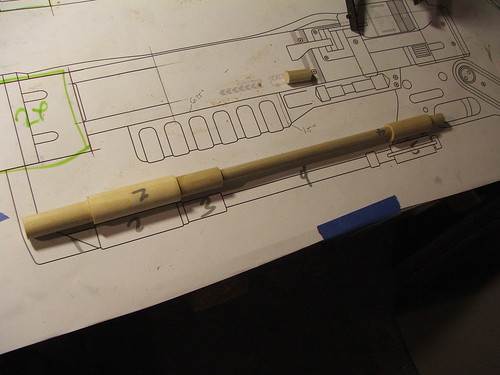
The lower support rod was made out of varying sized of pine dowel, threaded over a 1/4" aluminum bar.
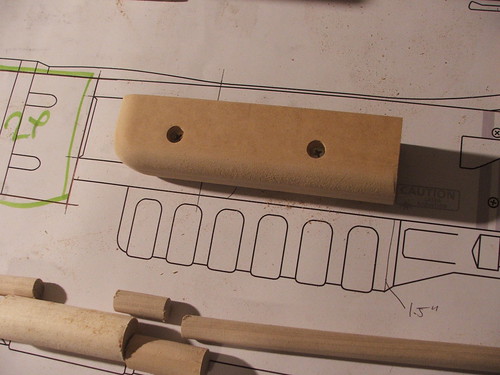
The front grip was made from 2 pieces of 3/4" MDF, screwed together and shaped on a belt sander. Styrene will eventually make up the grip texture.
The microfusion cell was pieced together from some pre-existing elements. I had a small dome mold that I'm using on another project that happened to be pretty close. I pulled two of these and epoxied them around some 2" PVC pipe. MDF discs were affixed to the main body to make the housing around the cell.


At this point, it started to resemble the final product! This is about 6 hours into the build (Yes, I'm using "build" as a noun! Colloquial English; take that grammar sticklers!)


Styrene was added to the lower grip, as well as the cell eject lever and front barrel area for the raised textures

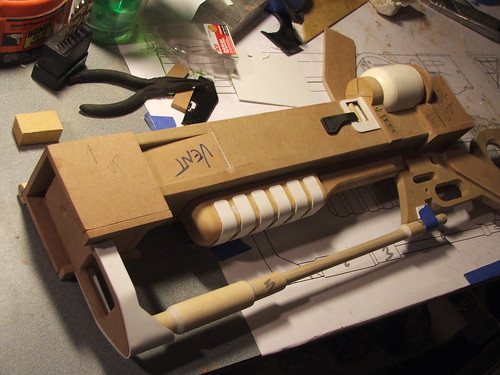

The upper barrel pipe was made out of 3/8" steel pipe. This terminates into a lathed pine dowel glued to the barrel corner

If you're wondering why some of these shots are so dark, recall that the "extra time" I found to build this came when I should have been sleeping. The bulk of this project was done between 10pm and 1am on most days...
After a coat of primer and some sanding, I started scribing panel lines with a dremel tool, and adding screw recesses around the front of the barrel.

Other details were added in MDF around the cell loading chamber, and the rear part of this area was faired down into the barrel of the gun with apoxie sculpt. I also added the raised pucks on the grip and stock.

Recessed areas were drilled into the gun and filled with countersunk phillips screws
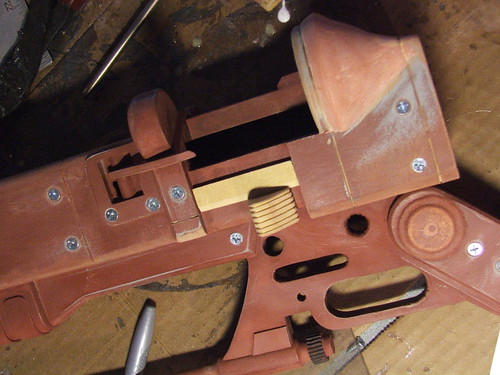
More styrene and MDF pieces were added to the barrel and rear area of the gun to build up the details in these areas. The shapes of these were largely improvised, as by this point I only had 4 days left until my deadline with many other projects that needed completing.

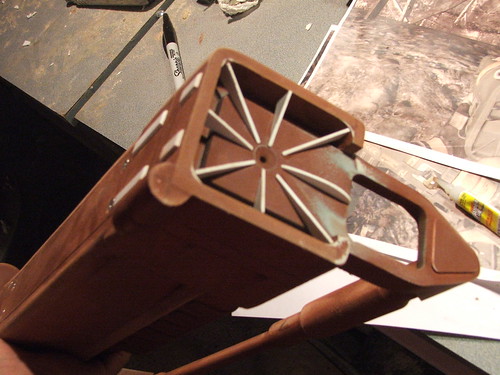
After this, the whole gun received a coat of gray primer to seal the remaining exposed wood.
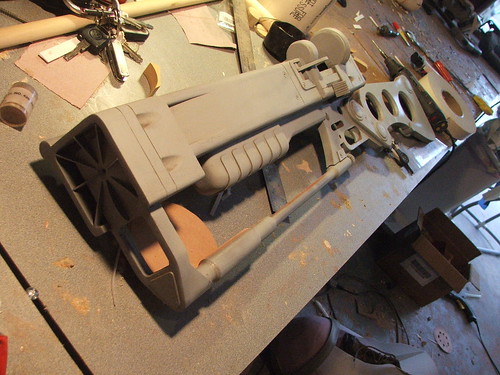

The first coat of paint went on shortly after the above finished drying. I used Krylon hammered silver, followed by a coat of Testor's Olive Drab on the main barrel.

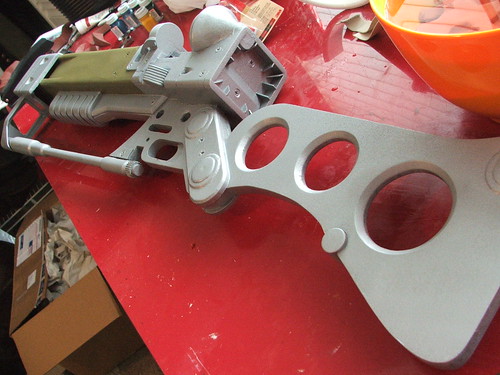
Fortunately for me, these guns are supposed to be 200+ years old in the Fallout 3 universe. That means its time for my favorite thing of all... heavy weathering!
The basecoat of weathering was done with acrylic paints and matte gel medium. I did an initial coat of black, followed by browns and greens to simulate dirt and corrosion.

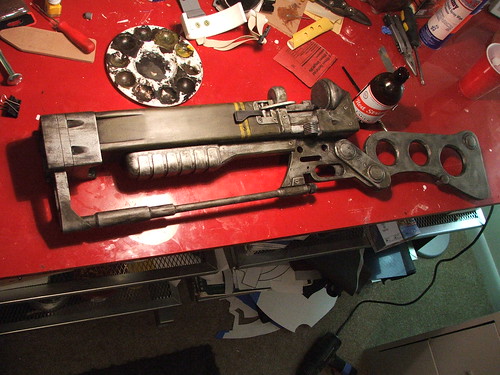
After this dried, I gave the whole piece drybrush silver accents to simulate wear and tear from the wastelands. chipping away at the paint and caked-on dirt. The finished piece has a nice shimmer to the metallic silver drybrush, which simulates metal rather well.

Finally, some more shots of the finished product from a few different angles. I'm still looking for a good way to transfer my vector decals to the gun. I tried water-slide as with my Portal gun build, but yellow ink on top of dark green showed up very poorly. There are a lot of details missing from the final product, so I want to return to this prop someday and build it without such an insane time restriction!
I really wish I could have given this project a bit more time and been more dedicated to the intricate detail this gun has, but for a 4 day build this turned out better than I could have hoped.
Happy Super Mutant Hunting!


Wait.
...you know... I had this whole thing written out, and then I went to preview the blog entry, and something just didn't look right. The rifle was weathered, but it still looked too clean on that white background. The graphics of the Fallout games do a good job of making the weapons look blackened, but I felt like this needed a bit more.
I went back after thinking about it, and decided to add some rust to the AER9. The shots above is how the gun was delivered and shown at the convention. Here's how it sits now:

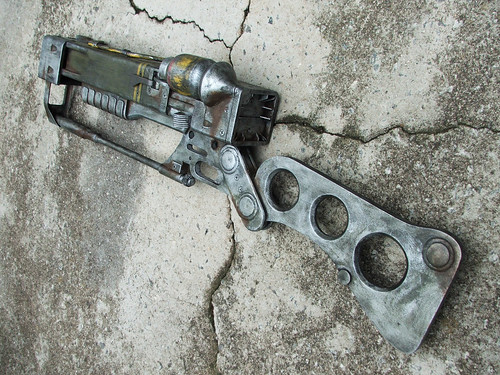

And, just for the hell of it, a modified version of one shot in the "Fallout 3" graphic style:
 (Higher res pic HERE, and more high-res shots of the build process available on my flickr page)
Ok, NOW we're done!


